 DIY
DIY
Tips for Getting a Smooth, Professional Finish With Spray…
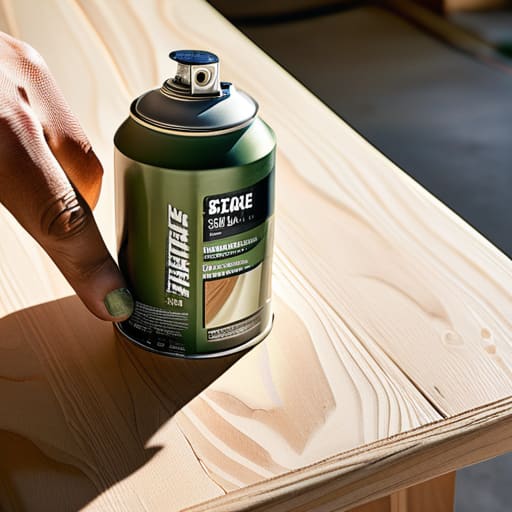
I remember standing in my tiny apartment kitchen three years ago, staring at a chipped, hideous wooden side table and feeling completely defeated. I’d watched a dozen professional tutorials that made it look easy, but my first attempt at learning how to spray paint resulted in nothing but sticky, uneven globs and a layer of dust that ruined everything. It felt like a massive waste of time and money, which is exactly what I try to avoid. The truth is, most people think you need an expensive compressor or a professional studio setup to get a smooth finish, but that’s just not true. You don’t need a workshop full of gear; you just need a solid plan and a few specific techniques to keep the mess under control.
I’m not here to give you a lecture on the chemistry of aerosols or sell you on a high-end toolkit you’ll never use again. Instead, I’m going to show you the most efficient way to get a factory-smooth finish without the headache. We’re going to cover the essential prep work, the right distance to hold the can, and how to avoid those annoying drips that turn a quick project into a disaster. Let’s get this done so you can get back to your life.
Table of Contents
Guide Overview
Tools & Supplies
- Spray paint cans (the primary coating agent)
- Drop cloths (to protect surfaces from overspray)
- Sandpaper (to smooth the surface before painting)
- Masking tape (to define edges and protect non-painted areas)
- Primer (1 can for surface preparation)
- Spray paint (1-3 cans depending on surface area)
- Degreaser or soap (small amount for cleaning the surface)
Step-by-Step Instructions
- 1. First things first, you need to clear a workspace. Find a spot that’s well-ventilated—ideally outdoors or in a garage with the door wide open—and lay down some old newspapers or a drop cloth. You don’t want to spend your entire weekend scrubbing overspray off your driveway or floorboards.
- 2. Next, get your item ready. This is the part most people try to skip, but if you want a finish that actually lasts, you have to clean the surface. Use some mild soap and water to get rid of any dust, grease, or fingerprints. Once it’s dry, give it a quick sand with a fine-grit sandpaper just to smooth out any imperfections and help the paint grab onto the surface.
- 3. Now, it’s time for the prep work—and I mean the real kind. Use painter’s tape to cover up anything you don’t want colored, like hinges, handles, or delicate trim. If you’re working on something small, you can even just lay it on a piece of cardboard. The goal here is to minimize the cleanup later so you can move on to the fun part.
- 4. Grab your spray can and give it a good shake for at least a full minute. I know it sounds tedious, but you really need those pigments to be completely mixed before you start. If you don’t, you’ll end up with splotches that look like a DIY disaster rather than a professional finish.
- 5. When you’re ready to spray, hold the can about 8 to 12 inches away from the object. Don’t try to cover everything in one massive go; that’s a one-way ticket to a messy, dripping disaster. Instead, use thin, even passes, moving your hand in a steady motion from one side to the other. It’s better to do three light coats than one heavy, gloppy one.
- 6. Patience is your best friend here. Let the first coat dry completely before you even think about touching it with a second layer. If you rush this, you’ll just smear the paint and end up having to start the whole process over from scratch.
- 7. Once you’ve finished your final coat and it’s dry to the touch, carefully peel off your tape while the paint is still slightly tacky. This helps prevent the tape from pulling up the edges of your fresh coat. From there, just let it cure fully before you put it back into use, and you’re done.
The Secret to Success Essential Spray Paint Surface Preparation
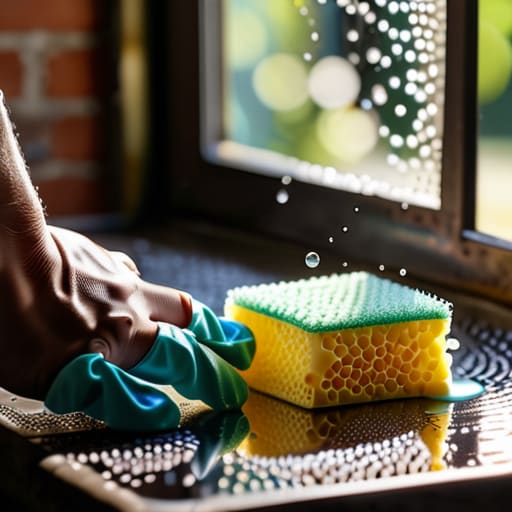
Look, I’ll be honest: most people skip the prep work because they just want to see that first coat of color hit the surface. But if you want to avoid a disaster, you can’t treat this like a “set it and forget it” task. Proper spray paint surface preparation is actually where the magic happens. If there’s even a hint of dust, grease, or old wax on your item, the paint isn’t going to bond; it’s just going to sit there like a layer of wet sand. I always spend ten minutes scrubbing everything down with a bit of dish soap or a degreaser. It feels like extra work, but it’s much faster than having to sand down a peeling mess next week.
Once it’s clean, don’t skip the primer. Knowing how to use spray paint primer effectively is the difference between a professional finish and something that looks DIY in the worst way possible. Primer fills in those tiny imperfections and gives the color something to actually grab onto. Also, grab some painter’s tape and some old newspapers. It’s not glamorous, but masking off the areas you don’t want covered is the only way to ensure you aren’t spending your entire weekend cleaning overspray off your floor.
Picking the Best Spray Paint for Diy Projects Without Overspending
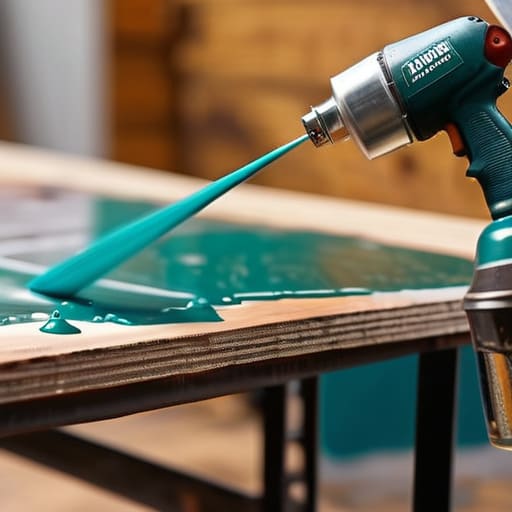
Look, you don’t need to spend a fortune at a specialty boutique to get professional results. I used to think that expensive, high-end brands were the only way to avoid a mess, but I’ve learned that the best spray paint for DIY projects is often just the one that matches your specific material. If you’re working with metal, grab something formulated for rust prevention; if it’s wood, look for something with a smoother finish. The goal isn’t to buy the priciest can on the shelf, but to match the chemistry of the paint to the object you’re reviving.
One thing I’ve learned the hard way is that the quality of your paint matters less than how you manage the spray paint drying time. Even a decent brand will look terrible if you rush it and apply thick, heavy coats. To avoid the nightmare of preventing spray paint drips, keep your passes light and consistent. It’s much better to do three thin, quick layers than to try and cover everything in one go. Just stay patient, let it dry properly, and you’ll save yourself a massive headache later.
Pro Moves to Avoid a Total Mess
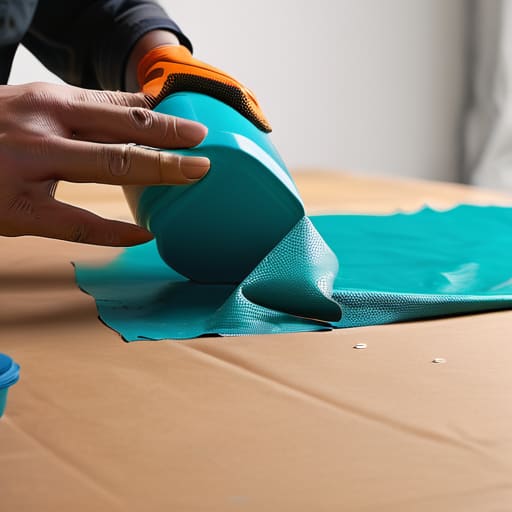
- Don’t try to be a hero with one thick coat. It’s tempting to cover everything in one go, but you’ll end up with those annoying drips that take forever to sand out. Do three or four thin, light passes instead.
- Keep the can moving. If you pause for even a second while the nozzle is pointed at your project, you’re going to get a glob. Think of it like a continuous sweeping motion—start the spray before you hit the object and stop after you’ve passed it.
- Mind the gap. Use painter’s tape to mask off anything you don’t want colored, but don’t leave it on too long after you’re done painting. If the paint dries too hard against the tape, you’ll end up peeling off tiny bits of your hard work when you try to remove it.
- Watch your distance. If you hold the can too close, the paint stays wet and runs; too far away, and you get a grainy, sandpapery texture. Aim for about 8 to 12 inches—roughly the length of my forearm—and stay consistent.
- Shake it like you mean it. This isn’t a suggestion; it’s a requirement. Spend at least a full two minutes shaking that can to make sure the pigments and solvents are actually mixed. If you skip this, you’ll get uneven color and a clogged nozzle halfway through the job.
The Bottom Line
Don’t skip the prep work; a clean, sanded surface is the difference between a professional finish and a peeling mess that you’ll have to redo next weekend.
Focus on thin, even coats rather than trying to cover everything in one heavy pass—it takes a little longer, but it prevents those annoying drips that ruin the project.
You don’t need the most expensive brand on the shelf, just make sure you’re choosing a paint suited for your specific material so you aren’t wasting money on something that won’t stick.
The Golden Rule of Spray Painting
“The difference between a professional finish and a sticky, expensive mess isn’t the brand of paint you buy—it’s the ten minutes you spend prepping the surface and the patience you show when applying thin, light coats.”
Julian Reese Miller
Getting Across the Finish Line
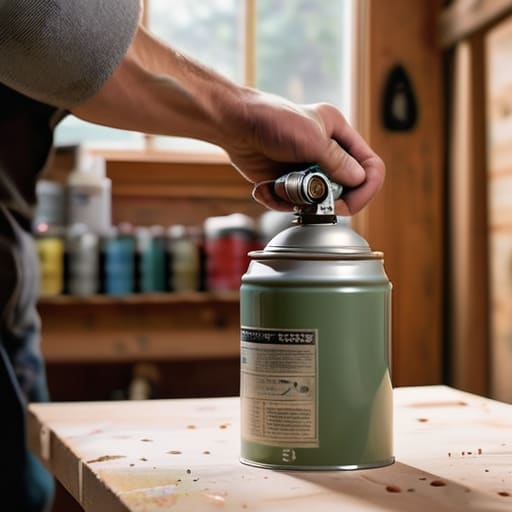
At the end of the day, spray painting isn’t about achieving some museum-quality perfection; it’s about making something look better than it did when you found it. Just remember the trifecta: prep your surface thoroughly so the paint actually sticks, choose a decent can that won’t clog halfway through, and most importantly, keep your strokes light and even. If you rush the drying time or try to hide a mistake with a massive glob of paint, you’re just creating more work for yourself later. Stick to the basics, stay patient with those thin coats, and you’ll avoid the dreaded drips that turn a quick weekend project into a massive headache.
I know it can feel a bit intimidating when you’re standing there with a can in your hand and a piece of furniture that looks like it’s seen better decades, but don’t let that stop you. The goal here is to reclaim your space without spending a fortune on professional refinishing or waiting weeks for a delivery. Once that first smooth coat dries, you’ll realize that being capable of fixing your own environment is a massive win for your sanity. So, grab your multi-tool, clear a space in the garage, and just get started. You’ve got this, and honestly, the feeling of seeing a finished product that you did yourself is well worth the effort.
Frequently Asked Questions
How do I stop the paint from running or leaving those annoying drips?
The biggest mistake I see is trying to cover everything in one go. It’s tempting to go heavy to save time, but that’s how you end up with those messy drips. Think in layers: light, even passes. If you feel like you’re getting good coverage, you probably are. Keep your hand moving in steady, sweeping motions about 8–12 inches away, and let each thin coat dry before hitting it again. Less is more.
Can I spray paint something if I didn't sand it perfectly first?
Look, I get it. You’re halfway through a project and realize the sanding job was a bit rushed. Honestly? You can still make it work, but don’t expect a showroom finish. If you skip the perfect sand, you’re risking bumps or peeling later. My advice: don’t just power through. Take ten minutes to hit those rough spots with a higher grit sandpaper now. It’ll save you hours of frustration once the paint dries.
How long do I actually need to wait before I can touch it or move it?
Look, I get it—you want to see the finished product and move on with your life. But patience is the one tool you can’t skip. Generally, you can touch it after about an hour, but don’t try to move it or stack anything on it for at least 24 hours. It might feel dry to the touch, but it’s still “soft” underneath. Give it a full day to cure so you don’t ruin your hard work.