 DIY
DIY
Seal Your Doors Properly to Save Money on Heating…
I was sitting on my living room floor last Tuesday, wrapped in a blanket and nursing a lukewarm coffee, when I realized I wasn’t just cold—I was losing a fight against my own front door. Every time the wind picked up outside my apartment, a thin, icy finger of air would snake through the gap, making my space feel more like a drafty hallway than a home. Most people think that fixing a drafty entrance means calling in a contractor or replacing the entire frame, but that’s a total waste of money. The truth is, weatherstripping a door is one of those small, incredibly satisfying wins that anyone can tackle in an afternoon with a few basic supplies and a little bit of patience.
I’m not here to give you a lecture on thermal dynamics or sell you on a complex renovation project. My goal is to show you how to stop the chill so you can actually stay comfortable in your own space. I’ll walk you through exactly how to identify where the leaks are, which materials actually hold up over time, and the fastest way to get the job done right. We’re going to strip away the intimidation and get this fixed without breaking your budget or wasting your entire weekend.
Table of Contents
Guide Overview
Tools & Supplies
- Measuring tape for sizing materials
- Utility knife for trimming excess
- Screwdriver for securing door sweeps
- Weatherstripping roll or strips (approx. 20-30 ft)
- Door sweep (1 unit)
- Adhesive or mounting screws (1 pack)
Step-by-Step Instructions
- 1. First, you need to figure out what you’re actually dealing with. Grab a flashlight and a piece of paper, and run it around the edges of your door on a windy day. If you feel a breeze, that’s your target. I usually do a light test too—have someone stand outside with a bright light while I stay inside. Wherever I see light leaking through the cracks, that’s where the air is getting in.
- 2. Once you know where the leaks are, clear the area. You can’t stick anything to a layer of dust and old grime. Take a damp cloth and some simple household cleaner to wipe down the door frame and the door itself. It’s a small step, but if you skip it, your new weatherstripping will peel off within a week, and you’ll be right back where you started.
- 3. Head to the hardware store and pick your weapon. For most standard doors, I recommend a self-adhesive foam tape if you want something quick and cheap, or a V-strip if you’re dealing with a more permanent fix. Just make sure you measure twice before you buy. There is nothing more frustrating than getting halfway through a project only to realize your roll of tape is three inches too short.
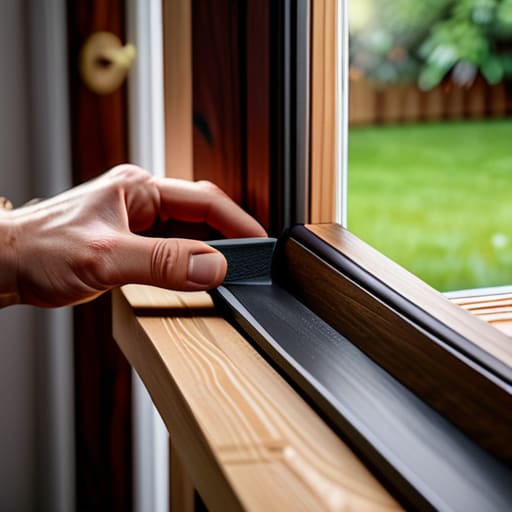
- 4. Now, start applying. If you’re using the adhesive type, peel the backing off slowly and press the strip firmly into the door stop—that’s the part of the frame the door rests against when it closes. Don’t try to do the whole door in one go; work in small, manageable sections to ensure the adhesive actually bonds to the surface.
- 5. If you’re dealing with a gap at the very bottom of the door, skip the tape and grab a door sweep. This is a metal or plastic strip that screws directly into the base of the door. It’s a bit more “hands-on” than the tape, but it’s much more effective at stopping those heavy drafts that roll across the floor like a cold wave.
- 6. Once everything is installed, do a final test. Close the door and feel around the edges with your hand. You want to feel a slight bit of resistance when the door latches. If it’s too hard to close, you’ve applied the stripping too thickly; if you still feel air, you need to add a bit more or reposition the strip.
- 7. Take a second to clean up your workspace and put your tools away. The goal here was to fix the draft, not to spend your entire Saturday cleaning up adhesive residue. Once the door is shut tight and the room feels warmer, get back to your life.
Choosing the Right Types of Door Weatherstripping Without Overspending
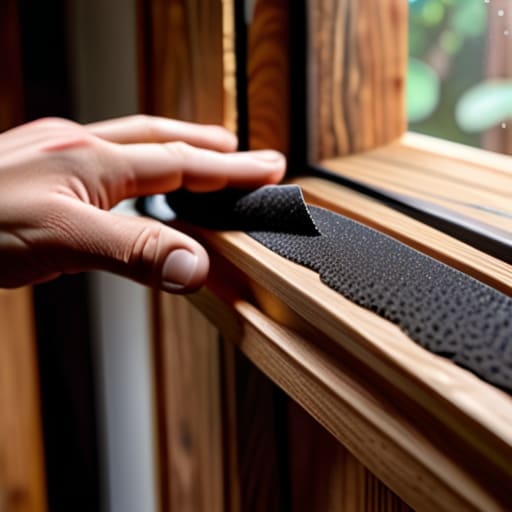
Walking into a hardware store can feel like a trap. You’ll see aisles upon aisles of foam, rubber, and brush strips, and suddenly you’re staring at a price tag that feels way too high for a piece of plastic. Here’s the secret: you don’t need the premium, gold-plated version to see results. When you’re looking at the different types of door weatherstripping, focus on where the air is actually moving. If you feel a breeze hitting your ankles, you’re likely looking at a job for a door sweep. If the draft is coming through the sides, a simple adhesive foam strip is usually all you need to start preventing air leaks around doors without breaking the bank.
I always tell people to prioritize the gaps first. If you’re trying to tackle improving home insulation on a budget, start with the most obvious culprits. A high-quality door bottom seal installation is often more effective than layering expensive materials around the entire frame. Don’t get caught up in the “best” brand; just ensure the material matches your door’s surface—rubber works great for heavy doors, while foam is perfect for lighter, interior-style fixes. Keep it simple, buy only what you need, and get back to your life.
A Simple Door Bottom Seal Installation to Save Your Energy
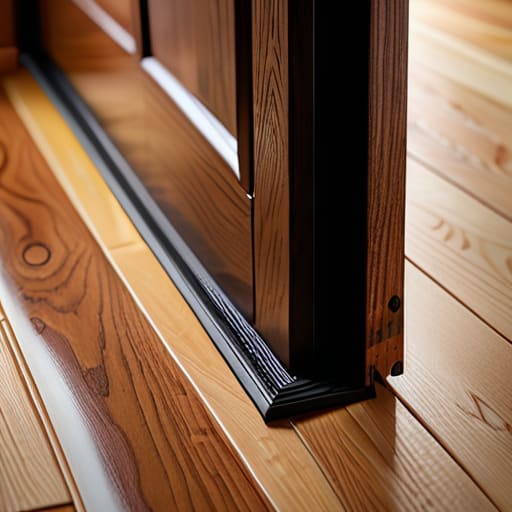
If you’ve tackled the sides and the top of the frame, you’re halfway there, but don’t ignore the gap at the floor. This is usually where the most significant temperature drops happen. A proper door bottom seal installation is one of those small, low-effort tasks that makes a massive difference in how your space feels. Whether you’re using a screw-on sweep or a simple adhesive strip, the goal is to create a tight barrier that stops the wind from whistling right under your feet.
When you’re working on this, I recommend getting down on your hands and knees to check the alignment. You want the seal to make firm contact with the threshold without making the door a nightmare to swing open. If it’s too loose, you’re just wasting money on heating; if it’s too tight, you’ll be fighting the door every time you walk through. Think of it as fine-tuning a machine—it’s all about finding that sweet spot of tension. Getting this right is one of the most effective energy efficient home improvements you can do on a Saturday afternoon without breaking a sweat.
Five Pro-Tips to Save You Time (and Sanity)
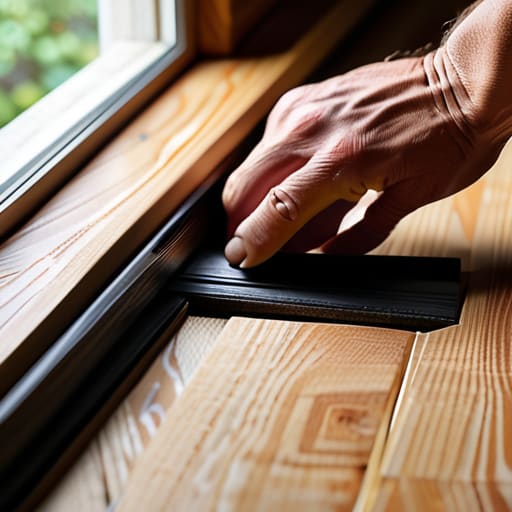
- Do a light test before you buy anything. Shut your door in a dark room and have someone shine a flashlight around the edges from the outside. Wherever you see light leaking through, that’s exactly where your problem is. It’s much easier to fix a specific spot than to guess where the air is getting in.
- Don’t overstuff the gaps. It’s tempting to layer on thick foam to make sure it’s “sealed,” but if you compress the weatherstripping too much, the door won’t latch properly or it’ll be a nightmare to pull open. You want a snug fit, not a struggle.
- Clean the surface first or don’t bother. If you’re using adhesive strips, wipe the door frame down with a bit of rubbing alcohol to get rid of the dust and old oils. If you skip this, that expensive strip is going to peel off in two weeks, and you’ll be right back where you started.
- Check the “sweep” height. If you’re installing a door bottom, make sure it’s actually touching the threshold without creating a physical barrier that prevents the door from swinging freely. I’ve seen too many people install a seal so thick they end up having to kick their door shut.
- Think about the seasons. If you live in a place with extreme temperature swings, remember that wood expands and contracts. Check your seals once a year—usually when the weather shifts from fall to winter—to make sure they haven’t pulled away or flattened out.
The Bottom Line
You don’t need a professional contractor or a massive budget to fix a draft; a little bit of the right weatherstripping goes a long way in making your space more comfortable.
Focus on the high-impact areas first—like the door bottom and the side seals—to get the most immediate relief from the cold without wasting time on unnecessary extras.
Once the job is done, stop thinking about it and get back to your life; the goal was efficiency, not turning your home maintenance into a full-time hobby.
## The Real ROI of a Small Fix
“We often think home improvement has to be this massive, expensive overhaul, but sometimes the most impactful thing you can do is just stop the air from escaping. A ten-dollar roll of weatherstripping isn’t just about insulation; it’s about reclaiming the comfort of your space and the money you’re currently throwing out the door.”
Julian Reese Miller
Closing the Gap
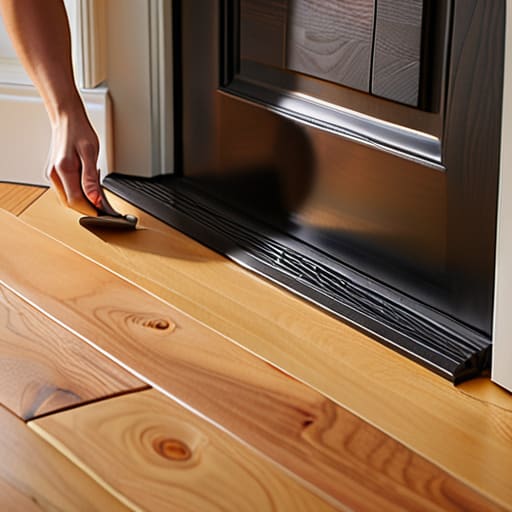
At the end of the day, weatherstripping isn’t about performing a major home renovation; it’s about making a few smart, calculated adjustments to your space. By picking the right materials—whether that’s foam tape for the frame or a sturdy door bottom seal—and taking the time to clean your surfaces properly, you’ve effectively plugged the leaks in your budget and your comfort. You’ve addressed the drafts, lowered your energy bills, and stopped the constant battle against the elements. It’s a small win, but it’s one that pays dividends every time your thermostat stays steady and your living room stays warm.
I know that sometimes these little maintenance tasks feel like just another thing on an endless to-do list, but there is a real sense of peace that comes with taking control of your environment. You didn’t need a professional crew or a massive budget to fix this; you just needed a bit of focus and the right tools. Now that the door is sealed and the job is done, don’t spend any more time thinking about it. Close the door, walk away, and go enjoy the comfort of a home that actually works for you.
Frequently Asked Questions
How often do I actually need to replace the weatherstripping once it's installed?
Honestly, there’s no set schedule, but you shouldn’t wait for it to fall apart completely. I usually do a quick visual check once or twice a year—maybe when the seasons shift. If the material feels brittle, looks cracked, or you start feeling a draft despite the seal being there, it’s time. Don’t overthink it; if it isn’t doing its job, swap it out so you can stop worrying about it.
Can I use weatherstripping on an exterior door if it's constantly exposed to heavy rain and direct sun?
Short answer: Yes, but don’t grab the cheap foam stuff from a bargain bin. If your door is taking a beating from rain and UV rays, you need materials built for the elements—think high-quality silicone or EPDM rubber. The cheap stuff will crack and crumble within a single season of direct sun. Invest a little more upfront in something weather-rated; it’ll save you the headache of having to redo the whole job next year.
What should I do if my door is slightly warped and the seal still isn't closing properly?
Look, a warped door is a headache, but it’s not a lost cause. If the gap is consistent, try using a thicker, foam-backed weatherstripping to bridge that extra space. If the warp is uneven, you might need to plane down the high spots or adjust your door hinges to realign the frame. It’s a bit more work than a simple seal, but it beats wasting money on heating the entire neighborhood.