 DIY
DIY
How to Apply Caulk Neatly and Without the Mess
I was standing in my bathroom last Tuesday, staring at a jagged, moldy mess of old sealant around the tub, feeling that familiar wave of “I should really call a professional.” We’ve been conditioned to think that home maintenance requires expensive contractors or a specialized toolkit, but the truth is that most of these little fixes are way simpler than they look. Learning how to caulk isn’t some mysterious trade secret; it’s just a matter of having the right technique and a little bit of patience. I spent way too many years letting tiny gaps turn into expensive water damage problems just because I was intimidated by a single tube of silicone.
I’m not here to give you a lecture or a twenty-step manual that takes all afternoon. Instead, I’m going to show you how to strip away the frustration and get this done efficiently. I’ll walk you through exactly what supplies you actually need, how to prep the surface so the seal actually holds, and the specific trick I use to get those smooth, professional lines without the mess. My goal is to help you master how to caulk properly so you can fix the gap, protect your home, and get back to your life.
Table of Contents
Guide Overview
Tools & Supplies
- Caulking gun for applying the sealant
- Caulk removal tool or utility knife for cleaning old residue
- Wet rag for smoothing and cleaning excess material
- Caulk tube (silicone or acrylic depending on surface)
- Painter's tape for clean lines (optional)
Step-by-Step Instructions
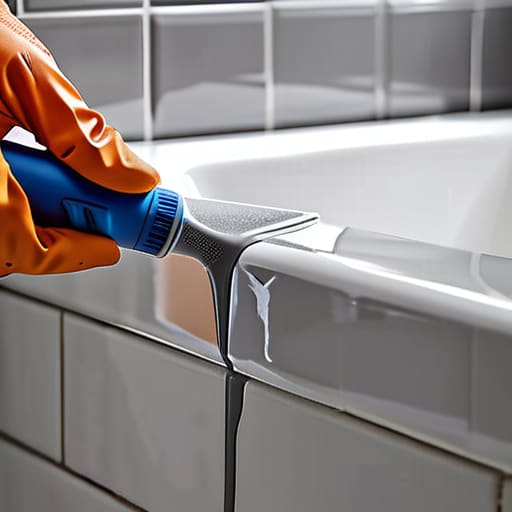
- 1. First things first, you need to clear the deck. If there’s old, crusty caulk hanging on by a thread, don’t try to just layer new stuff on top—it won’t stick, and you’ll be doing this all over again in three months. Use a putty knife or a dedicated caulk removal tool to scrape away the old residue until the surface is as clean as you can get it.
- 2. Once the gap is empty, grab a vacuum or a damp rag to get rid of every bit of dust and debris. Any tiny speck of grit left behind acts like a barrier between the caulk and your wall, which is a recipe for immediate peeling. I usually give the area one final wipe with a bit of rubbing alcohol to ensure the surface is completely stripped of oils and grime.
- 3. Now, let’s prep the tool. Take your caulk gun and load the tube, making sure it’s seated firmly in the frame. Before you even touch the gap, grab a scrap piece of cardboard and practice your bead control. You want to get a feel for how much pressure you need to apply to the trigger so you don’t end up with a massive, uncontrollable glob halfway through the real job.
- 4. Cut the nozzle. This is where most people mess up by cutting too much at once. Aim for a small, angled cut—roughly the same width as the gap you’re trying to fill. If you go too wide, you’re just making a mess; if you go too narrow, you won’t get enough coverage. Think small and precise; you can always cut more later, but you can’t put it back once it’s gone.
- 5. Start applying the caulk. Hold the gun at a consistent angle and move at a steady, rhythmic pace. Instead of pushing the caulk into the gap, try to pull the nozzle toward you in one continuous motion. This helps the material flow smoothly into the crevice rather than just sitting on top of it like a bead of frosting.
- 6. This is the “make or break” moment: smoothing it out. Don’t use your bare finger—it’s messy, and the oils from your skin can actually mess with the sealant. Instead, fill a spray bottle with water and a tiny drop of dish soap, give the bead a light mist, and then run a smoothing tool (or a wet finger if you’re feeling brave) along the line. One steady pass is all it takes to create that professional, seamless look.
- 7. Finally, step away and let it do its thing. Most silicones need at least 24 hours to fully cure before they can handle water or heavy contact. Resist the urge to touch it or “test” it an hour in. Leave it alone so it can harden properly, and then you can finally check this off your list and get back to whatever you actually wanted to do this weekend.
The Great Debate Choosing Silicone vs Acrylic Caulk
Before you even squeeze the trigger on your caulk gun, you need to pick your fighter. This is where most people stumble, so let’s clear it up. If you’re sealing bathroom fixtures or dealing with anything that touches water constantly, you want silicone. It’s waterproof, flexible, and handles temperature shifts like a champ, which is vital for preventing cracks. The downside? It’s a bit messier to work with and much harder to clean up if you make a mistake.
On the other hand, if you’re caulking around windows or working on baseboards where you might want to paint over the seam later, go with acrylic. It’s much more forgiving for beginners and easy to touch up with a brush, but it isn’t as bulletproof against moisture. My rule of thumb is simple: use silicone for the wet stuff and acrylic for the dry stuff. Getting this choice right the first time means you won’t be removing old caulk and starting over three months from now.
Mastering Caulk Gun Usage Without the Mess
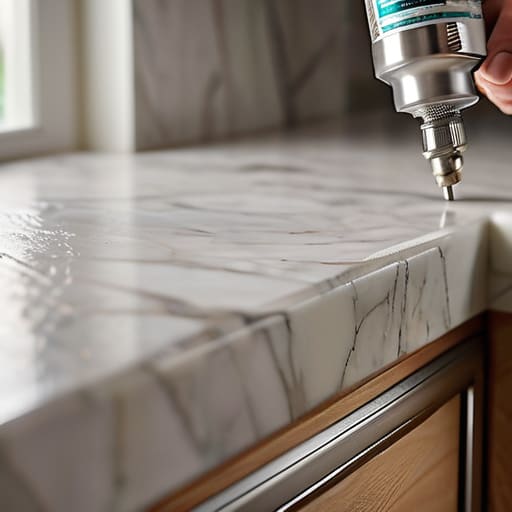
Look, I’ve spent more time than I’d like to admit cleaning dried, sticky globs off my kitchen counters because I rushed the process. The secret to a professional look isn’t some magic hand movement; it’s all about how you handle the tool. When it comes to caulk gun usage, most people pull the trigger too hard or move too fast. You want to maintain a steady, consistent pressure. If you find yourself struggling with uneven lines, try to keep the nozzle at a slight angle to the surface. This helps you maintain a smooth caulk bead technique that actually looks intentional rather than like a DIY disaster.
Another thing that trips people up is the “over-squeeze.” If you feel the pressure building up too much in the tube, stop. It’s better to pause for a second than to have a massive, uncontrollable glob erupting from the tip. Once you’ve laid down your bead, don’t just walk away. Use a damp finger or a specialized smoothing tool to press the material into the gap. This ensures you’re actually sealing bathroom fixtures or window frames effectively, rather than just laying a decorative layer of goo on top.
Pro Moves to Save You from a Messy Cleanup
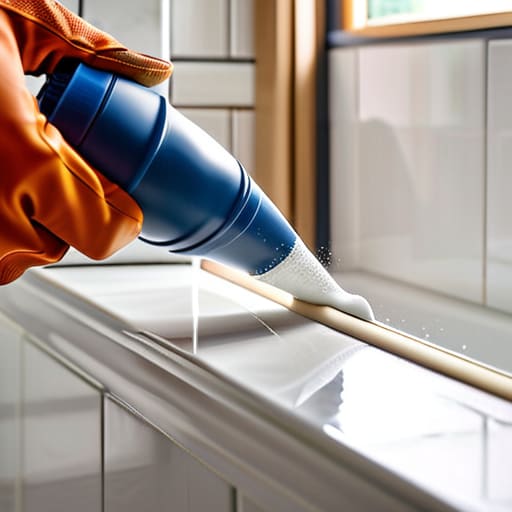
- Clean your surfaces first. If there’s old, crusty caulk or even just a layer of dust in that gap, your new bead won’t stick, and you’ll be back here redoing it in a month.
- Use painter’s tape for straight lines. If you aren’t confident in your steady hand, run two strips of tape along the edges of the gap, caulk the middle, and peel the tape while the bead is still wet. It’s a total game-changer.
- Keep a wet rag in your other hand. You’re going to make a mess—it’s part of the process. Having a damp cloth ready to wipe away excess caulk immediately prevents it from hardening into an ugly, unfixable blob.
- Don’t overwork the bead. It’s tempting to keep smoothing the same spot over and over, but that just pulls the caulk out of the gap. One or two smooth passes is all you need.
- Check the drying time before you touch it. I know you want to be done, but if you start running water or scrubbing the area too early, you’ll ruin the seal. Read the tube and actually follow the wait time.
The Bottom Line
Pick the right tool for the job—silicone for wet areas like showers, and acrylic for anything that needs a bit of paintability.
Don’t fight the caulk gun; use steady, consistent pressure to keep your lines clean and avoid the dreaded “caulk blob” nightmare.
Prep is everything—clean that gap thoroughly before you start, or you’ll be peeling up messy, failed seams in six months.
## The Real Goal of a Clean Bead
“At the end of the day, caulking isn’t about achieving architectural perfection; it’s about sealing out the chaos so you don’t have to deal with a bigger mess three months from now.”
Julian Reese Miller
Done and Dusted
At the end of the day, caulking isn’t about achieving architectural perfection; it’s about preventing a small gap from turning into a massive, expensive headache later on. Just remember the fundamentals: pick the right material for the job—silicone for the wet stuff, acrylic for the walls—and keep your movements steady to avoid that dreaded “sausage casing” look. If you take the time to clean the surface properly and use a steady hand with the caulk gun, you’ve already done the heavy lifting. Once you smooth out those lines, you aren’t just sealing a gap; you’re protecting your home from moisture and rot, which is the ultimate win for any DIY project.
I know it can feel tedious when you’re staring at a messy bead of sealant, but don’t let a little bit of cleanup discourage you. The goal here was to get the job done efficiently so you could move on to something actually enjoyable. You’ve officially taken a piece of maintenance off your mental to-do list and handled it yourself without calling in a professional or breaking the bank. Now that the seal is set, get back to living your life. You earned it.
Frequently Asked Questions
How do I know if the old caulk is actually gone, or if I can just layer new stuff on top?
Look, I’ll give it to you straight: don’t layer new caulk over the old stuff. It’s tempting because it seems faster, but it’s a recipe for a peeling, messy disaster. If the old stuff is cracked, peeling, or even just slightly discolored, it’s lost its seal. You need to strip it back to the bare surface. If you don’t start fresh, you’re just masking a problem that’ll resurface in a month.
What’s the trick to cleaning up the excess before it dries and turns into a permanent mess?
The trick is all about timing and the right tools. Don’t wait for it to skin over. Keep a damp rag and a small bucket of water nearby. Once you’ve laid your bead, run a gloved finger—dipped in a little soapy water—along the line to smooth it out. If you have a massive glob, wipe it immediately. It’s much easier to clean wet caulk than to spend Sunday scraping dried gunk off your tiles.
How long do I actually have to wait before I can get the sink running or take a shower?
Look, I get the urge to test it immediately, but patience is your best friend here. If you used acrylic, you can usually get things running in about 24 hours. If you went with silicone, hang tight—that stuff needs a full 24 to 48 hours to cure properly. If you rush it and get water on the bead too early, you’ve basically just wasted your afternoon. Wait it out; it’s worth it.