 DIY
DIY
Constructing a Heavy-duty Workbench for Your Garage
I remember sitting on my floor three years ago, surrounded by half-disassembled synth components and a pile of loose screws, trying to steady a circuit board on a literal kitchen chair. It was a disaster. I realized then that you don’t need a professional-grade workshop or a massive inheritance to get serious about your projects; you just need a solid surface that doesn’t wobble when you apply pressure. Most people think learning how to build a workbench requires a garage full of expensive power tools and a master carpenter’s degree, but that’s just a myth designed to keep you from starting. In reality, you can build something incredibly sturdy using nothing more than basic lumber and a few essential fasteners.
I’m not here to sell you on a complicated, multi-stage woodworking masterpiece that takes up your entire weekend. My goal is to show you how to build a functional, heavy-duty workspace that fits your budget and your space. I’ll walk you through the exact materials you need and the simplest assembly method possible so you can stop improvising with kitchen furniture and get back to actually creating things.
Table of Contents
Guide Overview
Tools & Supplies
- Circular saw or Miter saw for cutting lumber
- Power drill for driving screws
- Tape measure for accurate dimensions
- Speed square for marking straight lines
- Level to ensure a flat work surface
- 4×4 lumber (legs) 4 pieces
- 2×4 lumber (frame and bracing) 6 pieces
- 3/4 inch Plywood (top surface) 1 sheet
- 2.5 inch wood screws 1 box
- Wood glue 1 bottle
Step-by-Step Instructions
- 1. First, let’s talk supplies. You don’t need a showroom full of exotic hardwoods to make this work. Head to your local hardware store and grab some standard 2x4s and a sheet of 3/4-inch plywood for the top. I usually pick up a box of 2.5-inch wood screws and a bottle of wood glue. Having everything in one trip is the only way to avoid that mid-project realization that you’re missing one crucial piece.
- 2. Start by cutting your 2x4s into the lengths you need for the legs and the frame. If you don’t have a miter saw, don’t sweat it; a simple hand saw works if you have the patience. I like to keep my legs at about 34 to 36 inches depending on my height, but the goal is to find a height where you aren’t hunching over your projects.
- 3. Now, build the outer frame. Lay out your long pieces and your short end pieces on the floor to form a rectangle. Before you drive any screws, apply a thin bead of wood glue to the joints. It might feel like an extra step, but the glue is what actually holds the structure together over time, while the screws just act as clamps while it dries.
- 4. Once the frame is assembled, attach your legs. I find it easiest to stand the legs up inside the corners of your frame and screw through the frame into the wood. Make sure you’re using a square—or even just the corner of a book—to ensure everything is perfectly upright. If your legs are wonky now, your whole workbench will wobble forever.
- 5. Next, add your middle support stretchers. These are the long pieces of 2×4 that run between the legs near the bottom. They add a massive amount of lateral stability to the build. Without these, your workbench might start to sway or “rack” the first time you start hammering something heavy.
- 6. It’s time for the tabletop. Lay your plywood sheet over the top of the frame. I recommend letting it overhang the edges by an inch or two; this gives you a little extra workspace and prevents you from constantly knocking your knuckles against the frame while you work. Screw the plywood down into the frame every 8 to 12 inches to keep it flat.
- 7. Finally, give it a quick once-over. If there are any rough spots on the plywood, hit them with a bit of sandpaper so you don’t get a splinter mid-task. You don’t need to paint or stain it unless you really want to; I prefer the raw, functional look. Now, clear off the dust, grab your tools, and actually start using the thing.
Choosing Sturdy Workbench Materials Without Breaking the Bank
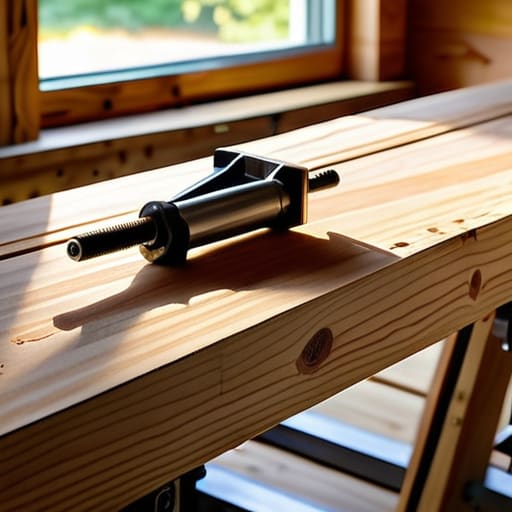
Look, you don’t need to head to a high-end boutique lumber yard to get this done. When I was first setting up my small apartment workshop, I realized quickly that fancy hardwoods are a massive waste of money for a first build. Instead, focus on finding sturdy workbench materials like construction-grade pine or even thick plywood scraps. It’s not about how pretty the grain looks; it’s about mass and stability. If the wood is heavy enough to stay put when you’re sawing or drilling, you’ve already won half the battle.
One thing I learned the hard way is that a heavy duty workbench design relies more on how you join the pieces than the price tag of the wood itself. Don’t get distracted by overly complex woodworking workbench plans that call for expensive joinery. Stick to basic, solid fasteners and thick dimensional lumber. If you can find some leftover 2x4s or even heavy-duty MDF for the top, grab them. The goal is to create a solid surface that doesn’t shake every time you pick up one of your essential woodworking tools, all without draining your savings.
Smart Heavy Duty Workbench Design for Real Work
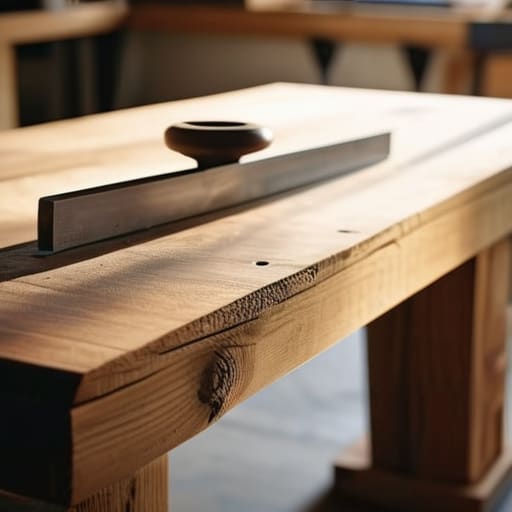
When you’re actually standing there with a project in front of you, you realize that a workbench isn’t just a table; it’s your primary workstation. If you’re looking at different woodworking workbench plans, don’t get distracted by the fancy ones that look like museum pieces. For real-world use, a heavy duty workbench design needs to prioritize mass and stability over aesthetics. I’ve learned the hard way that if your bench wobbles even a fraction of an inch while you’re sawing or sanding, you’re going to lose your rhythm—and potentially a finger. Aim for a design that keeps the center of gravity low to prevent that annoying rocking motion.
Another thing to keep in mind is how you’ll actually interact with the space. Think about your garage workshop organization and how much room you have to move. You don’t need a massive island if you’re working in a tight corner, but you do need a surface that can handle some abuse. I always suggest leaving enough clearance for your legs and ensuring the height is comfortable for the specific tasks you do most. If you build it with intentionality, it becomes a tool in itself rather than just a piece of furniture.
Five Pro Moves to Keep Your Workbench From Falling Apart
- Prioritize stability over everything else. If your bench wobbles every time you hammer a nail, you’re going to end up frustrated and probably injured. Use heavy-duty fasteners and make sure your legs are braced properly so it stays rock solid.
- Think about your height before you start drilling. There’s nothing worse than building a bench that’s too low, forcing you to hunch over and kill your back. Aim for a height that lets you work comfortably without straining your shoulders.
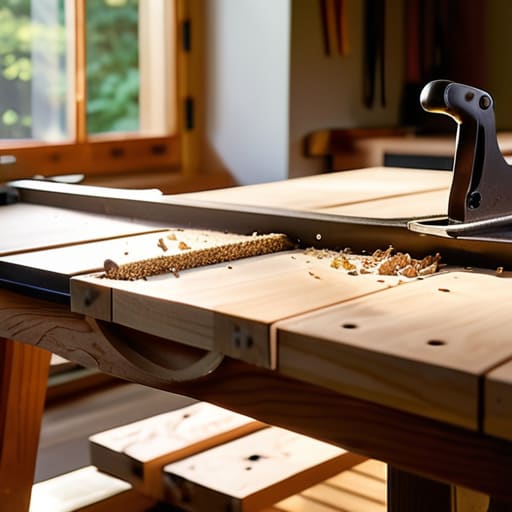
- Don’t skip the clamping points. Whether it’s a built-in vise or just some sturdy edges designed to hold a C-clamp, having ways to secure your project is the difference between a professional result and a messy struggle.
- Leave room for the mess. If you’re working in a small apartment or a cramped garage, plan for a way to clear out sawdust or scraps quickly. A simple undershelf or a dedicated spot for a shop vac will save you a massive headache later.
- Keep the top replaceable. Your workbench is going to take a beating—saw cuts, spills, and heavy impacts are part of the job. Instead of building the whole thing out of expensive hardwood, use a thick sacrificial layer of plywood or MDF that you can swap out when it finally gives up the ghost.
The Bottom Line
Don’t get paralyzed by perfection; a solid, functional bench built from budget-friendly materials is infinitely better than a dream project that never leaves the paper.
Prioritize stability and weight capacity over aesthetics—your workbench is a tool meant to take a beating, not a piece of showroom furniture.
Focus on smart, heavy-duty design choices now so you don’t have to rebuild the whole thing in six months when your projects get serious.
The Real Goal of a Workbench
A workbench isn’t a trophy for your garage or a Pinterest project; it’s a tool meant to take the friction out of your day. If it’s sturdy enough to hold your weight and simple enough that you aren’t afraid to get it dirty, you’ve already won.
Julian Reese Miller
Get to Work
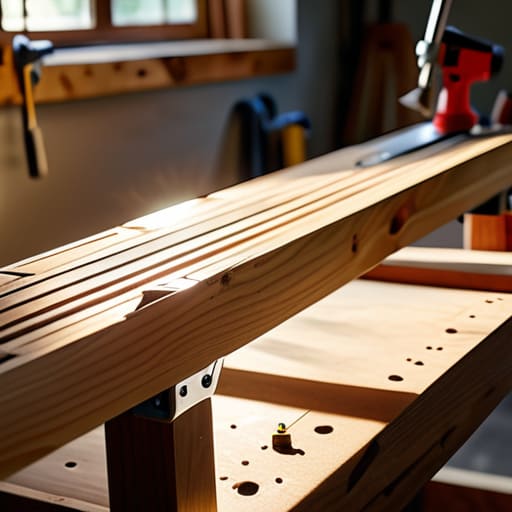
Building this workbench doesn’t require a master carpenter’s license or a mountain of expensive hardwoods. We’ve covered how to pick out budget-friendly, heavy-duty materials that won’t wobble when you’re actually using them, and more importantly, how to design a workspace that actually fits your specific needs. Remember, the goal wasn’t to build a museum piece; it was to create a functional foundation for your projects. By focusing on structural integrity over aesthetics, you’ve managed to build something that is both sturdy and incredibly cost-effective. Now that the heavy lifting of the planning and sourcing is out of the way, you’re left with a solid piece of gear that’s ready to take a beating.
At the end of the day, the workbench is just a tool, but it’s the tool that makes everything else possible. Don’t get caught in a loop of “perfecting” the finish or obsessing over every single screw—just get it assembled and start creating. Whether you’re fixing a vintage synth or finally tackling that home repair you’ve been putting off, you now have a dedicated space to do it. The most important part of this entire process isn’t the wood or the hardware; it’s the fact that you actually built something with your own two hands. Now, put that multi-tool away and get to work.
Frequently Asked Questions
Do I really need a power drill for this, or can I get away with a manual screwdriver?
Look, you can technically use a manual screwdriver, but honestly? You’re going to regret it halfway through. Building a workbench involves driving a lot of long screws into dense material, and that’s where your wrists are going to pay the price. If you’re on a tight budget, grab a decent, entry-level cordless drill. It’ll save you an hour of frustration and a lot of physical strain. Trust me, your hands will thank you.
What’s the best way to keep the workbench from wobbling if I’m working on a hardwood floor?
If you’re working on hardwood, you’ve got two enemies: wobbling and floor damage. First, grab some heavy-duty adjustable leveling feet; they’re a lifesaver for uneven spots. To protect your floors, don’t just set the bench down—slap some thick rubber caster cups or a high-density EVA foam mat underneath. It absorbs the vibration from your tools and keeps the bench from “walking” across the room while you’re sawing. Simple, stable, and floor-friendly.
How do I stop the surface from getting totally ruined the first time I use it for a real project?
Look, I’ve ruined more surfaces than I care to admit, usually by being too precious about them. If you want to protect your hard work without overcomplicating things, just throw a sacrificial layer on top. A thick piece of scrap plywood or even a heavy-duty rubber mat works wonders. It takes the brunt of the impact and the spills so your actual workbench stays solid. Don’t overthink it—just protect the surface and get to work.