 DIY
DIY
High-end Looking Furniture Upcycling Projects
I used to look at a scratched-up wooden nightstand or a wobbly thrift store chair and see nothing but a headache. It’s easy to feel like you need a massive workshop and a professional degree just to make something look decent, but that’s a trap. Most of the time, we let perfectly good pieces sit in the corner or end up in a landfill simply because we don’t know where to start. I’ve realized that finding creative upcycling furniture ideas isn’t about buying expensive equipment; it’s about working smarter with what you already have to stop the cycle of buying cheap, disposable junk.
In this post, I’m stripping away the fluff and giving you five practical, low-stress projects that actually yield results. We’re going to skip the complicated woodworking tutorials and focus on high-impact changes that fit into a busy schedule. Whether you want to refresh a tired bookshelf or breathe life into an old side table, these five upcycling furniture ideas will show you exactly how to transform your space without breaking the bank or losing your entire weekend to a DIY project.
Table of Contents
- Swap the Hardware for an Instant Upgrade
- Give Old Chairs a Second Life with Fabric
- The Magic of Contact Paper
- Sand, Stain, and Simplify
- Add Legs to Change the Silhouette
- The Bottom Line on Flipping Your Old Gear
- The Real Goal of Upcycling
- Getting Started Without the Stress
- Frequently Asked Questions
Swap the Hardware for an Instant Upgrade
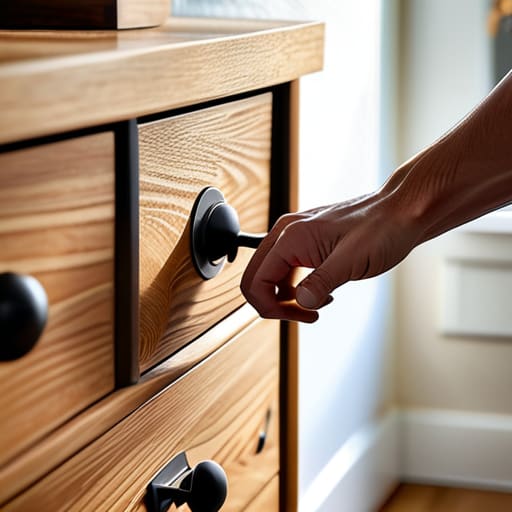
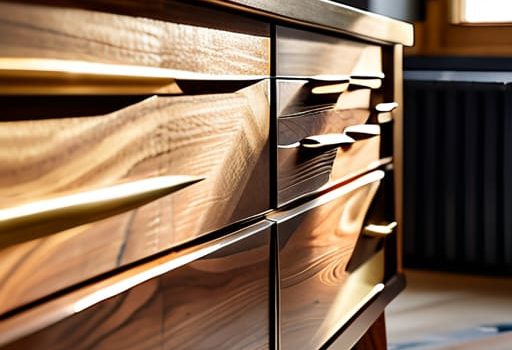
We’ve all been there: you find a solid wood nightstand at a thrift store, but the dated, brass-plated handles make it look like it belongs in a 1980s hotel room. Instead of committing to a full sanding and staining project, just swap the hardware. It’s the lowest effort way to change the entire vibe of a piece, and honestly, it’s one of the most satisfying “quick wins” you can get.
Give Old Chairs a Second Life with Fabric
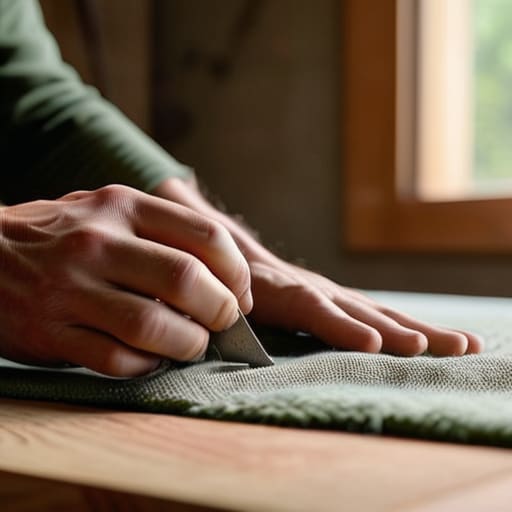
If you have a dining chair with a frame that’s still sturdy but a seat that looks like it’s seen better decades, don’t toss it. Most of the time, the wooden structure is perfectly fine; it’s just the upholstery that’s failed. You can re-cover the seat yourself using a heavy-duty fabric and a staple gun, which is a tool I practically consider an extension of my hand at this point.
The Magic of Contact Paper
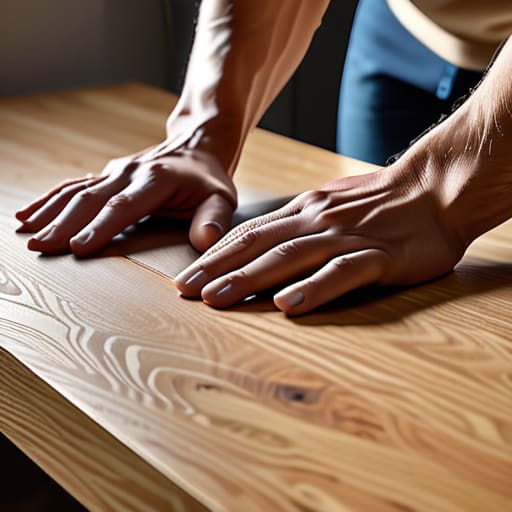
I know, I know—contact paper sounds like something your mom used to line the kitchen drawers with. But hear me out: high-quality, textured vinyl contact paper is a total game changer for cheapening the look of laminate or particle board furniture. If you have a desk or a coffee table that looks a bit “college dorm,” a good wrap can hide those scratches and fake wood grains instantly.
Sand, Stain, and Simplify
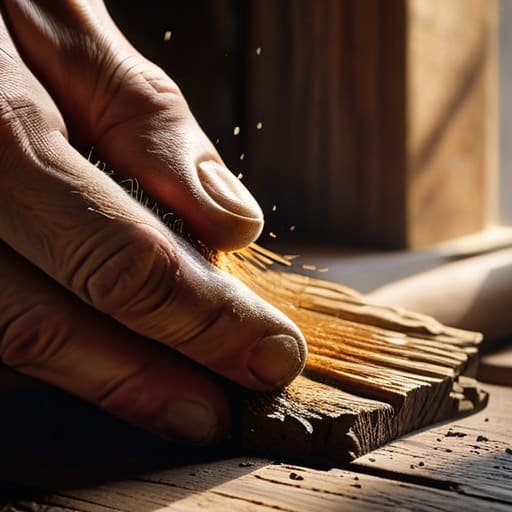
Sometimes a piece of furniture is actually great, it’s just buried under layers of thick, ugly varnish or a color that doesn’t fit your life. This is where I lean into my DIY roots. Instead of trying to paint over everything—which can often look cheap if you don’t do it perfectly—I prefer to strip it back to the grain. A little bit of sanding can reveal the beautiful, natural wood underneath that’s been hiding for years.
Add Legs to Change the Silhouette
One of my favorite ways to transform a bulky, dated piece is to simply change its “stance.” If you have an old, heavy-looking cabinet or a low-profile ottoman, adding tapered mid-century legs can lift the whole thing up and make it feel much lighter. It changes the way the piece interacts with the floor and can actually make a small room feel less cramped.
The Bottom Line on Flipping Your Old Gear
Don’t overthink the “perfect” project; start with one piece of furniture you already own to build your confidence and your toolkit.
Focus on high-impact, low-effort changes like new hardware or a fresh coat of paint rather than getting bogged down in complex structural repairs.
The goal isn’t to create a museum piece, but to make your space functional and stylish without draining your bank account or your entire weekend.
The Real Goal of Upcycling
Upcycling isn’t about becoming a master carpenter or spending your entire weekend covered in sawdust; it’s about looking at a piece of junk and seeing a way to make your space work for you without emptying your bank account.
Julian Reese Miller
Getting Started Without the Stress
At the end of the day, upcycling isn’t about achieving perfection or turning your living room into a museum-grade showroom. Whether you’re just swapping out some hardware on an old nightstand, giving a tired chair a fresh coat of paint, or completely transforming a thrift store find with some sandpaper and grit, the goal is the same: making your space work for you. You don’t need a workshop full of expensive power tools or a massive budget to see results. By focusing on these simple, high-impact changes, you can breathe new life into your home without the headache of a full-scale renovation.
I know how easy it is to look at a piece of “junk” and feel overwhelmed, but I promise you, the intimidation is usually just in your head. Don’t let the fear of making a mistake keep you from trying something new. If a paint job goes a little wonky or a handle sits slightly crooked, it just adds character to a piece that is uniquely yours. My advice? Pick one small project this weekend, grab your tools, and just start moving. You’ll realize pretty quickly that being capable is a lot more fun than being perfect, and you’ll have more time to actually enjoy the space you’ve built.
Frequently Asked Questions
I found a great piece at a thrift store, but how do I know if the wood is real or just cheap veneer before I start?
That’s the million-dollar question. Before you commit to a weekend of sanding, do a quick scan of the edges. Real wood usually has a consistent grain that wraps around the corners. If you see a seam where the pattern suddenly stops or looks like a sticker, it’s veneer. You can also try the “scratch test” on a hidden spot—if you hit a different color or a layer of particle board underneath, you’re dealing with veneer.
What’s the absolute bare minimum tool kit I need to get started so I’m not spending a fortune on gear?
Look, don’t get sucked into the “pro-grade” trap. You don’t need a garage full of heavy machinery to see real results. For most of my projects, I stick to a solid screwdriver set (Phillips and flathead), a hammer, a tape measure, and a utility knife. If you can afford one more thing, grab a cordless drill. That’s it. Keep it simple, keep it functional, and save your money for the actual materials.
How do I make sure my DIY paint job doesn't end up looking like a messy craft project after a week?
Look, I’ve definitely been there—spending a Saturday painting a side table only to have it look like a toddler’s finger painting by Tuesday. The secret isn’t a magic brush; it’s prep and patience. Don’t skip the sanding or the primer, even if you’re in a rush. And for the love of everything, let each coat dry completely before hitting it again. If you rush the drying time, you’re just asking for a sticky, uneven mess.