 DIY
DIY
Get Professional Results When Painting a Room
I was standing in the middle of my first apartment, staring at a wall the color of bruised bananas, holding a cheap roller and wondering why my “easy weekend project” had turned into a literal nightmare. I’d skipped the taping, ignored the primer, and within twenty minutes, I had more drips on my floor than actual color on the drywall. Most people think that learning how to paint a room is all about picking a pretty color and grabbing a brush, but that’s a lie. The truth is, if you don’t respect the prep work, you aren’t painting; you’re just making a mess that you’ll have to fix later.
I’m not here to sell you on a professional-grade setup that costs more than your monthly rent, nor am I going to give you a lecture on color theory. My goal is to show you the most efficient, no-nonsense way to get a clean, professional finish without losing your entire weekend to frustration. I’ll walk you through the exact tools you actually need, how to prep your space so you aren’t scrubbing paint off the floor for hours, and the little tricks I’ve learned to keep things moving quickly. Let’s get this done so you can actually get back to living.
Table of Contents
Guide Overview
Tools & Supplies
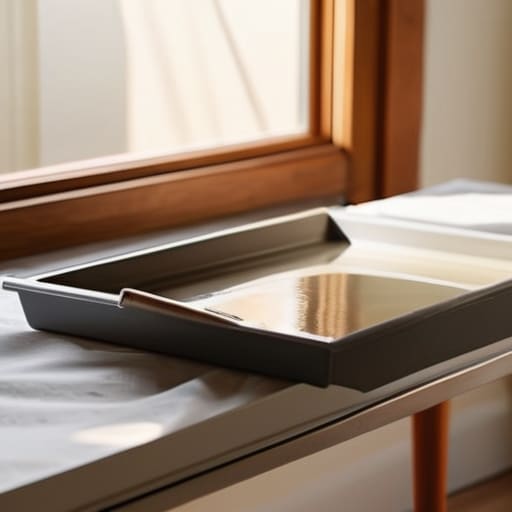
- Paint roller and tray for large surfaces
- Angled brush for edges and corners
- Painter's tape for clean lines
- Drop cloths to protect flooring
- Interior paint (1-2 gallons)
- Painter's tape (1 roll)
- Sandpaper (1 pack)
- Spackle (1 small container)
Step-by-Step Instructions
- 1. First, you need to clear the deck. Move your furniture to the center of the room and cover it with old sheets or plastic drop cloths. Don’t just throw some newspaper on the floor and call it a day; tape down your drop cloths at the edges so they don’t slide around while you’re walking. You want to spend your time painting, not scrubbing dried splatters out of your hardwood floor later.
- 2. Next, tackle the walls. Grab a damp cloth and wipe away any dust or cobwebs. If you’ve got scuffs or small holes from old picture frames, hit them with a bit of spackle and a putty knife. Once that’s dry, sand it down until it’s perfectly flush with the wall. If you skip this, your new paint job will basically act like a high-definition spotlight for every single imperfection.
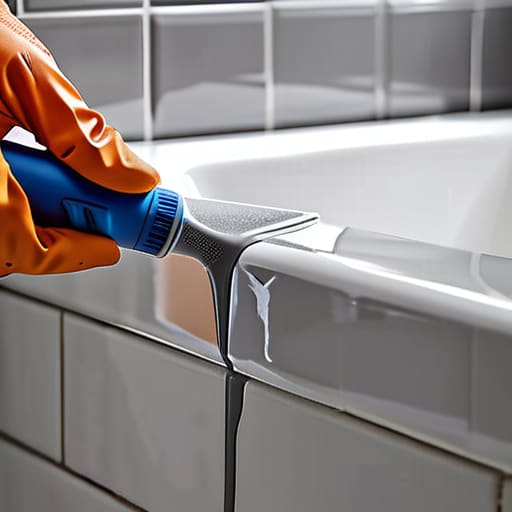
- 3. Now, get your tape ready. This is where most people get sloppy. Use painter’s tape to line the baseboards, the ceiling edge, and the window frames. I know it feels tedious, but here’s a pro tip: run your fingernail (or a putty knife) firmly along the edge of the tape to seal it tight. This prevents that annoying “bleed” where the color seeps under the tape and ruins your clean lines.
- 4. It’s time to “cut in.” Before you touch a roller, take a high-quality angled brush and paint a two-inch border around the edges of the room—along the ceiling, corners, and trim. This is the most precise part of the job, so take your time. You’re essentially creating a frame of color that the roller will eventually fill in.
- 5. Grab your roller and get to work. Start with the largest sections of the wall, moving in small, consistent strokes. I like to work in a “W” or “M” pattern to ensure the paint is distributed evenly before I go back over it to smooth it out. Don’t try to cover everything in one massive, heavy coat; it’s much better to do two thin, even layers than one thick, gloopy one that ends up dripping.
- 6. Let it breathe. This is the hardest part for me because I want to see the finished product immediately, but you have to wait for the first coat to dry completely before starting the second. If you rush this, you’ll just pull the first layer right back off the wall with your roller. Once it’s dry, repeat the rolling process for the final coat.
- 7. Finally, the “exit strategy.” While the second coat is still slightly tacky, carefully peel away your painter’s tape. Don’t wait until the paint is bone-dry to pull it off, or you might actually rip chunks of paint right off the wall. Pull the tape at a 45-degree angle, clean up your brushes, and get ready to actually enjoy your newly transformed space.
Your Essential Painting Supplies Checklist for Getting It Done

Look, I’ve learned the hard way that the difference between a weekend project and a total nightmare usually comes down to what you have in your kit before you even open a can. You don’t need a professional-grade setup, but you do need the right tools to avoid frustration. My personal essential painting supplies checklist always starts with high-quality painter’s tape and heavy-duty drop cloths. If you’re skimping here, you’ll spend more time scrubbing drips off your floor than actually enjoying your new space.
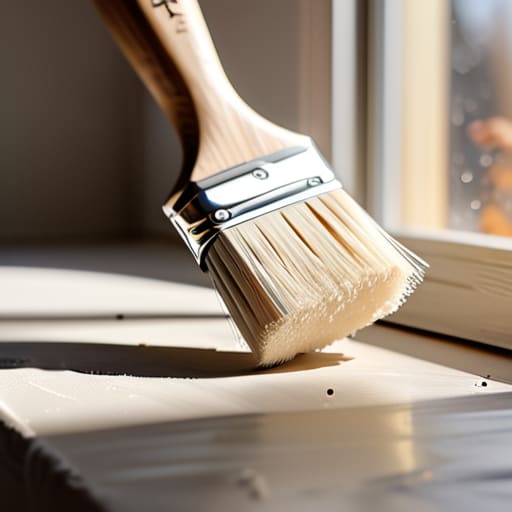
When it comes to the actual application, don’t buy the cheapest brushes in the bargain bin. Investing in a few decent brushes is the secret to finding the best paint brushes for a smooth finish without those annoying streaks that make a DIY job look amateur. I also recommend grabbing a small angled brush specifically for when you eventually learn how to cut in edges with paint. It makes the transition between the ceiling and the wall much cleaner. Grab a tray, a roller with a medium nap, and a sturdy ladder, and you’re basically ready to roll.
How to Prep Walls for Painting So You Dont Regret It
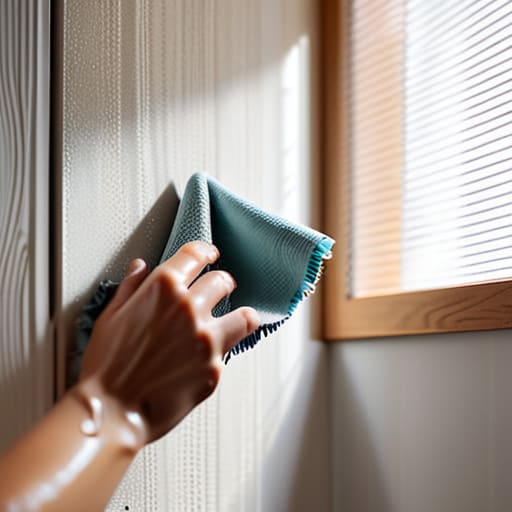
Look, I know the temptation to grab a roller and just start slapping color on the walls is real, especially when you’re staring at a weekend that feels too short. But if you skip the prep, you’re basically setting yourself up for a massive headache. I’ve learned the hard way that trying to hide a hole or a smudge with a fresh coat of paint is a losing battle. To do this right, you need to start by cleaning the surfaces. Dust, cobwebs, and even a little bit of kitchen grease can prevent your new color from actually sticking. Grab a damp cloth and a mild cleaner; it’s a small investment of time that pays off in a flawless finish.
Once the walls are clean, it’s time for the heavy lifting: patching and sanding. If you have any nail holes or dents, fill them with a bit of spackle, let it dry, and then sand it down until it’s perfectly flush with the wall. If you can feel a bump with your fingertip, you’re going to see it under the light once the paint is on. Also, don’t forget about protecting furniture while painting. I always move everything to the center of the room and throw down some drop cloths. It’s much easier to move a chair now than it is to scrape dried latex off your hardwood floor later.
Five Ways to Avoid a DIY Disaster
- Test your colors on the actual wall, not just a tiny swatch. Lighting in a showroom is nothing like the weird, afternoon sun hitting your living room, and a color that looks “calm beige” in the store can quickly turn into “hospital hallway” once it’s on all four walls.
- Don’t try to be a hero and skip the painter’s tape. It takes an extra ten minutes to lay it down, but it’s the difference between a clean, professional edge and a messy line that makes you want to stare at the wall in frustration for weeks.
- Work in small sections. If you try to roll the entire wall at once, you’ll end up with those awkward lap marks where the paint dries unevenly. Think of it like a small project management task: tackle one section, keep it wet, and move to the next.
- Keep your tools organized. I know it sounds tedious, but having a dedicated tray for your brushes and a spot for your rollers prevents the “where did I put the scraper?” panic halfway through the job. Efficiency is everything.
- Invest in a decent quality roller cover. The cheap, fuzzy ones leave tiny bits of lint all over your fresh paint, and honestly, you’ll spend more time picking them off than you would have spent just buying the better version the first time.
The Bottom Line
Don’t skimp on the prep work; spending an extra hour cleaning and taping now saves you from a weekend of fixing drips and peeling edges later.
Buy quality tools, not just cheap ones—a decent brush and roller make the actual painting process much faster and way less frustrating.
Focus on the process, not perfection—if you follow the steps and don’t rush the drying times, you’ll end up with a professional look without the professional price tag.
The Golden Rule of DIY
“Don’t let the sheer scale of a project paralyze you. You aren’t ‘painting a house’; you’re just covering one wall at a time. Focus on the process, respect the prep work, and I promise you’ll be sitting on your new couch with a drink in your hand much sooner than you think.”
Julian Reese Miller
The Finish Line
At the end of the day, painting a room isn’t about achieving some impossible, museum-quality perfection. It’s about the execution. If you followed the steps—investing in the right gear, taking the time to prep those surfaces, and being patient with your drying times—you’ve already done the heavy lifting. Remember, the secret to a professional look isn’t a fancy technique; it’s simply not cutting corners during the messy stages. Once you’ve cleaned up your brushes and tucked your drop cloths away, you’ll see that all that effort was just a small price to pay for a space that actually feels like yours.
Now that the rollers are clean and the smell of fresh paint is finally fading, take a second to actually sit in the room. You didn’t just change a color on a wall; you reclaimed a part of your home and proved to yourself that you can handle the “adulting” tasks that usually feel so overwhelming. Don’t let the small stuff intimidate you moving forward. Whether it’s a new coat of paint or a bigger DIY project, you’ve got the tools and the roadmap to get it done. Now, go grab a drink, kick your feet up, and enjoy your new view.
Frequently Asked Questions
How many coats of paint do I actually need before it looks finished?
The short answer? Usually two. For most standard projects, a primer followed by two coats of quality paint is the sweet spot for a smooth, even finish. However, if you’re making a massive jump—like going from a dark navy to a pale cream—you might need a third coat or a heavy-duty primer to avoid streaks. Don’t try to cheat by doing one thick, sloppy coat; it’ll just drip and look terrible.
Is it worth spending the extra money on high-end brushes, or can I get away with the cheap stuff?
Look, I’ve used the cheap, $2 brushes, and I’ve used the professional ones. If you’re just doing a quick touch-up, save your money. But if you’re painting an entire room, buy the good stuff. Cheap bristles tend to shed like crazy, leaving tiny hairs stuck in your fresh paint, which is a nightmare to fix. A decent brush is an investment in your sanity—it makes the job faster and the finish much smoother.
How do I fix those annoying little drips or spots I missed without repainting the whole wall?
Don’t panic—you haven’t ruined the wall. If it’s just a tiny drip or a missed spot, grab a small artist’s brush or a tiny foam roller. Don’t just glob more paint on there; you’ll end up with a visible bump. Instead, “feather” the edges. Start at the center of the spot and lightly brush outward toward the dry paint, thinning the application as you go. It blends the new layer into the old so it disappears.