 DIY
DIY
Create Stunning Diy Wall Art That Looks Professionally Made
I used to think that if I wanted my apartment to look like something out of a design magazine, I’d have to spend a small fortune at a high-end boutique or spend months mastering a specialized craft. I’d stare at those massive, empty white walls in my living room, feeling like I was missing some secret manual on how to make wall art that didn’t look like a cheap dorm room project. But here’s the truth I learned while living on a budget: you don’t need an art degree or a massive studio to create something that actually feels like home. You just need a few basic supplies and the willingness to stop overthinking it.
In this guide, I’m stripping away the fluff and the intimidation factor. I’m going to show you a few low-stress, high-impact methods to get custom pieces on your walls without draining your bank account or turning your kitchen into a disaster zone. Whether you’re working with minimalist prints or textured abstracts, my goal is to give you the exact steps to finish the job quickly so you can get back to living.
Table of Contents
Guide Overview
Tools & Supplies
- Paintbrush [various sizes for application]
- Palette knife [for texture and mixing]
- Pencil [for sketching designs]
- Canvas [1 medium size]
- Acrylic paint [set of 5-10 colors]
- Gesso [1 small jar for priming]
- Painter's tape [1 roll for geometric edges]
Step-by-Step Instructions
- 1. First, figure out your vibe and your budget. Don’t go overboard trying to replicate a gallery in a museum; just decide if you want something minimalist like line art, something textural like canvas painting, or even just a curated collection of vintage postcards. I usually tell myself to keep it simple so I don’t end up with a half-finished mess taking up space on my dining table.
- 2. Gather your supplies before you actually start. If you’re going the painting route, grab some basic acrylics, a few brushes, and a canvas. If you’re doing something more low-key, like framed prints, you just need some decent frames and some high-quality paper. I always keep a small multi-tool in my pocket, which actually comes in handy for tightening loose frame screws or trimming excess paper.
- 3. Map out your layout on the floor first. This is the step most people skip, and it’s usually why their walls end up looking cluttered or lopsided. Lay your pieces out on the rug to see how they interact with each other and the scale of your room. It’s much easier to move a piece of paper around on the floor than it is to patch a hole in your drywall later.
- 4. If you’re creating something from scratch, like an abstract piece, don’t overthink the process. Start with a base color and layer as you go. I’ve found that working with a limited color palette—maybe just three or four tones—makes the whole thing look more intentional and less like a kid’s finger painting. Just let the medium do the work and trust your gut.
- 5. Prep your wall for the real deal. Use a pencil to lightly mark where the corners of your frames will sit. If you’re hanging something heavy, skip the flimsy adhesive strips and go for actual nails or hooks. I’m a big believer in doing it right the first time so you aren’t constantly readjusting things every time you walk past them.
- 6. Level it out. This is where the precision comes in. Use a level (or a leveling app on your phone if you’re in a pinch) to ensure everything is straight. There is nothing more distracting than a crooked frame, and it’ll drive you crazy every time you look at it. Once it’s straight, secure it firmly and take a step back to admire the work.
- 7. Step back and evaluate the final look. If one piece feels a little “off,” move it or swap it out. The goal here isn’t perfection; it’s about making your space feel like yours. Once it looks good, put your tools away and get back to your life.
Budget Friendly Art Projects for a High End Look
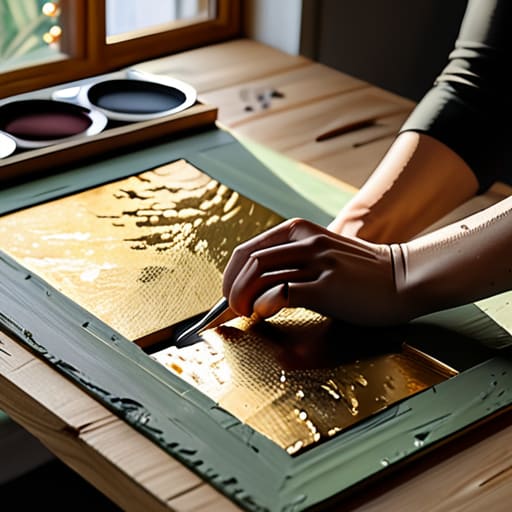
Look, I’ve spent enough time in small city apartments to know that you don’t need a massive budget to make a space feel intentional. You can achieve a high-end aesthetic without draining your savings if you know where to look. One of my favorite budget friendly art projects involves repurposing old, thrifted frames. Don’t worry if the wood is scratched or the color is dated; a quick sand and a coat of matte black paint can turn a $5 eyesore into something that looks like it belongs in a boutique hotel.
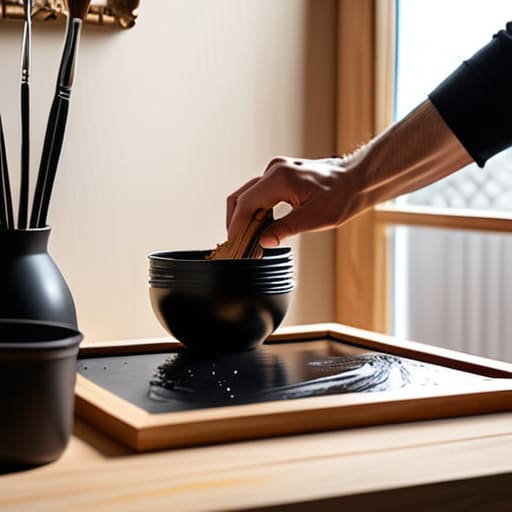
If you’re feeling a bit more creative, try experimenting with some simple abstract canvas painting techniques. You don’t need a studio full of professional oils—just some basic acrylics and a palette knife (or even an old credit card) to create texture. Focus on a limited color palette, like neutrals and deep earth tones, to keep things looking sophisticated rather than cluttered. The goal isn’t to create a masterpiece for a museum, but to add texture and depth to your walls so your home feels curated, not just decorated.
Easy Craft Ideas for Beginners Without the Mess
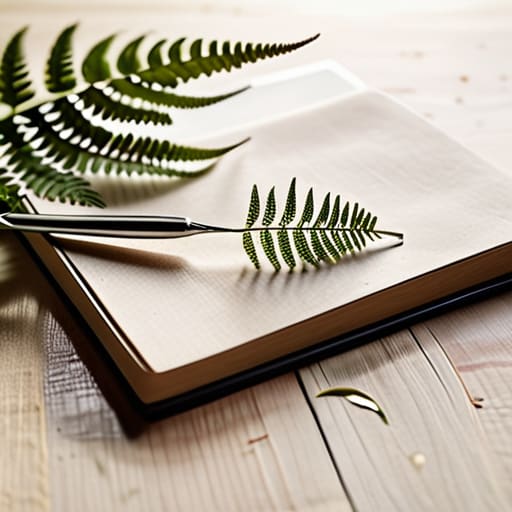
If you’re someone like me who prefers a clean workspace over a chaotic one, you probably want to avoid the whole “paint everywhere” scenario. I get it. You want the aesthetic without having to spend your entire Saturday scrubbing acrylic stains out of your rug. One of my favorite easy craft ideas for beginners is working with pressed botanicals. All you need is a heavy book, some decent tweezers, and a few interesting leaves or flowers from your last walk. It’s clean, quiet, and looks incredibly sophisticated once you frame them in simple glass frames.
Another way to level up your space without the cleanup is leaning into paper-based projects. You can create a stunning modern home gallery wall using nothing more than high-quality cardstock and some geometric stencils. Instead of dipping brushes into messy palettes, you’re just cutting, layering, and sticking. It’s a controlled, precise way to add texture to your room, and the best part is that you can pack everything away in a single bin when you’re done. No fumes, no spills, just straightforward results.
Pro Tips to Keep Your Projects from Becoming a Headache
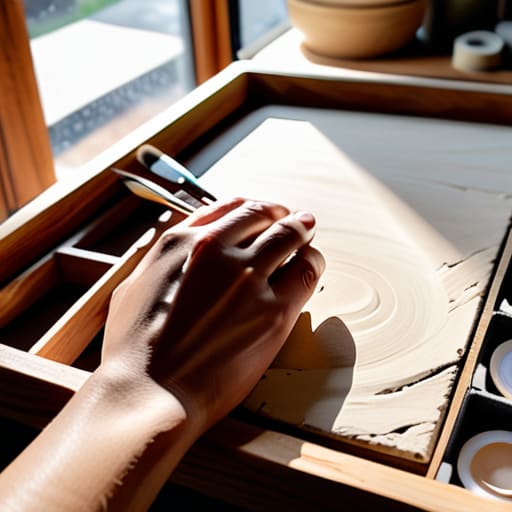
- Don’t overthink the “art” part. Sometimes a collection of vintage postcards or even some interesting textured fabric framed in a simple wood frame looks better than a failed attempt at a painting.
- Measure twice, hang once. Before you go drilling holes in your apartment walls, use painter’s tape to mark out the dimensions on the wall. It’ll save you from that mid-project panic when things don’t line up.
- Stick to a cohesive color palette. If you’re making multiple pieces, try to pull one or two consistent colors from each. It makes a random assortment of DIY projects look like a curated gallery wall rather than a cluttered mess.
- Lighting is your secret weapon. You can make a ten-dollar canvas look like a hundred-dollar piece just by positioning it near a window or adding a cheap battery-operated picture light.
- Embrace the “good enough” rule. If you’re spending your entire Saturday obsessing over a single brushstroke, stop. The goal is to decorate your space, not to start a second career as a professional artist.
The Bottom Line
Don’t overthink the “art” part; focus on the process and use what you already have around the house to keep costs low.
Start with low-mess, low-stakes projects to build your confidence before you dive into anything that requires a heavy toolkit or a massive cleanup.
The goal isn’t to create a masterpiece for a gallery—it’s about making your space feel like yours without wasting your entire weekend on it.
The Philosophy of a Blank Wall
“Don’t let the fear of a blank canvas or a tight budget stop you from making a space feel like yours. Wall art isn’t about buying something expensive to impress people; it’s about the simple satisfaction of looking up and seeing something you actually created with your own two hands.”
Julian Reese Miller
Final Thoughts Before You Hang It Up
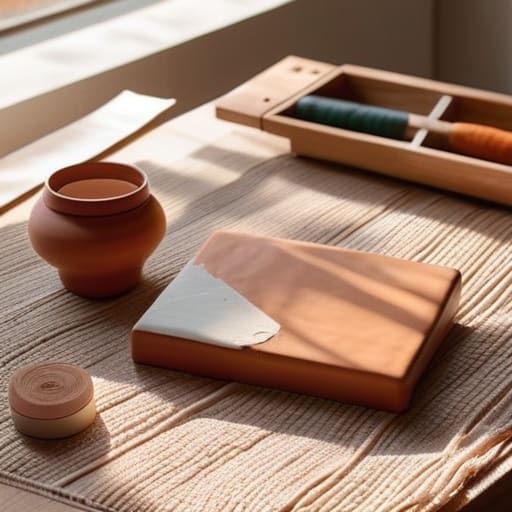
At the end of the day, making your own wall art isn’t about achieving some impossible level of perfection or having a studio filled with expensive equipment. We’ve covered how to keep things low-budget, how to avoid a massive cleanup, and how to pull off a high-end look using nothing more than basic supplies. Whether you went the minimalist route with simple geometric shapes or tried something more textured, the goal was always the same: to personalize your space without letting the process turn into a weekend-long headache. You’ve got the tools and the steps, so don’t let the fear of a crooked frame or a stray paint smudge stop you from finishing the job.
Your home should be a reflection of your life, not a showroom for things you bought just because they were on sale. Even if your first attempt feels a little “unpolished,” it’s yours, and that’s what actually matters. The real win here isn’t just the art on the wall; it’s the fact that you took control of your environment and made something from scratch. So, grab that multi-tool, hang your new creation, and get back to enjoying your space. You’ve earned the right to sit back and relax in a room that actually feels like home.
Frequently Asked Questions
How do I figure out what size art actually works for my wall without it looking tiny or overwhelming?
The “tiny art on a massive wall” look is a rookie mistake that kills a room’s vibe. To avoid it, use the 2/3 rule: your art (or grouping) should take up about two-thirds of the available wall space. If you’re hanging something above a sofa, aim for that width. Pro tip: tape some painter’s tape or newspaper cutouts to the wall first. It lets you visualize the scale before you’re committing to hammer holes.
What’s the best way to hang these projects if I'm renting and can't go drilling holes everywhere?
Look, I’ve been there. My security deposit is precious, and I’m not about to lose it over a piece of DIY art. If you’re renting, skip the drill and grab some Command Strips—they’re the gold standard for a reason. For heavier frames, use adhesive heavy-duty hooks. If you’re going for a more relaxed vibe, lean your pieces against a bookshelf or use a tension rod. No holes, no stress, no landlord drama.
I’m worried about the "crafty" look—how do I make sure my DIY art looks intentional and not like something from a middle school art class?
I get it—nobody wants their apartment looking like a kindergarten classroom. The secret to avoiding that “crafty” vibe is restraint. Stick to a limited color palette and focus on scale; one large, cohesive piece always looks more intentional than five tiny, cluttered ones. Also, invest in decent framing. You can make even a simple textured canvas look like a gallery find if the frame is clean and the presentation is sharp. Keep it minimal.