 Home
Home
Designing a Productive Home Office You’ll Actually Enjoy Using
I used to think that building a productive workspace meant dropping two months’ rent on a “smart” standing desk and a chair that looks like it belongs in a sci-fi movie. I spent way too much time scrolling through aesthetic Pinterest boards, convinced that if my desk didn’t look like a minimalist museum, I wouldn’t be able to get any real work done. But here’s the truth: most of those expensive home office setup ideas you see online are just high-priced distractions designed to make you feel like your current setup is “wrong.” You don’t need a curated showroom to be effective; you just need a space that doesn’t actively work against you.
I’m not here to sell you on a lifestyle overhaul or a mountain of unnecessary tech gadgets. Instead, I’m going to give you the practical, no-nonsense blueprint for building a workspace that actually supports your workflow without draining your bank account. We’re going to focus on ergonomics, lighting, and organization—the stuff that actually matters—so you can stop fighting your environment and get back to living.
Table of Contents
The Real Ergonomic Desk Chair Benefits Youll Actually Feel
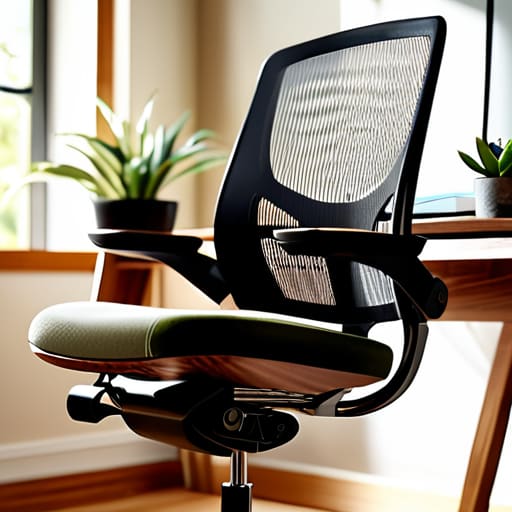
Look, I’ve spent more hours than I’d like to admit hunched over a desk, trying to finish a project while my lower back screamed at me. It’s easy to think a chair is just a place to sit, but when you’re working remotely, it’s actually your most important piece of equipment. The real ergonomic desk chair benefits aren’t about looking fancy or matching a minimalist desk aesthetic; they’re about preventing that mid-afternoon ache that makes you want to crawl out of your skin. A decent chair supports your spine so you aren’t fighting your own body just to stay focused.
When you invest in something with actual lumbar support and adjustable armrests, you aren’t just buying furniture—you’re buying stamina. I learned the hard way that a cheap kitchen chair is a recipe for a tension headache by 3:00 PM. A proper setup means your posture stays neutral, which keeps your blood flowing and your brain sharp. It’s one of those small, practical shifts in your productive home workspace design that pays massive dividends in how you actually feel at the end of the day.
Simple Remote Work Lighting Solutions for Every Budget
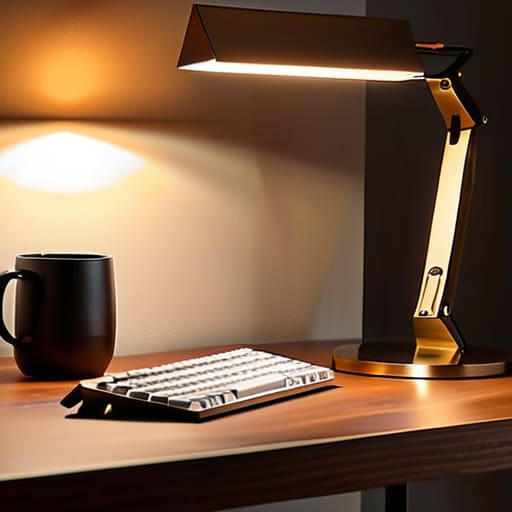
Most people overlook lighting until they realize they’ve been squinting at a screen for six hours and have a headache to prove it. You don’t need a professional studio setup to fix this; you just need to stop fighting the shadows. If you’re working in a tight corner, look into remote work lighting solutions that prioritize vertical space. A simple, slim LED desk lamp with adjustable color temperatures can make a massive difference. I prefer a warmer tone for late-afternoon sessions to keep things cozy, but switching to a cooler, brighter light can help you snap into focus when you’re hitting a mid-day slump.
If you’re working with a tighter budget, don’t underestimate the power of natural light. Position your desk near a window, but try to keep the light source to your side rather than directly in front of or behind you to avoid glare. For those aiming for a minimalist desk aesthetic, consider a monitor light bar. These clip right onto the top of your screen, saving precious surface area and providing even illumination without the clutter of a bulky lamp base. It’s a small tweak that keeps your workspace clean and your eyes feeling much better by 5:00 PM.
Small Changes to Stop Your Office From Feeling Like a Cubicle
- Stop the cable chaos. I used to have a literal nest of wires behind my desk that made me want to quit working every time I looked at it. Grab some cheap Velcro ties or even just some masking tape to bundle those cords together. If they aren’t visible and organized, they’re just mental clutter you don’t need.
- Get your screen to eye level. I spent months with a permanent kink in my neck because I was staring down at a laptop all day. You don’t need to buy a $100 monitor stand; just stack a few sturdy books under your laptop. It sounds silly, but it changes your entire posture instantly.
- Create a “brain switch” zone. If you work from your dining table, your brain never truly leaves the office. Try to have one specific item—a certain coaster, a desk lamp, or even a specific candle—that you only use during work hours. When that item is gone, work is officially over.
- Prioritize vertical space. If you’re working in a small apartment like I am, your desk surface is precious real estate. Stop letting papers and pens take up your workspace; get a cheap wall organizer or a small shelf above your desk. Keep the surface clear so you can actually think.
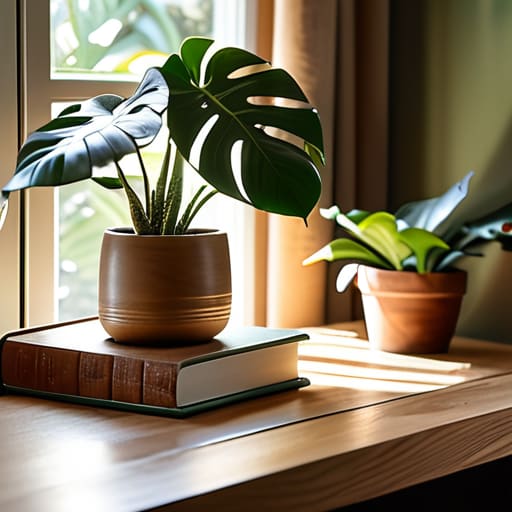
- Add one thing that isn’t “work.” A workspace shouldn’t feel sterile. I keep a small plant or one of my vintage synth components on my desk just to remind me that I’m a person, not just a project manager. It breaks up the monotony and makes the space feel like yours.
The Bottom Line for Your Workspace
Don’t overthink the gear; focus on things that actually support your body and reduce eye strain so you aren’t paying for it with a backache later.
You don’t need a professional studio setup to get good lighting—just a few smart, budget-friendly tweaks can stop the midday headaches.
Build your setup around how you actually work, not how an Instagram influencer says you should, to save yourself time and unnecessary stress.
## The Efficiency Mindset
“Your home office shouldn’t feel like a high-stakes showroom; it should feel like a well-oiled machine that handles the heavy lifting so you don’t have to.”
Julian Reese Miller
Getting Your Space in Gear
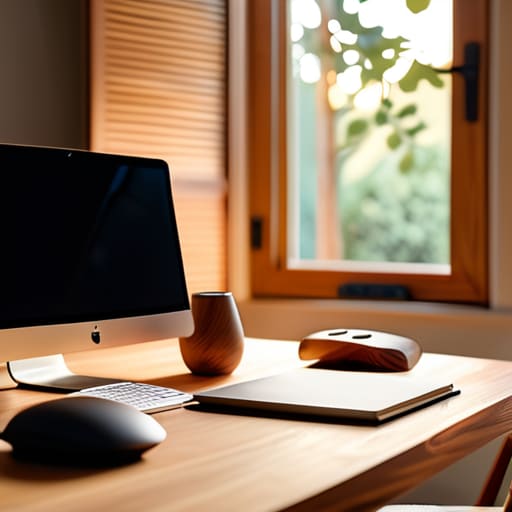
At the end of the day, building a functional home office isn’t about buying every gadget on a “must-have” list or recreating a high-end corporate suite in your spare bedroom. It’s about the fundamentals: getting a chair that doesn’t leave your back feeling like a crumpled piece of paper, ensuring you aren’t squinting under a harsh bulb, and organizing your desk so you aren’t fighting your environment just to find a pen. When you prioritize ergonomics and lighting, you aren’t just decorating; you are removing the friction that turns a standard workday into an exhausting marathon.
Don’t let the idea of a “perfect setup” paralyze you into doing nothing at all. You don’t need a massive budget or a professional interior designer to make your workspace feel like a place where you can actually get things done. Start with what you have, make one small adjustment this weekend, and build from there. The goal is to create a space that supports your work rather than draining your energy, so you can close your laptop at five and actually enjoy the rest of your life.
Frequently Asked Questions
I have a tiny apartment; how can I set up a workspace without it taking over my entire living area?
Look, I’ve lived in apartments where my desk felt like it was staring me down while I was trying to eat dinner. To keep your workspace from swallowing your life, think vertical or mobile. A slim ladder desk or even a sturdy floating shelf can save floor space. If you really want to reclaim your living room, get a rolling cart for your tech and supplies; when the workday ends, tuck it into a corner and shut it out of sight.
Is it actually worth investing in a standing desk, or is a regular desk fine if I just move around?
Look, I’ve spent way too many hours hunched over a synth or a laptop, so I get the dilemma. If you’re disciplined enough to stand up, stretch, and pace during calls, a regular desk is fine. But let’s be real: most of us forget to move. A standing desk isn’t a magic fix, but it removes the friction. It makes “getting up” an option rather than a chore you keep putting off.
How do I manage all these tangled cords and chargers without it looking like a mess every time I have someone over?
Cable spaghetti is the quickest way to make a professional workspace look like a disaster zone. I swear, I used to dread having people over because of the cord mess under my desk. Start with a simple cable management tray—you can screw one under your desk or just find a cheap one that clamps on. Use Velcro ties, not plastic zip ties (trust me, you’ll want to move things later), to bundle everything into neat channels. Keep it simple, keep it tucked away, and you won’t even have to think about it.