 DIY
DIY
Transform Your Kitchen by Repainting Your Cabinets
I was standing in my kitchen last summer, staring at these dated, honey-oak cabinets, wondering if I actually needed to drop five grand on a full renovation just to feel like an adult in my own home. The internet told me I needed a professional spray booth and a degree in fine arts to get it right, but honestly? That’s just expensive noise. I realized that learning how to paint kitchen cabinets shouldn’t be a month-long ordeal that leaves your house looking like a construction zone. You don’t need a massive budget or a specialized workshop; you just need a solid plan and the right sequence of steps to avoid the dreaded peeling paint.
I’m not here to sell you on some complicated, multi-stage professional process that takes weeks to dry. Instead, I’m going to show you the most efficient way to get a clean, durable finish without losing your mind. We’re going to focus on the essential prep work and the specific tools that actually make a difference, so you can finish the job, clean up, and get back to your actual life. This is my no-nonsense blueprint for a kitchen refresh that looks intentional, not amateur.
Table of Contents
Guide Overview
Tools & Supplies
- Screwdriver or drill to remove hardware
- Sandpaper (various grits) for surface preparation
- High-quality angled brush for edges
- Small microfiber roller for smooth finishes
- Painter's tape for masking
- Cabinet degreaser or TSP (1 bottle)
- Primer (1-2 gallons depending on surface)
- Cabinet-grade paint (1-2 gallons)
- Microfiber cloths for cleaning
- Drop cloths to protect floors
Step-by-Step Instructions
- 1. First things first, you need to clear the decks. Take everything out of the cabinets and set it aside in a safe spot. Once they’re empty, grab a screwdriver and remove the doors and all the hardware—hinges, knobs, pulls, you name it. It’s tempting to just mask everything off with painter’s tape, but trust me, that’s a recipe for a messy finish. Getting the doors off actually allows you to work on a flat surface, which is half the battle right there.
- 2. Now comes the part everyone likes to skip, but don’t you dare: the cleaning. Kitchen cabinets are basically magnets for grease and old cooking oils, and if you paint over that gunk, the new finish will peel off in a week. Use a heavy-duty degreaser or a mix of warm water and dish soap to scrub every inch of the wood. I usually do a second pass with a tack cloth just to make sure there isn’t a single speck of dust left behind.
- 3. Once they’re bone-dry, it’s time to sand. You aren’t trying to strip the wood down to the grain here; you just want to “scuff” the surface so the paint has something to grab onto. Use a fine-grit sandpaper—around 220 grit—and go with the grain of the wood. If you see any deep scratches or old repairs, fill them in with a bit of wood filler first, then sand those spots smooth once they’ve dried.
- 4. This is where most people mess up by rushing, so let’s talk primer. Don’t use a cheap, all-purpose primer; grab a high-quality, stain-blocking primer specifically designed for cabinetry. This creates a seal that prevents the old wood tannins from bleeding through your new color. Apply it in thin, even layers. It’s much better to do two thin coats than one thick, gloopy one that takes forever to dry.
- 5. Once your primer is dry and lightly sanded, you’re ready for the actual paint. I highly recommend using a dedicated cabinet paint or a high-quality enamel rather than standard wall paint. Wall paint is too soft and will end up feeling tacky where you touch it. Use a high-density foam roller for the flat parts to avoid brush marks, and a small, high-quality brush for the corners and decorative molding. Keep your coats thin—the goal is a smooth, factory-like finish, not a thick layer of pigment.
- 6. Finally, we wait. This is the hardest part for me because I want to see the finished product immediately, but you have to let the paint cure. Even if it feels dry to the touch after an hour, it’s still soft. Give it at least 24 to 48 hours before you even think about hanging the doors back up. If you rush the reassembly, you’ll end up with fingerprints or even worse, the doors sticking to the frames.
Essential Cabinet Painting Supplies List for Real People
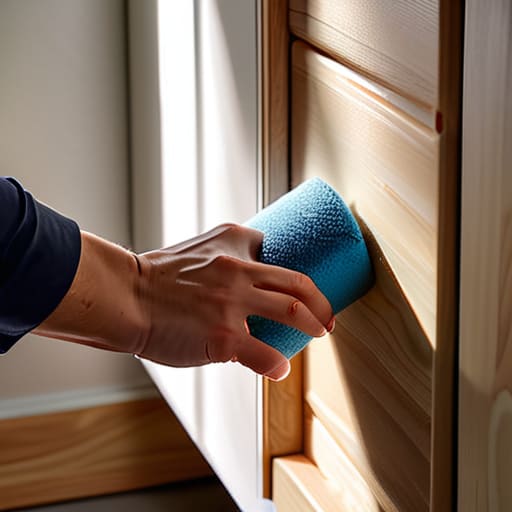
Look, you don’t need a professional contractor’s warehouse to get this done, but you also shouldn’t cheap out on the basics. I’ve learned the hard way that a $5 brush is a recipe for frustration. When you’re putting together your cabinet painting supplies list, prioritize a high-quality microfiber roller and a synthetic brush. If you want to avoid the nightmare of seeing every single stroke in your finish, look into preventing brush marks on cabinets by using a small foam roller for the flat surfaces. It saves time and gives you that smooth, factory-like look without the headache.
The real secret to a finish that doesn’t peel in six months is actually in the prep and the base layer. Don’t skip the cleaning phase; even a tiny bit of grease will ruin your work. Once they’re dry, look for solid kitchen cabinet primer recommendations—specifically something water-based that sticks to slick surfaces. A good primer acts as the glue between your old wood and your new color. Getting this part right means you won’t be repainting everything next year because the finish started flaking off.
Mastering How to Prep Cabinets for Painting Without Stress
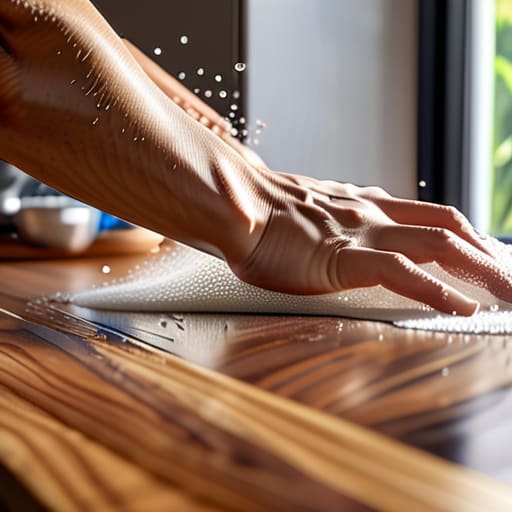
Look, I know the idea of sanding and scrubbing sounds like a weekend-killer, but here’s the reality: the prep work is actually where the battle is won or lost. If you rush this part, you’ll end up fighting the finish for the next three months. When I’m figuring out how to prep cabinets for painting, I focus on two things: cleanliness and surface texture. You need to get every trace of old grease off those doors—use a good degreaser, or even just some warm soapy water—because if there’s any oil left, your new paint will just slide right off.
Once they’re clean, it’s time for the sanding. You don’t need to strip them down to the bare wood unless they’re in terrible shape; you just need to “scuff” the surface so the primer has something to grab onto. I usually stick to some simple cabinet sanding techniques using a medium-grit sandpaper to take the shine off. It’s not about making them perfectly smooth like a piece of glass, but about creating a reliable bond. Do this right, and you won’t have to worry about the paint peeling in six months.
Five Pro Tips to Keep Your Sanity (and Your Finish) Intact
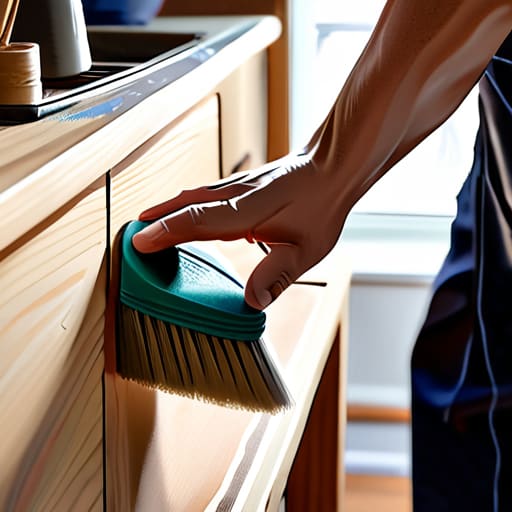
- Don’t rush the drying time between coats. I know it’s tempting to grab the brushes and go for a second round immediately so you can be “done,” but if you apply a new coat while the first is still tacky, you’re just asking for a sticky, textured mess that will take weeks to fix.
- Invest in a decent primer, not the cheapest one on the shelf. Think of primer as the foundation of a house; if it’s weak, the paint will eventually peel or show every imperfection. A good primer does the heavy lifting so you don’t have to repaint in six months.
- Work in small, manageable sections. Instead of trying to tackle the entire kitchen in one frantic afternoon, focus on one door or one frame at a time. It keeps the process from feeling overwhelming and prevents you from getting exhausted halfway through.
- Keep a damp microfiber cloth handy. Even with the best prep work, a little dust or a stray hair will inevitably find its way onto your wet paint. Having a cloth ready to gently lift those tiny imperfections before they dry is a total lifesaver.
- Watch your lighting. It’s easy to miss a missed spot or a drip when you’re working under dim overhead lights. Grab a cheap work light or a bright lamp to shine on the surface as you work; seeing the “wet” look of the paint helps you catch mistakes before they set.
The Bottom Line
Don’t skimp on the prep; a clean, sanded surface is the difference between a professional finish and a peeling mess that you’ll have to redo in six months.
Focus on thin, even coats rather than trying to cover everything in one heavy layer—it takes a little more patience upfront, but it saves you a massive headache later.
You don’t need a professional workshop to get this done, just the right basic tools and a willingness to take it one cabinet at a time.
The Mindset for a Successful Project
“Don’t get paralyzed by the idea of a ‘perfect’ finish. If you focus on the prep and keep your workspace organized, the actual painting is just the victory lap. The goal isn’t to become a professional contractor; it’s to get the job done well enough that you can stop looking at your old cabinets and start enjoying your kitchen again.”
Julian Reese Miller
The Finish Line
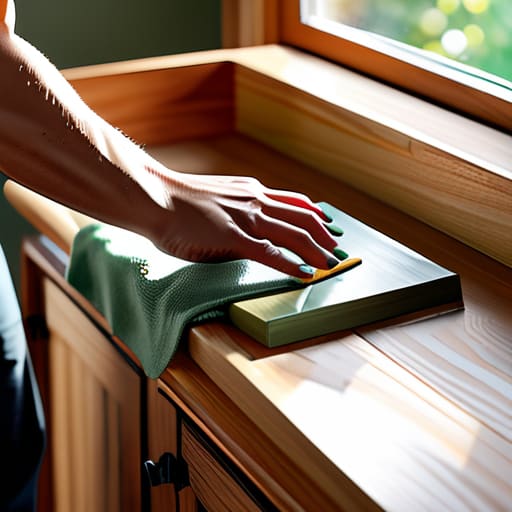
Look, I know this wasn’t exactly a weekend of relaxation. Between the degreasing, the sanding, and the actual painting, you’ve definitely put in some serious sweat equity. But remember: the magic is in the details you didn’t want to do. If you took the time to prep those surfaces properly and didn’t rush the drying process, you’ve already done the hard part. It’s all about that steady, methodical approach rather than trying to sprint to the finish. You’ve got the supplies, you’ve followed the steps, and now the heavy lifting is officially behind you.
Now, take a second to actually look at what you’ve accomplished. Your kitchen looks completely different, and you didn’t have to drop thousands of dollars on a contractor to make it happen. That’s the real win here. Being able to take a space that felt stale and breathe new life into it is a massive confidence booster. Don’t let the small imperfections get to you—nobody is going to scrutinize your brushwork as much as you do. Just reclaim your space, enjoy the fresh look, and get back to enjoying your home. You earned it.
Frequently Asked Questions
How long do I actually need to wait before I can start using my kitchen again?
Here’s the reality: you can technically touch them after a few hours, but don’t. If you want to avoid sticky fingerprints and ruined finishes, give them at least 24 to 48 hours before you start opening and closing doors. Ideally, let the paint cure for a full week before you get aggressive with cleaning them. It feels like forever, but waiting a little longer now saves you from a massive headache later.
What should I do if I realize I missed a spot or the finish looks uneven halfway through?
First, take a breath. You haven’t ruined it. If you catch a missed spot while the paint is still wet, just grab your brush and blend it out immediately. If the finish looks uneven once it’s started to dry, don’t try to “fix” it by slapping more paint on right away—that’s how you get texture issues. Wait for it to dry completely, lightly sand the uneven area until it’s smooth, and then apply a thin, even coat.
Is it worth it to use a sprayer, or should I just stick to a brush and roller to keep things simple?
Look, if you’re looking for that flawless, factory-smooth finish, a sprayer is the way to go. But let’s be real: it’s a massive setup job, it’s messy, and you’ll spend more time cleaning the equipment than actually painting. If you want to keep your sanity and your weekend intact, stick to a high-quality brush and a small foam roller. It’s more manual work, but it’s way more manageable for a DIYer.