 DIY
DIY
How to Easily Remove Scratches From Wooden Furniture
I was halfway through a much-needed coffee last Tuesday when my heavy set of keys slid off the counter, leaving a jagged, ugly white line right across my favorite mid-century coffee table. My first instinct was to panic and wonder if I’d have to shell out hundreds for a professional refinisher, but that’s just not how I roll. Most people think you need a workshop full of specialized sanders and expensive stains to handle surface damage, but the truth is, learning how to fix scratched wood is a lot less intimidating than the pros make it sound. You don’t need a degree in carpentry or a massive budget to make that damage disappear; you just need the right approach.
I’m not here to give you a complicated DIY project that eats up your entire weekend. Instead, I’m going to walk you through the most efficient, no-nonsense ways to tackle everything from light scuffs to deeper gouges. I’ll show you exactly which tools you actually need—and which ones you can skip—so you can restore your furniture fast and get back to your actual life.
Table of Contents
Guide Overview
Tools & Supplies
- Sandpaper (various grits for smoothing)
- Microfiber cloth (for cleaning dust)
- Paintbrush (for applying finish)
- Wood filler (one small container)
- Wood stain or marker (color-matched to furniture)
- Clear coat or wax (one small can)
Step-by-Step Instructions
- 1. First, grab a clean cloth and some mild soap to wipe down the area. You don’t want to be rubbing old dust, wax, or spilled coffee into the wood grain while you’re trying to work. Once it’s dry, take a close look at the scratch to see if it’s just a surface scuff or if you can actually feel the depth with your fingernail.
- 2. If it’s a shallow, light scratch, skip the heavy tools and go for the walnut trick. It sounds like something out of a DIY myth, but it actually works. Take a raw walnut half—make sure it’s not salted, obviously—and rub the meat of the nut directly into the scratch. The natural oils will soak into the wood and the dark color will help camouflage the damage almost instantly.
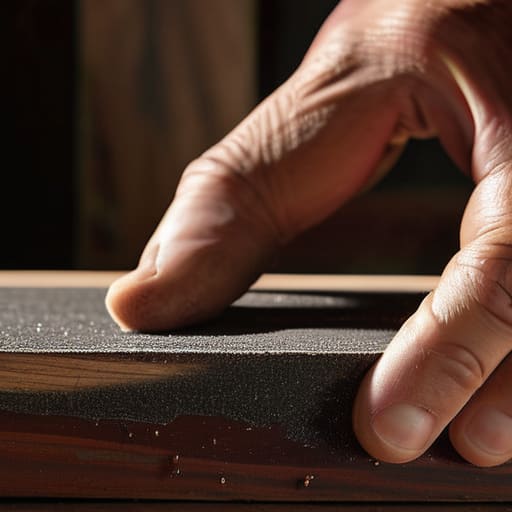
- 3. For something a bit deeper that needs a real fix, you’re going to need a fine-grit sandpaper (around 220 or 320 grit). Sand very gently, always following the direction of the wood grain. If you sand across the grain, you’ll end up creating new scratches that are way harder to hide than the one you started with, so take your time here.
- 4. Once the area is smooth, it’s time to address the color. You can pick up a wood stain marker at any hardware store for a few bucks. Don’t just draw a line over the scratch; instead, dab and feather the color in so it blends naturally with the surrounding finish. It’s much easier to add more color than it is to strip it away if you overdo it.
- 5. If the scratch has eaten through the finish entirely, you’ll need to apply a tiny bit of wax or a matching furniture polish. This isn’t just for shine; it seals the “wound” and prevents moisture from getting into the raw wood. Use a soft microfiber cloth and work in small, circular motions until the surface feels even again.
- 6. Finally, give the whole piece a quick buff with a clean cloth to remove any excess residue. You want to make sure there isn’t a tacky buildup of walnut oil or stain left sitting on the surface. Once it’s clean, step back and look at it from a distance—usually, once you stop staring at it, you’ll realize it’s good as new.
Mastering Wood Filler Application Techniques for a Quick Fix
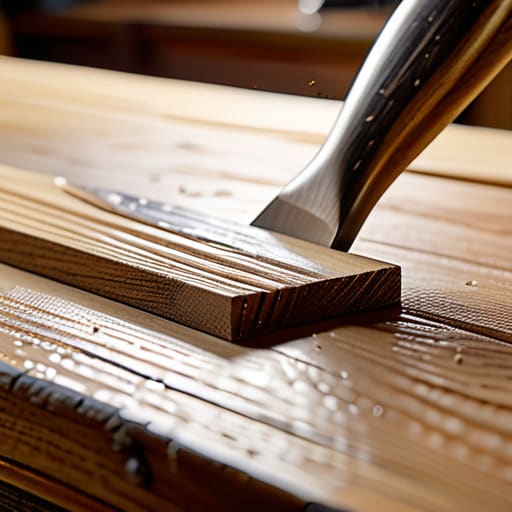
When you’re actually getting into the weeds with the filler, the biggest mistake I see is trying to do too much at once. If you’re dealing with a deeper gouge, don’t try to fill the whole thing in one massive go. Instead, work in thin, manageable layers. This is one of those essential wood filler application techniques that saves you a massive headache later; if you go too thick, the filler tends to shrink or crack as it dries, leaving you right back where you started. I usually apply a bit more than I think I need, let it cure completely, and then sand it flush. It takes an extra ten minutes, but it’s much better than fighting with a lumpy mess.
Once the surface is level, your next challenge is matching wood stain colors so the repair doesn’t look like a glaring eyesore. I like to test my stain on a scrap piece of the same wood first. If you’re working on something delicate, remember that the filler will absorb stain differently than the surrounding timber. Take your time with the blending process—it’s all about patience and buffing out wood imperfections until the repair becomes invisible.
Matching Wood Stain Colors So the Repair Disappears
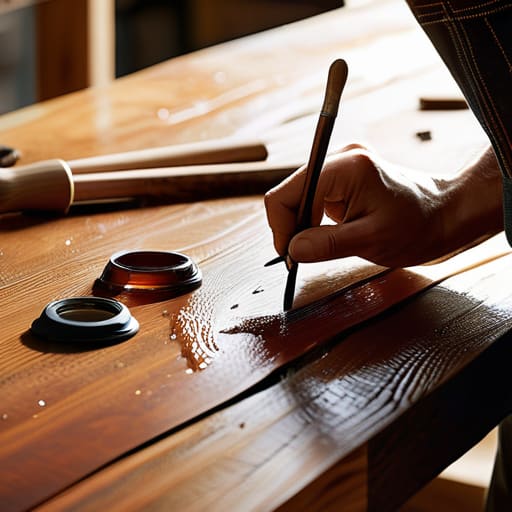
This is usually where people start to panic, but don’t let it get to you. The biggest mistake I see is trying to match the color by just grabbing the first brown marker or stain you find in the garage. Wood is organic; it has depth, grain, and undertones that shift depending on the light. To get this right, I recommend grabbing a few small sample cans of different shades. Instead of applying them directly to your piece, test them on a hidden area—like the underside of a table or the back of a chair leg—to see how they actually dry.
Once you’ve found your match, remember that layering is your best friend. It’s much easier to build up color slowly than to try and fix a dark, blotchy mistake. Start with a lighter shade and gradually add more depth until you’re matching wood stain colors to the surrounding area. If you’re working on something high-end, you might want to look into specialized furniture refinishing tools, but for most of us, a few well-chosen stains and a bit of patience are all you need for seamlessly buffing out wood imperfections.
Pro moves to make your repair look seamless
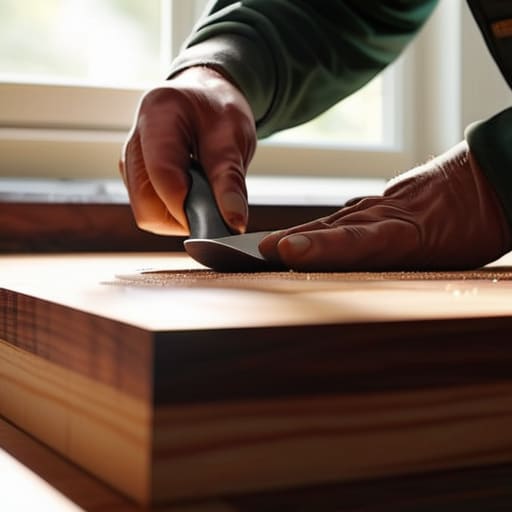
- Don’t go too heavy on the filler. It’s tempting to glob it in, but a thin, slightly underfilled layer is much easier to sand down later than a mountain of wood putty that won’t level out.
- Always test your stain on a scrap piece or an inconspicuous spot first. Colors look different once they soak into the grain, and I’ve learned the hard way that “close enough” usually isn’t.
- Sand with the grain, not against it. If you sand across the wood fibers, you’ll just create new, tiny scratches that will catch the light and make your repair stand out like a sore thumb.
- Use a soft cloth for applying stain rather than a brush. It gives you way more control over how much pigment goes into the scratch, which is key when you’re trying to blend the repair into the surrounding wood.
- Patience is your best tool here. Let the filler dry completely before you even think about sanding it. If you rush it, you’ll end up pulling the filler right out of the scratch, and you’ll be starting from scratch.
The bottom line
Don’t overthink it—most surface scratches just need a little patience and the right color match, not a full sanding session.
Always test your wood filler and stain on a hidden spot first; it’s much easier to fix a mistake on a coaster than on your dining table.
Focus on the goal of making the repair “disappear” rather than making it “perfect,” because a little character is better than a visible patch job.
## The mindset behind the repair
“A scratch in your coffee table isn’t a disaster; it’s just a small project standing between you and a relaxing evening. Don’t overthink the tools—just focus on the finish, fix it, and get back to enjoying the room.”
Julian Reese Miller
Getting Your Furniture Back in Shape
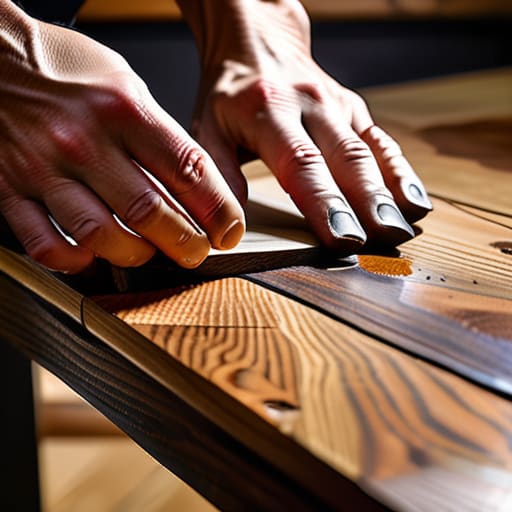
At the end of the day, fixing scratched wood isn’t about achieving museum-quality perfection; it’s about stopping the damage from spreading and making your pieces look cared for again. Whether you ended up using a simple wax stick for those shallow surface scuffs or went the extra mile with wood filler and a custom stain match for deeper gouges, you’ve successfully tackled a problem that would have otherwise forced you to buy something new. Remember that the secret is always in the prep work—don’t rush the sanding, and take your time matching that color. If you follow these steps, you’ll find that most repairs become virtually invisible once the finish settles.
I know that when you’re staring at a damaged coffee table or a scratched desk, it can feel like just one more thing on an already overwhelming to-do list. But there is a real sense of satisfaction that comes from realizing you don’t have to call a specialist or drop hundreds of dollars to solve a problem. You have the tools, you have the technique, and now you have the result. Don’t let a little wear and tear make your home feel less like yours. Fix it, finish it, and then get back to living your life.
Frequently Asked Questions
What if the scratch is so deep that the wood filler keeps cracking or falling out?
If the filler is cracking, it’s usually because the gap is too deep for a single pass to handle. Think of it like trying to patch a pothole with one thin layer—it’s just going to fail. Stop trying to fill it all at once. Instead, apply the filler in thin, manageable layers, letting each one dry completely before adding the next. This builds structural integrity so you aren’t fighting the wood every five minutes.
Can I use these same methods on high-gloss or painted furniture, or will it look patchy?
Short answer: No, don’t use these exact steps. If you try to stain a painted surface or sand down high-gloss lacquer with my wood-repair method, you’re going to end up with a patchy mess. Painted furniture needs a different approach—usually a touch-up pen or a tiny bit of matching acrylic. For high-gloss, you have to be incredibly careful not to kill the shine. Stick to the specific method for the finish you’re working with.
How do I know if I should just sand the whole piece down instead of trying to spot-fix it?
Look, I’ve been there—staring at a piece of furniture wondering if I’m about to make things much worse. Here’s my rule of thumb: if the scratches are localized and the finish is mostly intact, spot-fix it. But if the damage is widespread, the wood is deeply gouged, or the finish is peeling everywhere, stop. Trying to patch a sinking ship is a waste of your time. In those cases, just sand the whole thing down.