 DIY
DIY
Giving Old Furniture a Second Life With Refinishing
I was staring at a scratched-up, mid-century side table I’d picked up at a thrift store, feeling that familiar wave of “why did I buy this?” sinking in. Most people will tell you that learning how to refinish furniture requires a dedicated workshop, a professional-grade sprayer, and a weekend you don’t actually have. They make it sound like some high-stakes art project that’s destined to end in a sticky, ruined mess. But honestly? That’s just marketing noise designed to make you buy tools you don’t need.
I’m not here to turn you into a master carpenter; I just want to help you stop letting perfectly good pieces gather dust in your hallway. In this guide, I’m stripping away the fluff and showing you the most efficient way to handle how to refinish furniture without losing your mind or your entire Saturday. We’re going to focus on the exact tools that actually matter and the specific steps to get a clean, professional finish. My goal is to get you through the process quickly so you can actually enjoy your space instead of just working on it.
Table of Contents
- Step-by-Step Instructions
- Mastering Wood Stripping Techniques Without the Massive Mess
- A Furniture Sanding Grits Guide for Real Results
- Five Pro Tips to Save Your Sanity (and Your Furniture)
- The Bottom Line: Less Stress, Better Results
- ## My Philosophy on Projects
- Done and Dusted
- Frequently Asked Questions
Guide Overview
Tools & Supplies
- Sandpaper (various grits for smoothing)
- Screwdriver (to remove hardware)
- Paintbrush or foam roller (for application)
- Tack cloth (to remove dust)
- Wood primer (1 quart)
- Furniture paint or stain (1 quart)
- Degreaser or TSP (1 bottle)
- Clear topcoat (1 can)
Step-by-Step Instructions
- 1. First, clear some space and get your supplies ready. You’re going to need some sandpaper (start with a medium grit, around 120, and move up to a fine 220), a tack cloth, some wood cleaner, and whatever finish you’re eyeing—be it a stain or a simple wax. I always keep a small multi-tool handy just in case I need to tighten a loose screw on a chair leg before I start, so don’t overlook the hardware.
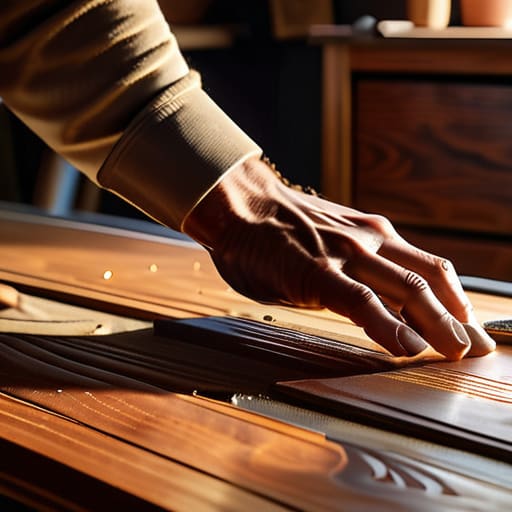
- 2. Strip it down to the basics. If your piece has old, peeling varnish or heavy grime, you need to get that off first. Use your medium-grit sandpaper to sand away the old finish. Don’t feel like you have to sand until the wood is raw and screaming; you just want to remove the old layer and create a smooth, uniform surface that’s ready to accept something new.
- 3. Clean the hell out of it. This is the step most people skip, and it’s exactly why their projects end up feeling tacky or looking blotchy. Once you’re done sanding, use a vacuum or a damp cloth to get the dust off, then follow up with a tack cloth to pick up those microscopic particles. If there’s any lingering grease or wax, hit it with a bit of wood cleaner so your new finish actually sticks.
- 4. Apply your color. If you’re using a stain, less is usually more. Dip a rag or a brush into the stain and work it into the grain following the direction of the wood. If it looks too dark, wipe off the excess immediately. I’ve learned the hard way that you can always add more color later, but taking it off is a nightmare.
- 5. Let it breathe. This is the hardest part for me because I like to see results fast, but you have to let the stain dry completely according to the can’s instructions. If you rush this, you’ll end up with a sticky mess that ruins your entire afternoon. Give it a few hours—or even overnight—to properly set before you move to the final stage.
- 6. Seal the deal. To protect your hard work, apply a clear topcoat like polyurethane or a simple furniture wax. If you’re using poly, apply it in thin, even layers rather than one thick, gloopy coat. This ensures a professional look and prevents those annoying bubbles that make a piece look amateur.
- 7. The final touch. Once the topcoat is dry, take your finest sandpaper (220 or higher) and give the whole thing a very light buff. This smooths out any tiny imperfections and gives the piece that satisfying, professional feel. Wipe it down one last time, and you’re done. Now, put the tools away and go enjoy your weekend.
Mastering Wood Stripping Techniques Without the Massive Mess
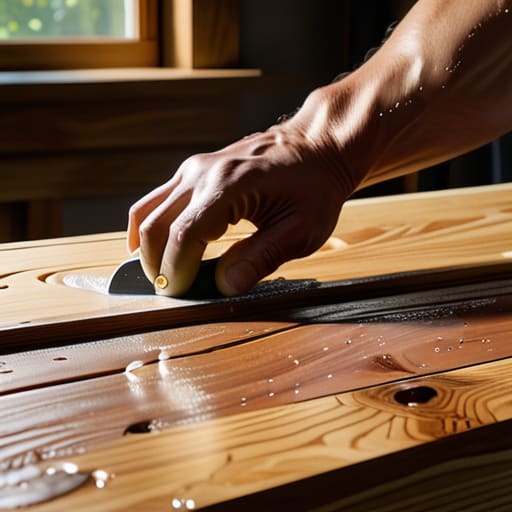
Look, I’ve spent more hours than I’d like to admit staring at a half-stripped coffee table, wondering where it all went wrong. The biggest mistake people make is treating chemical strippers like they’re harmless soap. They aren’t. When you’re removing old varnish, the goal is to lift the finish, not turn your living room into a toxic waste site. I always recommend working in small, manageable sections rather than trying to tackle the whole piece at once. If you spread the gel too thin, it dries out before it can actually do its job, and you’ll end up fighting a losing battle against dried-on residue.
To keep the chaos contained, grab a cheap plastic scraper and a stack of old rags. Once the chemical has done the heavy lifting, use the rag to wipe away the sludge immediately. This is a crucial part of your wood grain preparation; if you let that gunk sit in the pores of the wood, you’ll spend three extra hours sanding just to get back to a clean slate. Keep it moving, keep it clean, and you’ll save yourself a massive headache later.
A Furniture Sanding Grits Guide for Real Results
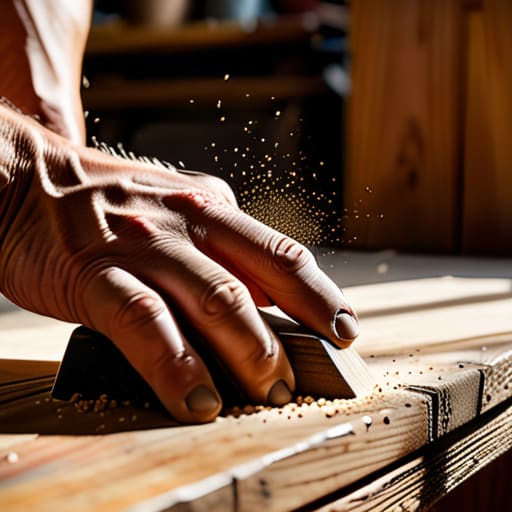
Look, I know the math behind sandpaper can feel like a headache, but don’t let the numbers stall your progress. Think of your furniture sanding grits guide as a progression of coarseness rather than a math problem. You’re going to start heavy—usually around 80 or 100 grit—to tackle the deep scratches and any leftover residue from removing old varnish. If you skip this part, you’re just polishing dirt. Once the surface is level, you move up to 150, and finally 220. The goal isn’t to spend all day sanding; it’s to smooth the path for the finish.
One thing I learned the hard way while working on my own pieces: never skip a grit level. If you jump straight from 80 to 220, those deep scratches from the coarse paper will show up like bright scars once you start applying stain. Proper wood grain preparation is the difference between a piece that looks professional and one that looks like a DIY disaster. Take the extra ten minutes to sand progressively, and I promise your final result will actually look like you meant to do it.
Five Pro Tips to Save Your Sanity (and Your Furniture)
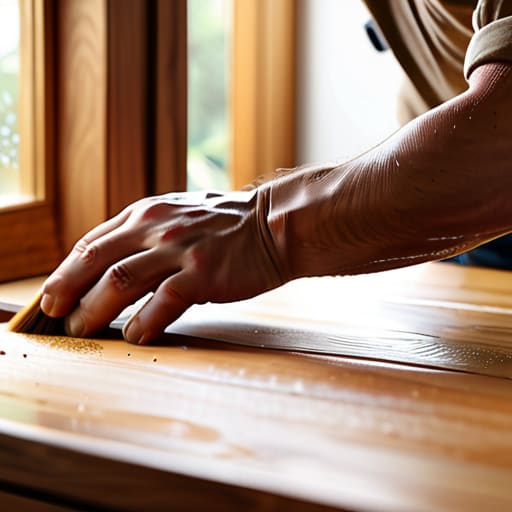
- Don’t skip the tack cloth. I know it feels like an extra step, but if you leave even a tiny bit of dust on that wood before you stain, your finish is going to look like sandpaper. Wipe it down until it’s spotless.
- Test your stain on a hidden spot first. I’ve learned the hard way that what looks great on a swatch in the store can look totally different on an actual piece of oak. Check the underside or a back corner before you commit.
- Less is actually more when it comes to applying finish. If you glob it on, you’re just inviting drips and uneven patches. Thin, even coats are the secret to that smooth, professional look that doesn’t require a professional budget.
- Give it real time to dry. I get it, you want to move on to the next thing, but rushing the drying process is how you end up with a tacky, dust-trapping mess. Let it sit, walk away, and come back when it’s actually ready.
- Work in a well-ventilated space, even if it’s annoying. Between the strippers and the stains, the fumes can get heavy fast. Open a window or crack a door—your head will thank you later.
The Bottom Line: Less Stress, Better Results
Don’t rush the prep work; whether you’re stripping or sanding, doing the boring stuff right now saves you from a massive headache (and a wasted weekend) later.
You don’t need a professional workshop to get professional results—just the right grit of sandpaper and a little bit of patience.
Keep your workspace organized and your tools close so you can finish the job efficiently and actually get back to your life.
## My Philosophy on Projects
“Refinishing isn’t about achieving some untouched, museum-grade perfection; it’s about taking something that’s been sitting idle and making it useful again so you can stop staring at a piece of junk and start actually using your home.”
Julian Reese Miller
Done and Dusted
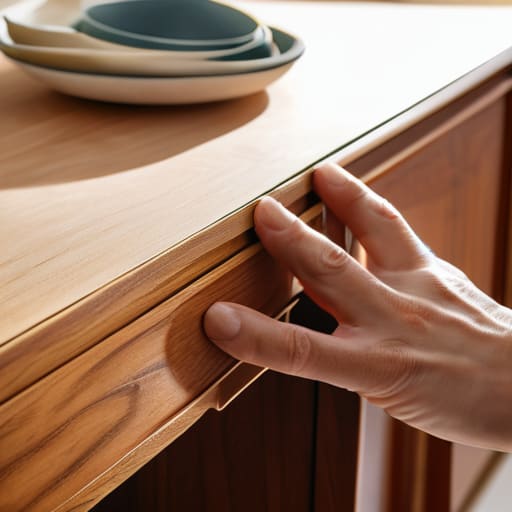
Look, I know it probably feels like you’ve just run a marathon through a cloud of sawdust and chemical fumes, but you’re actually in the home stretch. We’ve covered everything from choosing the right stripping method to not losing your mind while navigating different sandpaper grits. The most important thing to remember is that you don’t need a professional workshop to see results; you just need the right sequence. As long as you stay patient with the prep work and don’t rush that final sanding stage, you’ve already done the hard part. Now, all that’s left is to apply your finish and let the wood do its thing.
At the end of the day, this isn’t just about fixing a wobbly side table or an old dresser that saw better days. It’s about the fact that you looked at something broken and decided you were capable of fixing it yourself. That’s a huge win. Don’t let a few imperfections or a slightly uneven grain discourage you—real furniture has character, and imperfection is part of the story. Now that you’ve reclaimed this piece from the thrift store or the curb, go ahead and put it to use. You’ve earned the right to sit back, grab a drink, and enjoy the space you just improved.
Frequently Asked Questions
Do I really need to wear a mask, or is the dust not that big of a deal?
Look, I’m all about efficiency, but don’t cut corners on your lungs. Fine sawdust is one thing, but once you start sanding finishes or old stains, you’re breathing in chemicals and tiny particles that your body wasn’t meant to process. It’s not worth the risk. Grab a decent N95 mask—it’s a small price to pay to ensure you aren’t dealing with a cough for the next week. Stay safe so you can keep building.
How can I tell if a piece is worth the effort or if I should just toss it?
Look, I’ve been there—staring at a thrift store find wondering if I’m about to waste my entire Saturday. My rule of thumb? Check the bones. If it’s solid wood, it’s almost always worth the sweat. If it’s particle board or cheap veneer that’s already peeling, walk away; you can’t fix bad DNA. If the structure is sturdy and the style is salvageable, grab it. Don’t let a bad finish scare you off.
What’s the cheapest way to get a professional-looking finish without buying a whole shop of tools?
Look, you don’t need a workshop full of heavy machinery to get a clean look. If you’re on a budget, skip the power sanders and invest in a decent set of sanding sponges and a high-quality microfiber cloth. For the finish itself, grab a wipe-on poly or a simple wax. It’s much more forgiving than a sprayer, requires zero specialized gear, and gives you that smooth, professional feel without the massive upfront cost.