 DIY
DIY
Fix That Leaky Faucet Quickly With This Easy Method
It was 2:00 AM, and that rhythmic, relentless drip… drip… drip… from my kitchen sink was doing more than just keeping me awake; it was driving me toward a breakdown. I stared at that faucet, convinced I’d have to call an expensive plumber or spend my entire weekend watching confusing, twenty-minute tutorials that never actually get to the point. But here’s the reality: most people think you need a professional toolkit or a master’s degree in plumbing to handle this, but you really don’t. Learning how to fix a leaky faucet is actually one of those small, high-impact wins that can be tackled in a single afternoon with just a few basic tools.
I’m not here to sell you on a complicated overhaul or a massive hardware store haul. My goal is to show you exactly how to strip this problem down to its basics and get it sorted so you can stop wasting water and start enjoying your peace and quiet again. I’ll walk you through the specific, no-nonsense steps to identify the culprit—whether it’s a worn-out washer or a faulty cartridge—and get it fixed without the headache. Let’s get to work.
Table of Contents
Guide Overview
Tools & Supplies
- Adjustable wrench for loosening nuts
- Screwdriver for removing handle screws
- Allen wrench for hex-head screws
- Replacement washers or O-rings (1 set)
- Plumber's grease (1 small tube)
Step-by-Step Instructions
- 1. First things first, you need to shut off the water. Look under your sink for the oval-shaped shut-off valves and turn them clockwise until they stop. If you can’t find them or they’re stuck, you’ll have to kill the main water supply to the house, but don’t panic—it’s just a quick turn of a lever. Once the water’s off, turn the faucet on to drain any leftover pressure sitting in the lines.
- 2. Clear some space and grab your gear. You’re going to need an adjustable wrench, a screwdriver (both Phillips and flathead), and maybe some needle-nose pliers. I always keep my multi-tool handy for this because it saves me from running back and forth to the junk drawer. Lay a towel down in the sink so you don’t accidentally clatter a small screw down the drain—trust me, I’ve learned that the hard way.
- 3. Now, let’s get to the guts of the thing. Pop off the decorative cap on the handle (usually marked ‘H’ or ‘C’) with a flathead screwdriver to reveal the screw underneath. Unscrew it and pull the handle off. If it feels stuck due to old mineral buildup, give it a gentle wiggle rather than forcing it; you don’t want to snap the hardware.
- 4. Once the handle is off, you’ll see the cartridge or the stem. Use your wrench to unscrew the packing nut. This is where the magic happens. Most leaks are caused by a worn-out O-ring or a faulty washer inside this assembly. Pull the cartridge out carefully, and take a quick look at it. If it looks cracked or heavily corroded, that’s your culprit.
- 5. Here is my pro tip: take the old parts with you to the hardware store. Don’t try to guess the size based on a photo or a memory. Just grab the exact match so you aren’t wasting your Saturday driving back and forth because you bought a 1/2-inch washer instead of a 5/8. It’s the most efficient way to ensure the fix actually sticks.
- 6. Clean out the area before you put everything back together. Use a bit of white vinegar and an old toothbrush to scrub away any lime or scale buildup inside the faucet body. If you leave that gunk in there, even a brand-new washer won’t be able to create a perfect seal, and you’ll be right back where you started.
- 7. Reassemble everything in the exact reverse order you took it apart. Tighten the packing nut, pop the handle back on, and screw the cap into place. Slowly turn the water valves back on to test your handiwork. If it’s bone dry, you’ve officially reclaimed your time and your peace of mind.
Identifying Common Causes of Leaking Taps Before You Start
Before you go diving under the sink, you need to figure out exactly what’s going wrong. Not all leaks are created equal, and knowing the culprit saves you from buying a handful of parts you don’t actually need. Most of the time, you’re dealing with one of the common causes of leaking taps: a worn-out washer, a faulty O-ring, or a degraded cartridge. If the water is coming from the base of the handle, it’s likely a seal issue; if it’s coming directly from the spout, you’re probably looking at a problem deeper in the internal mechanism.
Take a second to observe the pattern. Is it a steady stream or a slow, rhythmic drip? A slow drip usually means it’s time to replace faucet washer components that have simply reached the end of their lifespan due to friction and mineral buildup. If you have a modern single-handle setup, you might be looking at a more complex cartridge faucet replacement steps scenario rather than a simple washer swap. Identifying this distinction early means you can gather the right plumbing tools for faucet repair before you even get your hands wet, keeping the whole process efficient and stress-free.
The Essential Plumbing Tools for Faucet Repair You Actually Need
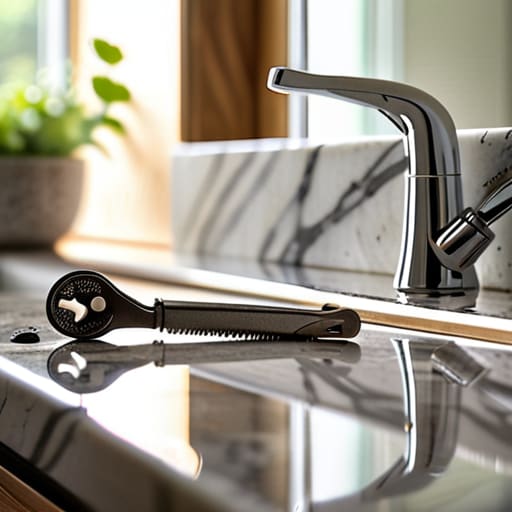
Look, I’ve learned the hard way that a “quick fix” turns into a three-hour ordeal the second you realize you’re missing a single specialized wrench. You don’t need a professional-grade toolbox that takes up half your apartment, but you do need a few reliable plumbing tools for faucet repair to avoid the frustration of stripped screws or bruised metal. At a minimum, grab an adjustable wrench, a set of screwdrivers (both Phillips and flathead), and some needle-nose pliers. If you’re dealing with a more modern setup, having a dedicated hex key set on hand is a lifesaver.
I also highly recommend picking up a small tub of plumber’s grease and a few replacement O-rings before you even crack the seal. It’s much easier to stop dripping sinks on your own terms than it is to realize halfway through the job that you have to make a second trip to the hardware store. If your specific model requires a cartridge faucet replacement, make sure you have a way to pull that cartridge straight up without tilting it—a steady hand and the right pliers are your best friends here.
Pro Tips to Save Your Sanity (and Your Sink)
- Shut off the water before you even touch a screwdriver. I’ve seen too many people dive in headfirst only to end up with a kitchen that looks like a localized flood zone. Check under the sink for the shut-off valves and twist them until they stop.
- Keep a towel or a small rag handy to plug the drain. There is nothing more frustrating than watching a tiny, crucial screw slip out of your hand and disappear down the pipes. Plug it up so you can work without the stress.
- Don’t go overboard with the force. If a bolt or a handle isn’t budging, don’t just muscle it. You’re more likely to strip the hardware or crack something than you are to fix the leak. Use a little patience and the right leverage instead.
- Take photos of every single step as you take the faucet apart. When you’re staring at a pile of washers, O-rings, and metal bits twenty minutes later, you’ll be glad you have a visual map of how it all actually fits together.
- Clean the parts while you’re in there. If you’re replacing a washer, take a second to wipe away any mineral buildup or grit around the valve seat. It’s much easier to ensure a tight seal when you aren’t fighting old grime.
The Bottom Line
Don’t let a small drip intimidate you; most faucet issues are just simple parts like washers or O-rings that you can swap out yourself in twenty minutes.
You don’t need a garage full of professional plumbing gear—just a few basic tools and the right identification of the problem will get the job done.
Fix it once, fix it right, and stop letting your water bill (and your sanity) leak away over something so easily solvable.
## The Real Cost of a Drip
“A leaky faucet isn’t just a nuisance or a waste of water; it’s a tiny, constant drain on your peace of mind. Fix it now, so you can stop hearing that rhythmic reminder of a chore left undone and get back to the things that actually matter.”
Julian Reese Miller
Mission Accomplished
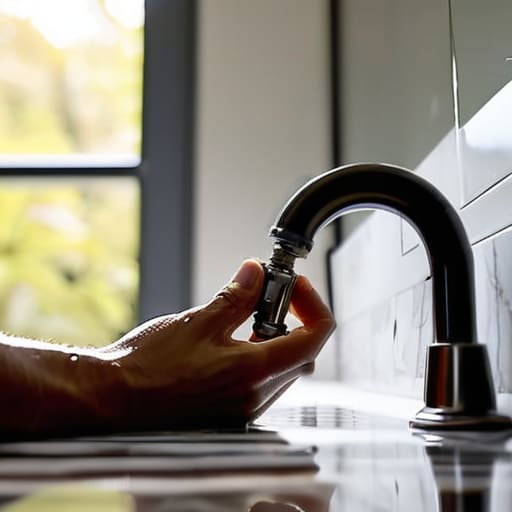
At the end of the day, fixing that leak isn’t about becoming a master plumber; it’s about having the right tools and the willingness to try. We’ve gone from identifying the culprit—whether it was a worn-out washer or a faulty cartridge—to getting our hands dirty with the essential gear. You didn’t need a massive budget or a specialized workshop to get this done, just a bit of patience and the exact steps we walked through together. Now that the drip has stopped, you can finally check one more thing off your mental to-do list and stop watching your water bill climb.
I know that staring down a broken fixture can feel intimidating when you first walk into the room, but I hope this process showed you that you’re more capable than you think. There is a specific kind of satisfaction that comes from fixing something yourself rather than waiting around for a professional to show up and charge you a premium. Don’t let the next small household hiccup scare you off. Once you realize that most problems are just simple puzzles waiting to be solved, you stop being a bystander in your own home and start actually running it. Now, go enjoy that silence and get back to your life.
Frequently Asked Questions
What if I take everything apart and realize I can't find the specific replacement part I need?
Look, I’ve been there. You’ve got a sink full of parts and a single missing washer that feels like the end of the world. Don’t panic. Take a photo of the disassembled pieces and head to a local hardware store—don’t just rely on a description. Better yet, bring the old part with you. Most pros can match it instantly. If it’s truly obsolete, look for a universal repair kit or a compatible replacement online.
Is it worth paying a professional if the leak is coming from inside the wall instead of the faucet itself?
Look, if the leak is behind the drywall, stop right there. That’s not a DIY weekend project; that’s a potential disaster waiting to happen. When water is inside your walls, you’re dealing with structural damage and mold risks that can get expensive fast. My rule of thumb: if you can see the source and reach it with a wrench, try it. If it’s hidden in the wall, call a pro. Save your sanity and your foundation.
How can I tell if I need to replace a single washer or if the entire faucet cartridge is shot?
Here’s the quick way to tell: if you take the handle off and see a simple rubber washer that looks flattened or cracked, swap that first. It’s a cheap, five-minute fix. But, if you pull the cartridge out and notice any pitting, heavy mineral buildup, or if the handle still feels “crunchy” even with a new washer, the whole cartridge is toast. Don’t waste time patching a dying cartridge; just replace the whole unit and move on.