 DIY
DIY
A Beginner’s Introduction to Using a Power Drill
I was halfway through trying to hang a simple floating shelf in my apartment when the drill slipped, sending a jagged screw skittering across the floor and leaving a permanent dent in my drywall. It was one of those moments where you realize that owning a tool and actually knowing how to use a drill are two very different things. Most people think you just pull a trigger and hope for the best, but that’s a fast track to ruined projects and a massive headache. I spent way too long thinking I needed a workshop full of expensive gear just to be “handy,” when really, I just needed to understand the physics of the tool in my hand.
I’m not here to give you a lecture or a manual that reads like a legal document. Instead, I’m going to show you the practical shortcuts and essential safety checks that actually matter when you’re staring at a piece of wood. We’re going to cover everything from picking the right bit to mastering your pressure, so you can stop second-guessing every move. My goal is to get you through this task efficiently so you can stop tinkering and start living.
Table of Contents
Guide Overview
Tools & Supplies
- Power drill (Cordless or corded drill)
- Drill bits (Set of various sizes for drilling and driving)
- Safety glasses (1 pair)
- Workpiece (Wood, metal, or plastic)
- Screws or fasteners (As needed)
Step-by-Step Instructions
- 1. First, grab your drill and pick the right bit for the job. If you’re going into wood, use a standard wood bit; if it’s metal, you need something tougher like HSS (High-Speed Steel); and if it’s a wall, you’ll need a masonry bit. Don’t try to wing it by using a wood bit on a brick, or you’ll just end up with a burnt-out bit and a lot of frustration.
- 2. Once you have the bit, pop it into the chuck. You’ll see those three metal “teeth” inside the nose of the drill. Insert your bit, then tighten the chuck by twisting it clockwise. If you’re using a newer cordless drill, it’ll likely be a keyless chuck, so you can just tighten it by hand until it’s snug. Give the bit a quick tug to make sure it isn’t wobbling.
- 3. Now, set your drill speed and torque. Most drills have a ring near the chuck with numbers on it; this is your torque setting. For driving screws, you’ll want a lower number so you don’t strip the head, but for drilling holes, you’ll want to switch to the drill icon. I always tell people to check this setting twice before pulling the trigger, because nothing kills momentum like a screw that suddenly snaps halfway in.
- 4. Mark your spot. Don’t just eye it and start drilling, because the bit will almost certainly wander across your surface the second you start. Take a pencil or even a nail and make a tiny indentation where you want the hole to go. This gives the bit a little “landing pad” to sit in so it stays exactly where you intended.
- 5. Get into position and steady yourself. Hold the drill firmly with one hand on the grip and, if it’s a larger drill, use your other hand to steady the back of the tool. Lean your body weight slightly into the drill—not so much that you’re straining, but enough to keep the bit from skating across the surface when you first start the motor.
- 6. Start slow. Pull the trigger gently to get the bit spinning at a low speed until it bites into the material. Once you’ve established a groove, you can increase the pressure and speed. If you’re working with metal or thick wood, pull the bit out occasionally to clear out the debris; it keeps the hole clean and prevents the bit from overheating.
- 7. When you’re finished, don’t just yank the drill away. Ease off the trigger to let the bit come to a complete stop, then slowly withdraw the tool. If you’re drilling into a wall, this is the moment to double-check your depth before you go shoving an anchor into the hole. Take a breath, clean up your sawdust, and move on to the next task.
Mastering Drill Bit Types and Uses for Every Project
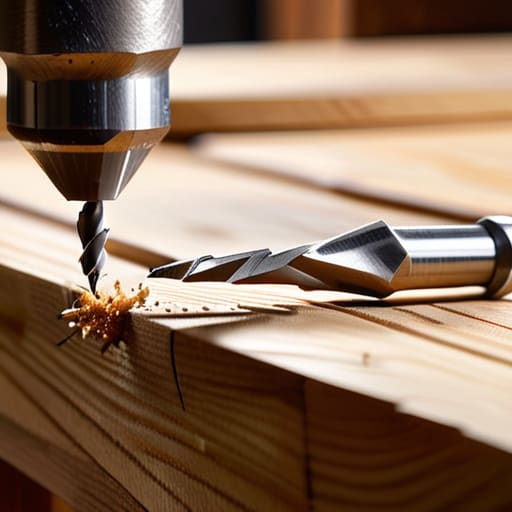
One of the biggest mistakes I see people make is grabbing whatever bit is sitting on top of the toolbox and hoping for the best. If you try to use a standard wood bit on a piece of steel, you’re going to end up with a burnt-out bit and a lot of frustration. Understanding the different drill bit types and uses is basically the shortcut to not ruining your materials. For instance, when you’re drilling into wood vs metal, you need to switch gears entirely. Wood bits have a sharp point to prevent wandering, while metal bits are designed to shave away material steadily without catching.
Beyond just the bit, you really need to get comfortable with adjusting drill torque settings based on the job. If you’re driving a screw into a soft piece of pine, you don’t want the motor spinning at full tilt or you’ll strip the head in seconds. I usually dial the torque down for delicate work and crank it up when I’m really moving through something dense. It’s all about matching the tool’s power to the task so you aren’t fighting the hardware.
Crucial Cordless Drill Safety Precautions to Keep You Moving
Look, I’m all for efficiency, but there is zero efficiency in a trip to the ER because you rushed a simple task. The biggest mistake I see people make is treating a cordless drill like a toy. Before you even pull the trigger, pay attention to your proper drill stance and grip. You want your feet planted firmly and your body braced; if the bit catches unexpectedly, you don’t want the tool wrenching your wrist or sending you stumbling backward into a workbench.
Another thing that trips people up is forgetting that different materials require different levels of control. If you’re switching from drilling into wood vs metal, your approach needs to change instantly. You’ll want to keep a firm, two-handed grip if you’re using a high-torque setting to prevent the tool from kicking back. Also, take a second to check your adjusting drill torque settings—setting the torque too high for a small screw is a one-way ticket to a stripped head and a wasted afternoon. Stay focused, stay steady, and the tool will do exactly what you want it to.
Pro Moves to Save Your Sanity (and Your Project)
- Mark your spot twice and drill once. I’ve learned the hard way that even a tiny slip can ruin a piece of furniture, so use a pencil to mark your exact center before you even touch the trigger.
- Use a pilot hole for everything. Don’t just jam a large screw into wood and hope for the best; drill a small, shallow hole first to guide the screw and prevent the material from splitting.
- Let the tool do the heavy lifting. You don’t need to lean your entire body weight into the drill; just apply steady, firm pressure and let the motor and the bit handle the actual work.
- Watch your speed. If you’re working with something delicate or a specific bit, slow down your trigger pull. High speed isn’t always better—sometimes it just leads to heat buildup or a messy hole.
- Check your level constantly. If you’re drilling into a wall, don’t just eyeball it. Use a small level or even a leveling app on your phone to make sure you aren’t accidentally creating a slanted hole that’ll make your hardware look crooked.
The Bottom Line
Don’t overcomplicate it—pick the right bit for the material, keep your grip steady, and let the tool do the heavy lifting instead of forcing it.
Safety isn’t just about eye protection; it’s about being mindful of your workspace and making sure your drill is secured before you pull the trigger.
Mastery comes from practice, not expensive gear. Start with the basics, stay organized, and you’ll realize you can handle pretty much any small home project yourself.
## The Mindset Shift
“A drill isn’t some intimidating piece of heavy machinery designed to make you feel unqualified; it’s just a tool meant to help you build the life you actually want to live. Once you stop fearing the noise and start focusing on the grip, everything else just clicks.”
Julian Reese Miller
Get Out There and Build Something
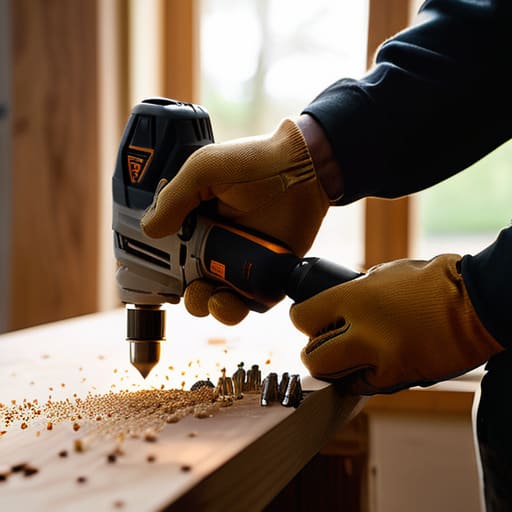
At the end of the day, mastering a drill isn’t about becoming a master carpenter or owning every attachment in the catalog. It’s about knowing how to pick the right bit for the material, keeping your safety gear on, and making sure you aren’t fighting the tool while you work. Once you stop overthinking the mechanics and start focusing on the fundamentals of control, the machine becomes an extension of your hand rather than a source of anxiety. Remember, a little bit of preparation—like checking your battery or securing your workpiece—saves you from a dozen small headaches later on.
I know that staring down a power tool can feel a bit daunting if you didn’t grow up with one in your hand, but trust me, the learning curve is much shorter than you think. Every time you finish a project, even a small one like hanging a shelf or fixing a loose hinge, you’re building more than just furniture; you’re building genuine self-reliance. Don’t wait for a “perfect” project to start practicing. Just grab your drill, take it slow, and get to work. You’ll be surprised at how much more freedom you feel when you realize you actually have the tools to fix your own world.
Frequently Asked Questions
How do I know if I'm applying too much pressure and about to snap the bit?
If you feel like you’re wrestling the drill, you’re pushing too hard. You want the motor to do the heavy lifting, not your shoulder. If you hear the RPMs drop or the drill starts straining and getting hot, back off. A good rule of thumb: if you have to lean your entire body weight into it just to make progress, stop. Let the bit bite naturally; forcing it is the fastest way to snap a bit or strip a screw.
Is there a trick to drilling into something hard, like masonry or metal, without the bit slipping?
The biggest mistake people make is trying to power through it immediately. If you’re hitting metal or masonry, start slow. I always use a center punch—or even just a nail and a hammer—to create a tiny starter indentation first. That little divot gives your bit a place to sit so it doesn’t wander across your surface. Once you’re seated, keep the pressure steady but let the tool do the heavy lifting.
When should I actually bother switching from a drill to an impact driver?
Look, if you’re just hanging a picture frame or assembling IKEA furniture, stick with your drill. It’s more precise and won’t strip your screws. But the second you start driving long screws into heavy timber or working in tight corners where you can’t apply much downward pressure, grab the impact driver. It does the heavy lifting for you by using those rotational pulses, saving your wrists and making sure the screw actually goes in straight.