 Food
The Secret to Juicy, Never-dry Chicken Breast
I used to think that mastering how to cook chicken breast required a culinary degree or at least a kitchen full of expensive, specialized gadgets. I spent way too many nights staring at a dry, rubbery slab of meat that tasted more like cardboard than actual dinner, feeling like I’d somehow failed at a basic adulting task. The internet doesn’t help, either; it’s constantly pushing these over-the-top, twenty-step recipes that involve sous vide machines and rare spices you’ll never use again. Honestly, it’s exhausting.
I’m not here to turn your kitchen into a high-end restaurant or waste your evening with unnecessary complexity. My goal is simple: I want to show you the most efficient, reliable way to get a juicy, flavorful meal on the table without the stress. I’ll give you the exact steps you need to nail the texture and seasoning every single time, so you can stop worrying about the stove and get back to living.
Table of Contents
Mastering the Pan Seared Chicken Breast Method Without the Stress
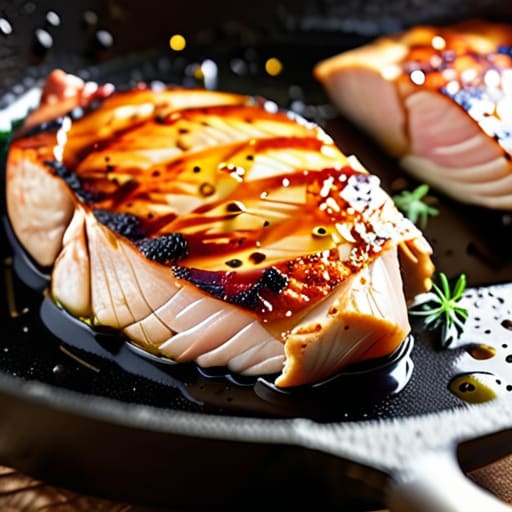
First, let’s talk gear. You don’t need a professional kitchen, but a heavy skillet—cast iron is my go-to—makes a massive difference. Start by patting your meat bone-dry with paper towels. This is the single most important step for preventing dry chicken breast; if there’s moisture on the surface, it’ll steam instead of sear, and you’ll end up with that rubbery texture nobody wants. Once it’s dry, get your pan hot with a bit of oil, lay the pieces in, and resist the urge to move them. Let that golden-brown crust form for about five or six minutes before you even think about flipping.
While you’re waiting, don’t feel like you have to stick to just salt and pepper. I usually keep a few chicken breast seasoning ideas on standby, like smoked paprika or a dried oregano blend, to keep things interesting without adding extra dishes. The real trick to staying stress-free, though, is knowing when to stop. Don’t guess. Use a digital thermometer to hit an internal temperature for chicken of 165°F (74°C). Once you hit that mark, pull it off the heat immediately so it can rest.
Simple Chicken Breast Seasoning Ideas for Busy Weeknights
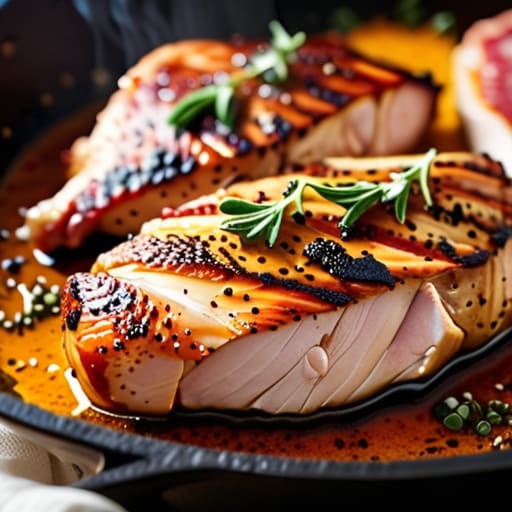
Look, you don’t need a pantry full of exotic spices to make this work. Most nights, I’m just looking for something that hits the spot without requiring a trip to a specialty grocer. My go-to is the “minimalist classic”: kosher salt, cracked black pepper, and a little garlic powder. If you want to elevate it slightly, grab some dried oregano or smoked paprika. These chicken breast seasoning ideas work every single time because they build a crust that complements the meat rather than masking it.
If you’re feeling a bit more adventurous, try a quick lemon-herb rub. Mix some zest, dried thyme, and a pinch of red pepper flakes. It adds a brightness that cuts through the richness of the sear. Just remember, the seasoning is only half the battle; if you overcook it, even the best spices won’t save you. I always keep a meat thermometer handy because hitting the right internal temperature for chicken is the real secret to preventing dry chicken breast. Keep it simple, season aggressively, and let the heat do the heavy lifting.
Five Ways to Stop Ruining Your Chicken
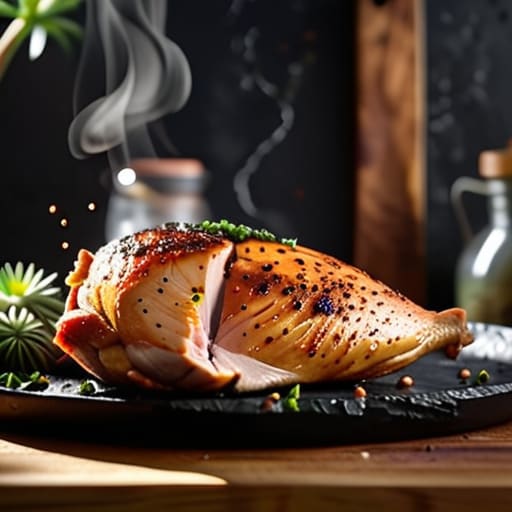
- Buy a cheap digital meat thermometer. Seriously, stop poking the meat with a fork and guessing. Pull the chicken off the heat when it hits 160°F; the carryover cooking will bring it to the safe 165°F mark without turning it into a piece of dry drywall.
- Let it rest before you touch it. I know it smells amazing, but if you cut into it the second it hits the plate, all those juices are going to run out onto the cutting board. Give it five minutes to settle so the moisture stays inside the meat.
- Don’t cook frozen meat. I get it, we’re all busy, but trying to pan-sear a frozen breast is a recipe for a burnt exterior and a raw middle. If you forgot to defrost it, just use the defrost setting on your microwave, but try to plan one night ahead.
- Pat it dry with paper towels. If the chicken is wet when it hits the pan, it’s going to steam instead of sear. You want that golden-brown crust—it’s where all the flavor lives—so get that moisture off before you season.
- Flatten the uneven parts. Chicken breasts are weirdly shaped, with one thin end and one thick end. Use a heavy skillet or even a rolling pin to gently pound the thick part down so the whole piece is a consistent thickness. This ensures everything cooks at the exact same rate.
The Bottom Line
Don’t fear the heat—a good sear is what keeps the meat from being bland, just make sure you don’t walk away from the stove.
Keep your seasoning kit minimal; salt, pepper, and one pantry staple are usually all you need to make it taste like a real meal.
Invest in a cheap meat thermometer so you can stop guessing and stop eating dry, rubbery chicken.
## The Philosophy of the Perfect Sear
“Cooking a chicken breast shouldn’t feel like a high-stakes chemistry experiment. It’s just protein and heat. If you stop worrying about the ‘perfect’ technique and just focus on getting a decent sear and checking the temp, you’ll spend less time hovering over a stove and more time actually enjoying your meal.”
Julian Reese Miller
Getting It Done
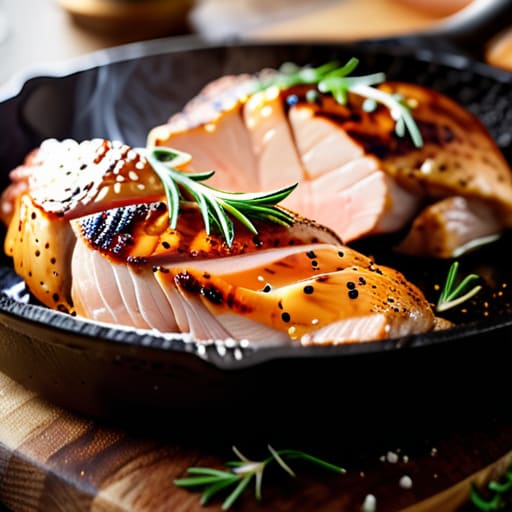
At the end of the day, cooking a decent chicken breast isn’t about having a culinary degree or a kitchen full of expensive gadgets. It’s just about the basics: getting a hot pan, not overthinking your seasoning, and knowing when to pull it off the heat so it stays juicy. Whether you’re sticking to the classic salt and pepper or experimenting with a little garlic powder, the goal is the same—reliable, edible protein that doesn’t take an hour of your life to prepare. Once you nail that pan-sear, you’ve officially mastered the foundation of a thousand different meals.
Don’t let a piece of poultry intimidate you. We spend so much time worrying about doing things “the right way” that we forget the whole point of cooking is just to fuel ourselves so we can move on to more interesting things. Use the multi-tool if you need to, grab a thermometer if it makes you feel better, but mostly, just trust your instincts. You don’t need to be a chef to be capable in your own kitchen. Get that chicken on the plate, enjoy your meal, and get back to living your life.
Frequently Asked Questions
How do I know if the chicken is actually done without using a thermometer every single time?
Look, I get it. Pulling out a thermometer every time feels like a chore when you’re just trying to eat. If you want to skip the tech, use the “touch test.” Press the center of the chicken with your finger; if it feels soft and squishy like your cheek, it’s raw. If it feels firm and bouncy, like the palm of your hand, you’re golden. Just slice into the thickest part to check for clear juices.
Is there a way to stop the meat from getting all dry and rubbery if I accidentally leave it in the pan too long?
Look, we’ve all been there—distracted by a phone call or a deadline and suddenly the chicken is a hockey puck. If it’s only slightly overdone, try slicing it thin against the grain and tossing it into a quick pan sauce or a bit of warm chicken broth. The moisture helps mask the texture. But honestly? If it’s truly rubbery, don’t fight it. Shred it into a taco or a salad with plenty of dressing.
Can I prep these chicken breasts ahead of time for the week, or will they get weird in the fridge?
You can definitely prep them ahead, but don’t just throw raw meat in a container and call it a day. If you season them and let them sit in a sealed container, the salt will actually tenderize the meat, which is a win. Just keep it to about two days max; after that, the texture starts to get a bit mushy. If you’re prepping for the whole week, cook them first, then store.