 DIY
DIY
Decorating Your Home Without Spending a Fortune
I remember moving into my first real apartment and staring at those sterile, white walls, feeling like I was living in a high-end hospital rather than a home. It’s easy to fall into the trap of thinking you need a massive renovation budget or a professional designer to actually feel settled in your space. Most people get stuck in that cycle of scrolling through Pinterest for hours, overwhelmed by projects that look way too complicated to actually finish. But honestly, finding effective diy home decor ideas shouldn’t feel like a part-time job. You don’t need to tear down walls to make a difference; sometimes, you just need to stop overthinking it and start doing.
In this post, I’m cutting through the noise to give you five straightforward projects that actually make an impact. I’ve narrowed these down to things that are high-reward but low-stress, focusing on items that add character without cluttering your life. I’m going to show you exactly how to refresh your space using basic tools and a bit of common sense. By the time we’re done, you’ll have a concrete plan to turn that generic room into a space that actually feels like yours.
Table of Contents
Upcycle Your Old Glassware
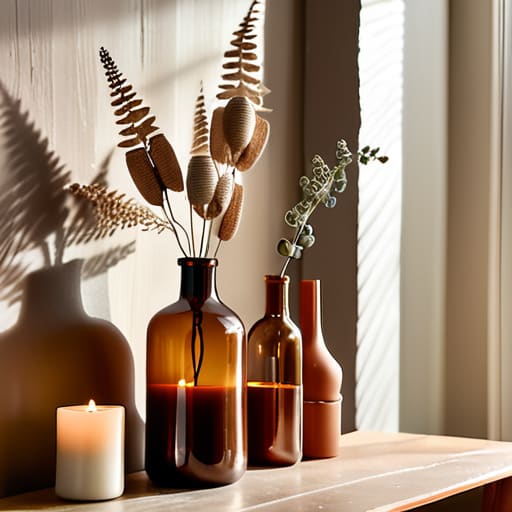
I have a drawer full of mismatched jars and old wine bottles that were just taking up space, but they’re actually a goldmine for decor. Instead of tossing them, grab some matte spray paint or even just a bit of twine and turn them into minimalist vases or candle holders. It’s one of those small wins where you spend maybe twenty minutes of your time and end up with something that looks intentional rather than cluttered.
The Low-Effort Floating Shelf
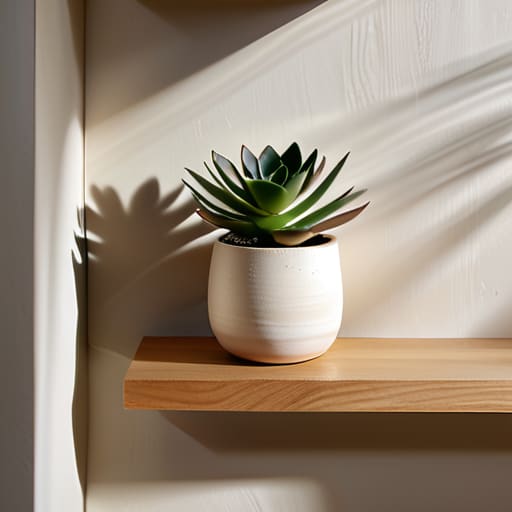
One thing I learned moving into my city apartment was that floor space is a luxury I simply don’t have. When you can’t add more furniture, you have to start looking at your walls. Installing a few simple floating shelves is probably the most efficient way to add character to a room without making it feel cramped. You don’t need a massive workshop for this—just a drill, a level, and a few sturdy brackets.
Transform Hardware for an Instant Upgrade
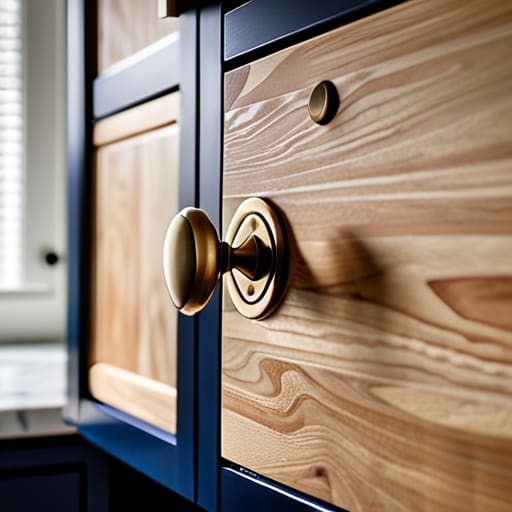
If you have a kitchen or a bathroom that feels a bit tired, don’t go out and buy new cabinets. That’s an expensive, time-consuming headache you don’t need. Instead, look at the hardware. Swapping out generic, builder-grade knobs for something with a bit more weight—like matte black or brushed brass—is a total game changer. It’s a small detail, but it’s the kind of thing that makes a space feel finished.
Frame Your Way to Better Walls
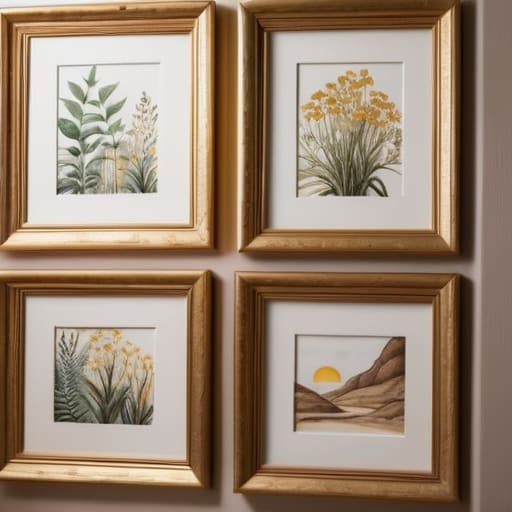
We all have those prints, sketches, or even interesting postcards sitting in a pile on our desks, but they look like clutter until they’re framed. I’ve found that a gallery wall is the easiest way to inject personality into a blank room without needing to master the art of painting. The trick is to avoid buying expensive, pre-made sets and instead hunt for affordable frames at thrift stores or discount retailers.
Use Textiles to Soften the Edges
Sometimes a room feels “off” not because it’s ugly, but because it’s too hard. If you’re living in a space with lots of metal, wood, and glass, everything is going to feel a bit sterile and cold. Adding some texture through throw pillows or a simple linen rug can immediately make a room feel more approachable and lived-in. It’s the fastest way to “warm up” a space without actually doing any construction.
The Bottom Line
Don’t let perfectionism stall your progress; a slightly imperfect DIY project is better than a blank wall and a wasted weekend.
Focus on high-impact, low-cost changes that actually change how a room feels, rather than just adding clutter.
Keep your tools organized and your budget tight so that decorating stays a hobby, not a second job.
The Philosophy of a Made Space
“Decorating shouldn’t feel like a high-stakes renovation project. It’s not about buying everything in a catalog; it’s about making small, intentional moves that turn a house into a place where you actually want to hang out.”
Julian Reese Miller
Final Thoughts Before You Get Started
At the end of the day, decorating your space shouldn’t feel like a high-stakes renovation project. Whether you’re just swapping out old hardware, repainting a statement wall, or repurposing some thrifted finds, the goal is the same: making your environment reflect who you actually are. You don’t need to tackle all five of these ideas at once, and you certainly don’t need a professional contractor on speed dial. Just pick one thing that feels manageable this weekend and start there. The beauty of these projects is that they are low-risk, high-reward, and—most importantly—they allow you to build a home that works for you rather than a showroom that feels hollow.
I know how easy it is to get stuck in the “research phase,” scrolling through endless Pinterest boards without ever actually picking up a screwdriver. My advice? Stop overthinking the perfect aesthetic and just start making things. Your home is a living, breathing space, and it’s okay if it isn’t “picture perfect” immediately. The most important part of any DIY project isn’t the final product, but the confidence you gain when you realize you can actually fix and shape the world around you. Grab your tools, clear some space on the table, and let’s get to work.
Frequently Asked Questions
I don't have a lot of tools—what are the absolute bare essentials I need to get started without spending a fortune?
Look, I’ve been there. I used to think I needed a garage full of power tools just to hang a shelf. You don’t. For most of the projects we’ve talked about, you really only need a solid screwdriver set (both Phillips and flathead), a hammer, a measuring tape, and a level. If you can afford one more thing, grab a cordless drill. That’s it. Don’t let a lack of gear stop you from starting.
How do I make sure my DIY projects actually look cohesive with my existing furniture instead of just looking like a craft project gone wrong?
The secret is to stop treating your DIYs like standalone experiments and start treating them like part of a team. Before you pick up a paintbrush or a drill, look at your existing furniture. Identify the dominant colors, the wood tones, and the hardware styles. If your living room is all mid-century teak and matte black, don’t go making a bright neon shelf. Match the “vibe” and the finish, and it’ll look intentional, not accidental.
What’s the best way to handle mistakes or "fails" without feeling like I've just wasted money and time?
Look, I’ve definitely spent way too much money on a “quick fix” that ended up in a landfill. Here’s my rule: treat every fail as a tuition fee for a lesson learned. If a project goes sideways, don’t scrap the whole thing immediately. Step back, grab your multi-tool, and see if it can be salvaged or repurposed. If it’s truly dead, let it go. Don’t let a bad afternoon ruin your momentum.