 DIY
Repurposing Everyday Items Into Creative Plant Containers
I remember standing in the middle of a big-box home improvement store last spring, staring at a single ceramic pot that cost more than my entire grocery budget for the week. It felt ridiculous. Why was I paying a premium for a designer label when all a plant actually needs is a way to hold dirt and a little bit of drainage? I realized then that most people think you need a massive workshop or a huge bank account to start a garden, but that’s just not true. You don’t need a curated aesthetic to grow something beautiful; you just need to stop overthinking it and start making your own diy planters from things you probably already have lying around.
In this guide, I’m stripping away the fluff and the expensive “lifestyle” nonsense. I’m going to show you exactly how to repurpose everyday items into functional, stylish containers without spending a fortune. We’re going to focus on practicality over perfection, covering everything from basic drainage hacks to choosing materials that actually last. My goal is to get you through the build quickly so you can spend less time tinkering and more time actually enjoying your new greenery.
Table of Contents
Guide Overview
Tools & Supplies
- Drill and drill bits for creating drainage holes
- Measuring tape for accurate cutting and placement
- Sandpaper for smoothing rough edges
- Upcycled containers (e.g., tin cans, wooden crates, or plastic tubs) 1-3 units
- Potting soil 1 bag
- Small stones or gravel 1 small bag for drainage
- Paint or decorative sealant 1 can
Step-by-Step Instructions
- 1. First, you need to decide what you’re actually working with. I usually scavenge for old wooden crates, large tin cans, or even those heavy-duty plastic buckets from the hardware store. The goal isn’t to find something perfect, but something sturdy enough to hold a decent amount of soil without cracking or collapsing.
- 2. Once you’ve picked your vessel, you have to tackle the drainage situation. This is the part people skip, and it’s exactly why their plants die. Grab a drill or a hammer and a large nail, and make sure you create at least three to four holes in the bottom. If you’re using a metal tin, just be careful not to bend the sides while you’re working.
- 3. Now, let’s talk about aesthetics, but let’s keep it low-effort. If your container looks a bit rough around the edges, a quick coat of spray paint or even some leftover wood stain can do wonders. I personally like a matte finish because it looks a bit more intentional and less cluttered in a small apartment setting.
- 4. Before you add the dirt, it’s a smart move to line your container. If you’re using something porous like a wooden crate, line the inside with a piece of landscape fabric or even a bit of old window screening. This keeps the soil from leaking out the sides while still letting the excess water escape through your drainage holes.
- 5. Grab a bag of high-quality potting mix—don’t just dig up dirt from the park, trust me on this. Fill your planter about three-quarters of the way up, pressing down just enough to remove large air pockets, but don’t pack it so tight that the roots can’t breathe.
- 6. Finally, it’s time to plant. Dig a small hole, place your seedling in, and tuck the soil around it. Give it a gentle watering right away to help everything settle in. Now that the hard part is over, you can actually get back to your day instead of staring at a pile of tools.
Mastering Upcycled Container Gardening Without the Stress
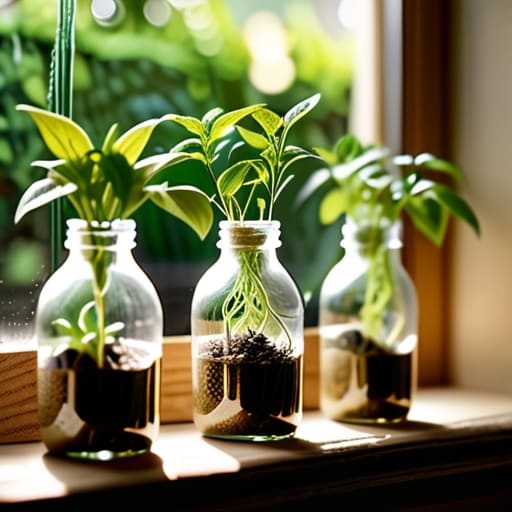
The biggest mistake I see people make is thinking they need a trip to a high-end garden center to get started. Honestly, some of the best results come from looking at what you already have in your recycling bin. If you’re working with limited space, recycled plastic bottle planters are a total game-changer for small windowsills. You just need a pair of scissors, some twine, and a bit of patience to drill drainage holes. It’s not about making something that looks like it belongs in a magazine; it’s about finding a system that works for your specific corner of the apartment.
If you want to lean into a more intentional look, I’d suggest experimenting with upcycled container gardening using old tin cans or even wooden crates you find at local markets. The key to keeping it stress-free is not obsessing over perfection. A few scuffs on a wooden box or a slightly uneven paint job just adds character. Focus on the health of the plant first, and let the aesthetic evolve naturally. Once you get the rhythm down, you’ll realize that gardening is less about the gear and more about the habit.
Budget Friendly Garden Decor That Actually Looks Good
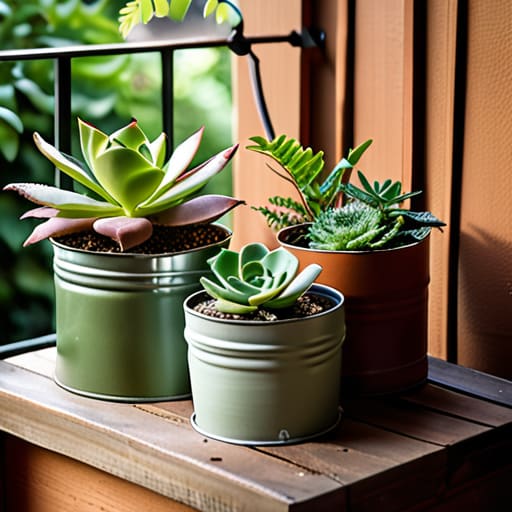
Once you’ve got your containers sorted, the next hurdle is making sure they don’t just look like a collection of random junk sitting on your balcony. The goal is to create a cohesive vibe without spending a fortune at a boutique garden center. I’m a big fan of using a consistent color palette to tie everything together. If you take those mismatched buckets or tins and hit them with a single coat of matte black or terracotta-colored spray paint, suddenly they look like a curated set rather than a pile of scrap. It’s a simple trick, but it’s the fastest way to achieve budget friendly garden decor that feels intentional.
If you’re working with limited floor space, don’t overlook verticality. I’ve spent many afternoons tinkering with hanging planter projects using nothing more than some leftover jute twine and old tin cans. By varying the heights of your plants, you create visual depth that makes even a tiny apartment nook feel like a lush sanctuary. Whether you’re building an indoor herb garden diy setup on your windowsill or layering larger pots on a reclaimed wooden crate, the key is to keep it simple. Focus on texture and height, and let the greenery do the heavy lifting.
Five Ways to Keep Your DIY Project From Turning Into a Mess
- Don’t skip the drainage step. If you’re using something like an old tin can or a plastic bucket, drill a few holes in the bottom first. I’ve learned the hard way that sitting in stagnant water is the fastest way to kill a plant and ruin your mood.
- Think about weight before you commit. If you’re putting these on a balcony or a small apartment ledge, skip the heavy ceramic or thick wood. Stick to lightweight upcycled plastics or thin metal so you aren’t constantly worrying about the structural integrity of your railing.
- Prep your containers like you prep a workspace. Give your old buckets or containers a good scrub with some mild soap before adding soil. You don’t want any leftover chemicals or old residue messing with the pH of your new little garden.
- Match the container to the plant’s “personality.” Don’t try to cram a deep-rooted herb into a shallow saucer just because it looks cool. Match the depth of your DIY planter to the actual needs of the plant so you aren’t fighting a losing battle every week.
- Keep your aesthetic intentional. If you’re using a bunch of mismatched items, try painting them all the same matte color or grouping them by size. It makes a collection of “junk” look like a curated design choice rather than a pile of stuff you forgot to throw away.
The Bottom Line
Don’t let “perfect” get in the way of planting; an old bucket with a few drainage holes works just as well as a designer ceramic pot.
Focus on functionality first—if a container doesn’t hold soil well or drain properly, it’s just clutter, not decor.
Keep your setup simple so you actually enjoy the process instead of turning your weekend into a high-stress construction project.
## The Real Goal of DIY
“At the end of the day, a planter doesn’t need to be a masterpiece or cost a fortune; it just needs to hold some soil and give you a reason to step outside for five minutes of peace.”
Julian Reese Miller
Get Out There and Grow
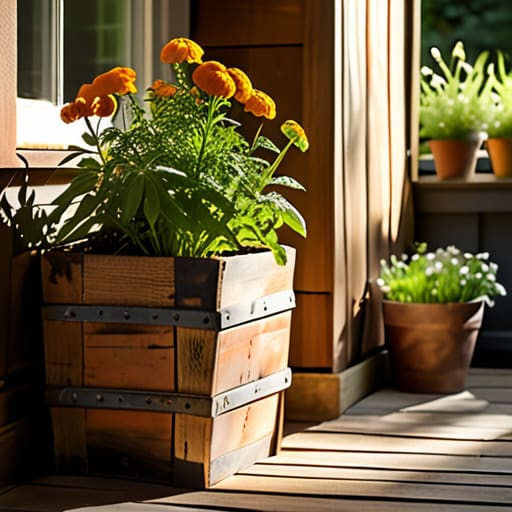
At the end of the day, building your own planters isn’t about achieving some Pinterest-perfect aesthetic or having a backyard that looks like a botanical garden. It’s about the fact that you took a few old buckets, some scrap wood, or even just a bit of imagination and turned them into something functional. We’ve covered how to upcycle containers without losing your mind, how to keep things looking intentional rather than cluttered, and how to do it all without draining your bank account. The goal was to strip away the complexity and just get you started, and if you’ve followed these steps, you’ve already done the hardest part.
Don’t let the fear of a little dirt under your fingernails or a slightly crooked edge stop you from starting. Perfection is the enemy of progress, and honestly, a planter with a few character marks tells a much better story than something bought off a shelf. My advice? Grab your multi-tool, find a container that needs a second life, and just start planting. You’ll figure out the rest as you go, and before you know it, you’ll have a little slice of green that you built with your own two hands. Now, go enjoy your weekend.
Frequently Asked Questions
Do I really need to drill holes in these containers, or is there a way to skip that part without killing my plants?
Look, I’ll be honest: skipping the drill is a gamble. If you don’t have drainage, water pools at the bottom, the roots rot, and your plant dies. It’s a massive headache you don’t need. If you’re avoiding the drill because you’re worried about the mess or the effort, just grab a heated screwdriver or a metal skewer to melt/burn holes through plastic. It’s faster, cleaner, and saves your plants’ lives.
How do I stop my DIY planters from leaking all over my apartment floor or balcony?
Look, there is nothing worse than seeing a dark water stain spreading across your balcony or hardwood. To stop the leak, you have two real options. If your planter has holes, you need a saucer or a deep tray underneath to catch the runoff. If it doesn’t have holes, you’re essentially creating a swamp, so drill some drainage holes and then line the bottom with a layer of pebbles or activated charcoal to help with airflow.
What kind of soil should I actually use if I'm repurposing old buckets or containers?
Don’t just grab whatever dirt you find in your backyard; it’s usually too heavy and packed with pests. Since you’re using repurposed containers, you want a high-quality potting mix. It’s lighter, holds moisture better, and actually lets the roots breathe. If you’re on a tight budget, look for a basic bag of organic potting soil and mix in a little perlite or coco coir. It’s a small investment that keeps your plants alive.