 DIY
DIY
The Fundamental Sewing Skills Every Newbie Should Master
I used to think that if I wanted to fix a ripped seam or hem a pair of trousers, I’d need to invest hundreds of dollars into a heavy-duty sewing machine and a dedicated craft room that looks like something out of a Pinterest board. Honestly, that kind of gatekeeping is exactly why most people give up before they even start. You don’t need a professional studio or a mountain of specialized equipment to master the sewing basics for beginners; you just need to know which three or four tools actually matter and how to use them without losing your mind.
My goal here isn’t to turn you into a high-fashion designer, but to give you the practical skills to stop letting minor wardrobe malfunctions dictate your life. I’m going to strip away the fluff and show you the exact, efficient steps to handle the most common repairs and simple projects. We’re going to focus on what works in the real world so you can fix your clothes, save some money, and get back to living your life.
Table of Contents
Mastering How to Thread a Sewing Machine Without the Headache
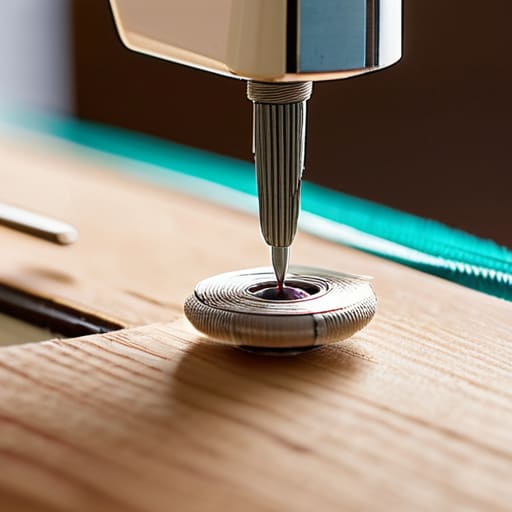
Look, I get it. You sit down, you see that tiny, chaotic maze of metal guides and tension discs, and suddenly you want to close the lid and walk away. It feels less like a hobby and more like a logic puzzle designed to make you fail. But here’s the thing: once you understand the flow, how to thread a sewing machine becomes muscle memory, no different than loading a printer.
First, stop trying to rush it. Grab your manual—or just follow the numbered path etched into the machine itself. Start by placing your spool on the pin and pulling the thread through the first guide. The trick is to maintain consistent tension; if the thread is slack, you’re going to end up with a bird’s nest of tangled mess under your fabric.
As you work your way down, make sure you’re hitting every single guide. If you skip even one, your stitch quality will tank. Once you reach the take-up lever, you’re almost there. Just remember, you aren’t just moving string; you’re setting the foundation for every single seam you’ll ever sew. Get this right, and the rest is easy.
The Essential Sewing Machine Tools You Actually Need
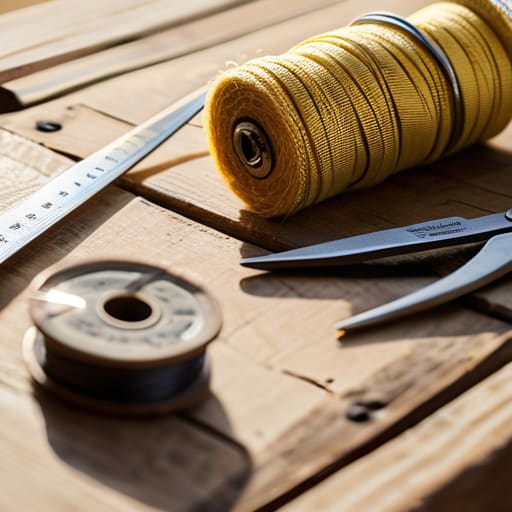
Look, you don’t need to walk into a craft store and buy every shiny gadget in the aisle just to fix a hem. Most of those “all-in-one” kits are mostly filler. To get started, you really only need a handful of sewing notions for beginners that actually serve a purpose. Grab a decent pair of fabric shears—and I mean real shears, not your kitchen scissors—a seam ripper (your new best friend when you inevitably mess up), a handful of glass-head pins, and a reliable measuring tape. If you have these, you’re already ahead of the curve.
Beyond the hardware, you’ll want to keep a small stash of versatile thread and a variety of universal needles. Since you’ll eventually be experimenting with different types of sewing fabrics, having a few different needle sizes will save you from that dreaded fabric bunching or snapping. My rule of thumb is to keep it lean: if you haven’t used a tool in three projects, you probably don’t need it cluttering up your workspace. Focus on the quality of the basics, and you’ll save yourself a lot of frustration down the line.
Five ways to stop fighting your fabric and start actually sewing
- Don’t go overboard with the thread. Grab a few decent spools of all-purpose polyester in neutral colors like black, white, and grey. You don’t need a rainbow of options right now; you just need something that won’t snap the moment you hit a seam.
- Ironing isn’t just for your work shirts. If you want your seams to look like they were done by a professional and not a frantic student, press every seam flat after you sew it. It’s the difference between a project looking “homemade” and looking actually good.
- Slow down your foot pedal. I know, it’s tempting to floor it to get the job done faster, but speed is the enemy of precision. Treat the pedal like a fine-tuned instrument—small, controlled movements will save you from a mountain of unpicking later.
- Get comfortable with the seam ripper. Look, I hate it as much as you do, but you’re going to mess up. It’s part of the process. Instead of getting frustrated and tossing a garment in the bin, just rip it out and try again. It’s much faster than starting from scratch.
- Use the right needle for the job. If you’re sewing heavy denim with a tiny universal needle, you’re going to have a bad time. Check your fabric weight and match it to a needle; it prevents skipped stitches and saves your machine from unnecessary strain.
The bottom line
Don’t let the gear intimidate you; you only need a few reliable tools to handle 90% of the repairs that actually matter.
Threading your machine is a mechanical process, not a magic trick—take it slow, follow the path, and don’t rush it.
The goal isn’t perfection, it’s capability; learn just enough to fix what breaks so you can stop wasting money on replacements.
## The mindset shift
“Don’t let a tangled thread or a missed stitch convince you that you aren’t capable; sewing isn’t about perfection, it’s about having the tools and the patience to fix what’s broken so you can stop wasting money on replacements.”
Julian Reese Miller
Getting Started Without the Stress
Look, we’ve covered a lot of ground, from getting that thread through the needle eye without losing your mind to making sure you aren’t wasting money on a dozen specialized tools you’ll never touch. The goal here wasn’t to turn you into a professional tailor overnight; it was to get you to a place where you aren’t intimidated by a simple rip in your favorite shirt. You’ve got the machine, you’ve got the basic kit, and most importantly, you’ve got the fundamental knowledge to actually sit down and start. Once you strip away the complexity, sewing is really just a series of small, manageable steps that anyone can master with a little bit of patience.
Don’t worry if your first few stitches look like a toddler tried to draw a straight line—I promise, even the pros started exactly where you are. The real win isn’t achieving perfection; it’s the feeling of reclaiming something that you thought was broken or useless. Every time you fix a hem or sew on a button yourself, you’re saving money and keeping quality clothes out of the landfill. So, grab that scrap fabric, clear a spot on your desk, and just dive in. You’ve got this, and honestly, you’ll be surprised at how much better it feels to fix it yourself and get on with your life.
Frequently Asked Questions
I keep breaking my needles—is there a trick to picking the right one for different fabrics?
Look, breaking needles is usually a sign that your gear is fighting your fabric. If you’re trying to force a heavy denim needle through a silk blouse, something’s going to snap. Think of it like using the wrong screwdriver—it’s just not built for the job. Grab a pack of universal needles for the basics, but get specific: sharps for woven fabrics and ballpoints for knits. Match the needle to the weight, and you’ll stop the snapping.
How much do I actually need to spend on a starter kit before I start buying the "good" stuff?
Look, don’t fall into the trap of buying those $100 “all-in-one” kits from big-box stores. Most of that junk is filler. Honestly? You can get a solid foundation for about $40 to $50. Grab a decent pair of fabric shears, a seam ripper, some glass-head pins, and a few spools of high-quality all-purpose thread. Get the basics right first. Once you’ve actually used them, then we can talk about upgrading your gear.
My stitches look wonky and uneven; am I doing something wrong or is it just the machine?
It’s usually a bit of both, but don’t panic—it’s rarely a broken machine. Most “wonky” stitches come down to tension or a messy bobbin. If your thread is pulling unevenly, check that your bobbin is seated correctly and that you aren’t pulling the fabric through the machine yourself; let the feed dogs do the heavy lifting. Stop fighting the machine, check your tension settings, and let’s get those lines straight.