 DIY
DIY
Keep Your Tools Sharp and Efficient With These Tips
I was halfway through trying to prune my overgrown hedge last summer when I realized my shears weren’t actually cutting; they were just bruising the stems. I stood there, sweating in the humidity, frustrated because I felt like I was fighting the plant instead of working with it. Most people think you need a professional workshop or a specialized machine to fix a dull edge, but that’s a total myth. Learning how to sharpen tools isn’t about investing in a garage full of expensive gear; it’s actually about mastering a few basic movements that anyone can do with a little patience.
I’m not here to give you a lecture on metallurgy or sell you a high-end sharpening system you’ll never use. Instead, I’m going to show you the no-nonsense way to bring your blades, chisels, and shears back to life using simple, accessible methods. We’ll skip the fluff and get straight to the practical steps so you can stop struggling with blunt equipment and get back to your life.
Table of Contents
Guide Overview
Tools & Supplies
- Kitchen knife (Steel blade)
- Garden shears (Bypass pruners)
- Whetstone (Dual grit 1000/6000) 1 unit
- Honing rod (Ceramic or steel) 1 unit
- Lubricant (Water or honing oil) 1 bottle
- Microfiber cloth 1 unit
Step-by-Step Instructions
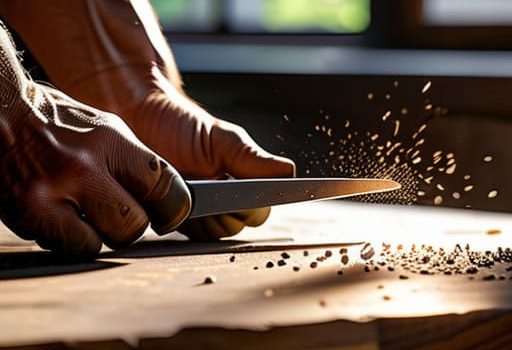
- 1. First, you need to clear a workspace. You don’t need a dedicated workbench, but find a flat, stable surface—a kitchen counter or a sturdy desk works fine. Grab a few old rags or even some newspaper to lay down. This keeps the metal filings from scattering across your floor and makes the cleanup much faster once you’re done.
- 2. Next, assess what you’re actually working with. Not every tool requires the same level of aggression. If you’re just touching up a garden trowel, a simple stone will do, but if you’ve got a chisel that’s seen better days, you might need something more substantial. Take a second to look at the edge; if there are obvious nicks or gouges, you’ll need to spend more time leveling the metal before you even think about honing the edge.
- 3. Grab your sharpening medium. For most of us, a decent whetstone is the most versatile and cost-effective way to go. If you’re using a water stone, soak it for about ten minutes until the bubbles stop rising. If it’s an oil stone, just apply a thin, even layer of honing oil. The goal here is to reduce friction and prevent the metal from clogging up the pores of the stone.
- 4. Now, find your angle. This is where most people get intimidated, but it’s simpler than it looks. Most household tools work best at a consistent angle between 15 and 30 degrees. A good trick I use is to hold the tool at that angle and then slide a couple of quarters underneath the spine to act as a makeshift gauge. Once you feel that angle is locked in, don’t let it wobble.
- 5. Start the actual sharpening process with long, steady strokes. Hold the tool firmly and push it across the stone, moving from the base to the tip. You’re looking for a “burr”—a tiny, microscopic lip of metal that forms on the opposite side of the edge. Once you feel that slight roughness with your thumb (carefully!), you know you’ve successfully moved enough metal to create a new edge.
- 6. Switch to your finer grit stone to refine everything. If your first stone was for “coarse” work, this one is for the finishing touches. Use lighter pressure here and focus on smoothing out those microscopic ridges. This step is what transforms a tool from “functional” to “actually enjoyable to use.” It’s all about consistency and patience at this stage.
- 7. Finally, test the edge and clean up. Take a scrap piece of wood or a piece of cardboard and give it a gentle slice. If it bites into the material without sliding off, you’ve nailed it. Wipe the tool down thoroughly with a dry rag to remove any leftover grit or oil. Now that your tools are actually working for you instead of against you, you can get back to your real work.
Mastering Whetstone Sharpening Techniques Without the Stress
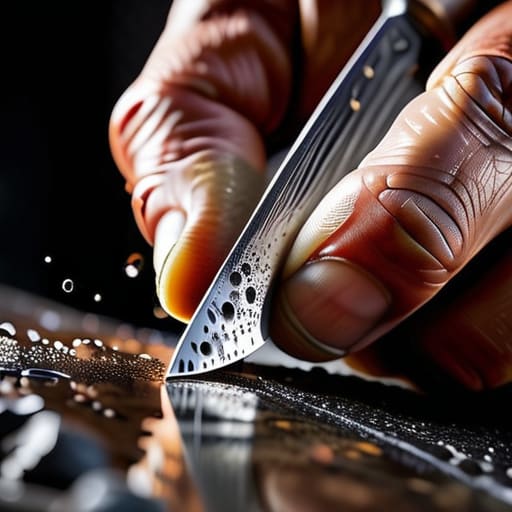
Once you’ve got the basics down, the real trick to mastering whetstone sharpening techniques is learning to trust your hands rather than your eyes. It’s easy to get obsessed with looking at the blade, but you really need to feel the resistance change as the edge evolves. If you’re working with a new stone, don’t skip the sharpening stone grit guide—starting with a coarse grit to reset the edge and finishing with a fine grit for that razor sharpness is the only way to ensure long-term success.
I also see people waste a lot of energy confusing honing steel vs sharpening. A honing rod isn’t a magic fix for a dull tool; it’s just meant to realign the edge you already have. If your blade is actually blunt, you need the stone. To wrap things up, once you’ve achieved that perfect bevel angle for blades, take a second to dry them immediately. A little bit of oil goes a long way in preventing tool rust, and honestly, a little extra maintenance now saves you from a massive headache later.
Finding Your Perfect Bevel Angle for Blades
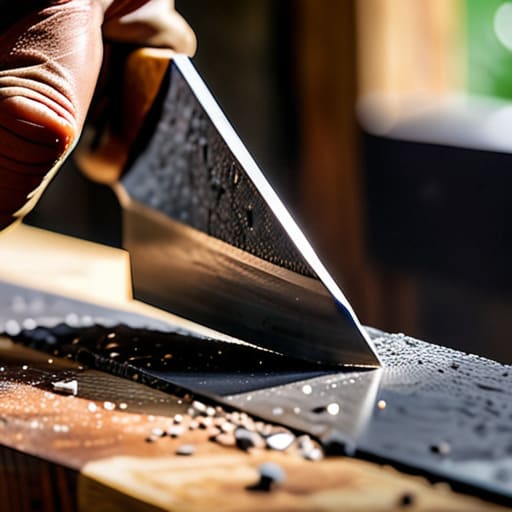
One of the biggest mistakes I see people make is treating every blade like it’s the same. If you try to sharpen a heavy-duty garden trowel using the same shallow angle you’d use for a delicate paring knife, you’re going to have a bad time. The bevel angle for blades essentially dictates the balance between how sharp the edge feels and how long it actually stays that way. For your everyday kitchen knives, you’re usually looking at something around 15 to 20 degrees. But if you’re working on a wood chisel or a heavy cleaver, you need a steeper, more robust angle to ensure you’re maintaining edge retention during heavy use.
Don’t feel like you need a protractor to get this right, though. I usually just use a spare nickel or a piece of cardboard as a makeshift guide to keep my hand steady. The goal isn’t perfection on the first pass; it’s about consistency. Once you find that “sweet spot” where the steel meets the stone, stick to it. If you can master that angle, you’ll stop fighting the tool and start actually working with it.
Five Pro-Tips to Save Your Tools (and Your Sanity)
- Don’t rush the process. I know you want to get back to your actual project, but if you force the angle or move too fast, you’ll just grind away the good steel. Slow, steady strokes are your best friend here.
- Keep it wet. Whether you’re using an oil stone or a water stone, never let the surface run dry. A thin layer of lubricant prevents metal particles from clogging the grit, which keeps the sharpening consistent and much easier on your hands.
- Listen to the metal. As you work, you’ll eventually feel and hear a “burr” forming on the opposite side of the edge. That’s not a mistake—it’s the signal that you’ve actually reached the edge and are ready to move to the next step.
- Clean your tools immediately after. Metal dust and grit are fine for sharpening, but they’re a nightmare if they sit on your tools and cause rust. Give everything a quick wipe down with a clean rag once you’re done.
- Stop treating every tool the same. A heavy-duty garden spade needs a different approach than a delicate kitchen knife. Use your common sense; match your technique to the tool’s intended job so you don’t ruin the edge profile.
The Bottom Line
You don’t need a professional setup to get professional results; a decent whetstone and a little patience are usually more than enough to get the job done.
Consistency is more important than force—focus on maintaining that same angle throughout the entire stroke rather than trying to muscle through it.
Don’t overcomplicate the process; the goal isn’t to become a master bladesmith, it’s just to make sure your tools work so you can stop fighting your gear and get back to your actual life.
The Real Value of a Sharp Edge
A sharp tool isn’t about having a collection of professional-grade gear; it’s about respect for your time. When your tools work with you instead of against you, you stop fighting the task and start actually finishing it.
Julian Reese Miller
Getting Back to the Real Work
At the end of the day, sharpening your tools isn’t about becoming a master craftsman or obsessing over microscopic perfection; it’s about respecting the gear you rely on. We’ve covered the basics of finding your bevel angle, the grit progression on your whetstone, and how to maintain a consistent stroke without losing your mind. Once you stop fighting against blunt, frustrating edges and start working with tools that actually bite, you’ll realize how much mental energy you were wasting on subpar equipment. It’s a small investment of time that pays massive dividends in efficiency and safety every single time you pick up a blade.
My advice? Don’t let the fear of a ruined edge keep you from trying. You’re going to slip, you might get the angle a little wonky at first, and that’s perfectly fine. The goal isn’t to achieve a museum-quality finish; it’s to ensure that when you have a project to tackle, your tools are ready to work as hard as you are. Stop letting dull blades slow your momentum and turn these steps into a quick habit. Now that you’ve got the skills, put the stones away, put your tools back in their place, and get back to living.
Frequently Asked Questions
How often do I actually need to do this without making it a weekly chore?
Look, I’m not a fan of busywork, so don’t turn this into a weekly ritual. If you’re using your tools for light DIY or occasional cooking, checking them once a month is plenty. However, if you’re mid-project and notice the blade starts “skating” over the material instead of biting in, that’s your cue. Sharpen when the performance dips, not because the calendar says so. Keep them ready, not perfect.
Is it worth buying a professional sharpening service, or am I just wasting money?
Look, I get the temptation to just hand your stuff off and be done with it. If you’ve got high-end Japanese chef knives or expensive woodworking tools, paying a pro is a solid investment in their longevity. But for your everyday kitchen knives or basic garden shears? Save your cash. Learn the basics yourself. Once you get the hang of it, you’ll realize you don’t need a professional to keep your gear working perfectly.
What do I do if I accidentally mess up the edge while trying to find the right angle?
Don’t panic—you haven’t ruined the tool, you’ve just reset your starting point. If you’ve ground away too much metal or created a weird, uneven edge, the fix is simple: go back to a coarser grit. Use a lower-number stone to reshape the bevel until it’s consistent again. It takes a little more elbow grease and time, but it’s much better than trying to patch a wonky edge with a fine stone.