 DIY
The Right Way to Repair a Hole in Your…
I was mid-way through moving a heavy bookshelf into my apartment last Tuesday when the whole thing went sideways, and I heard that dreaded thud against the drywall. I just stood there, staring at a gaping crater where my wall used to be, feeling that immediate wave of “great, now I have to call a professional and spend a fortune.” But here’s the thing: you don’t. Most people think learning how to patch a hole in the wall requires a specialized toolkit or a weekend-long construction project, but that’s just a myth designed to make you feel less capable than you actually are.
I’m not going to waste your time with overly technical jargon or a list of expensive equipment you’ll never use again. I’ve spent enough time fixing my own space on a budget to know that simplicity is king. In this guide, I’m going to walk you through the exact, streamlined process to get that hole filled, sanded, and painted so smoothly that you’ll forget it was ever there. We’re going to get this done fast and right, so you can stop staring at the damage and get back to your actual life.
Table of Contents
Guide Overview
Tools & Supplies
- Putty knife for applying compound
- Sandpaper (fine grit) for smoothing surfaces
- Utility knife for trimming edges
- Sponge for cleaning dust
- Spackle or joint compound (small tub)
- Mesh adhesive patch or drywall patch kit
- Sanding sponge or sanding block
- Wall primer and matching paint
Step-by-Step Instructions
- 1. First, grab your multi-tool or a utility knife and clear out the debris. If the hole has jagged, loose pieces of drywall sticking out, you need to trim them back. You want a relatively flat surface to work with, otherwise, your patch will end up looking like a lumpy mountain range instead of a smooth wall.
- 2. Next, you’re going to need some spackle and a putty knife. If the hole is small—we’re talking a nail hole or a tiny dent—you can just dab a bit of spackle directly into the gap. If it’s larger, you might want to grab a piece of mesh patching tape to bridge the gap first. This acts like a skeleton for the patch so it doesn’t just sink back into the hole.
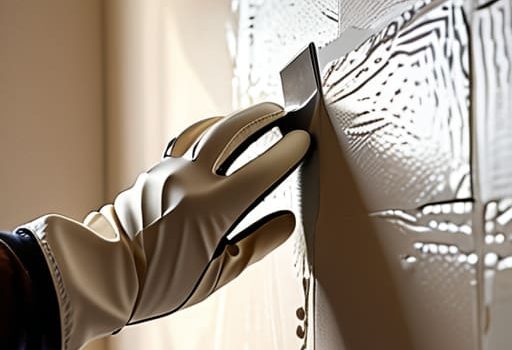
- 3. Now, apply the spackle. Use your putty knife to spread it over the area with a firm, steady hand. Don’t try to make it perfect on the first pass; just focus on filling the void and getting it as level as possible. It’s much easier to add a second thin layer than it is to scrape off a massive, dried-on glob later.
- 4. This is the part where most people get impatient: let it dry completely. Depending on the brand of spackle and the humidity in your apartment, this could take anywhere from twenty minutes to a few hours. I usually go grab a coffee or tinker with one of my synths to keep myself from hovering over it.
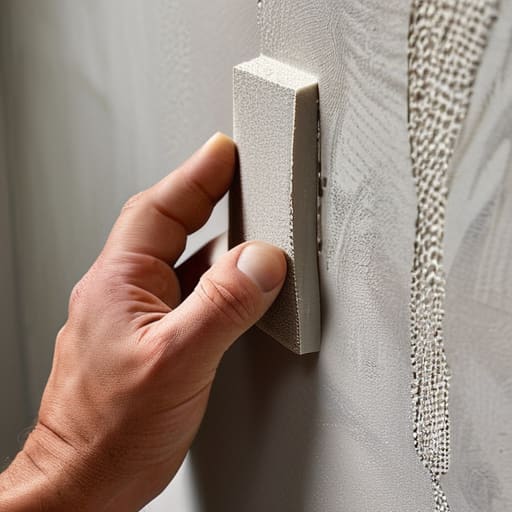
- 5. Once it’s dry, grab a piece of fine-grit sandpaper and start smoothing things out. You’re looking to blend the edges of the patch into the rest of the wall so you can’t feel the transition when you run your hand over it. You don’t need to sand the whole wall, just feather the edges until they feel seamless.
- 6. Before you even think about touching a paintbrush, wipe the area down with a slightly damp cloth. You need to get rid of all that fine white dust, or your paint won’t stick properly and you’ll end up with a patchy, textured mess that screams “I tried to fix this.
- 7. Finally, it’s time to paint. If you have a little bit of the original wall paint left in a jar somewhere, you’re golden. Use a small brush or a roller to dab the paint on, starting from the center of the patch and working your way outward. This helps the new paint blend into the old, making the whole repair virtually invisible.
Using a Drywall Patch Kit for Small Holes Fast
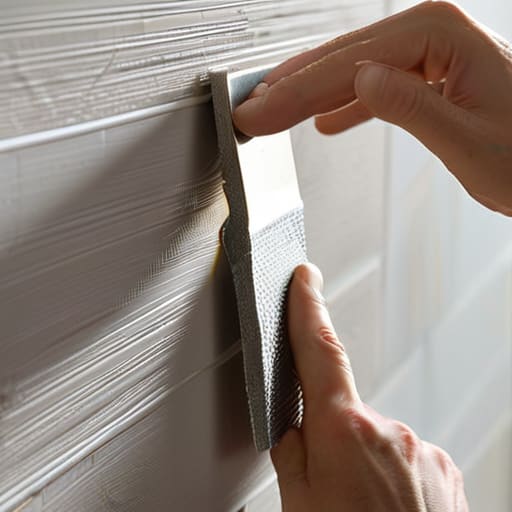
If you’re staring at a hole from a door handle or a rogue moving box and feeling a bit overwhelmed, honestly, don’t. You don’t need to go out and buy a whole sheet of gypsum and a saw. For those minor divots, grabbing a drywall patch kit for small holes is the ultimate shortcut. These kits usually come with a self-adhesive mesh patch that does half the heavy lifting for you. You just stick the mesh over the gap, apply your compound, and you’re halfway to being done.
The trick to making this look professional rather than “I did this at 11 PM on a Tuesday” is all in the spackling compound application. You want to apply it in thin, even layers. If you go too thick right out of the gate, you’ll end up spending way too much time trying to figure out how to sand drywall smooth later on. It’s much more efficient to do two light coats than one thick, messy one. Keep it light, keep it even, and you’ll save yourself a massive headache during the sanding phase.
Repairing Large Drywall Damage Without Breaking the Bank
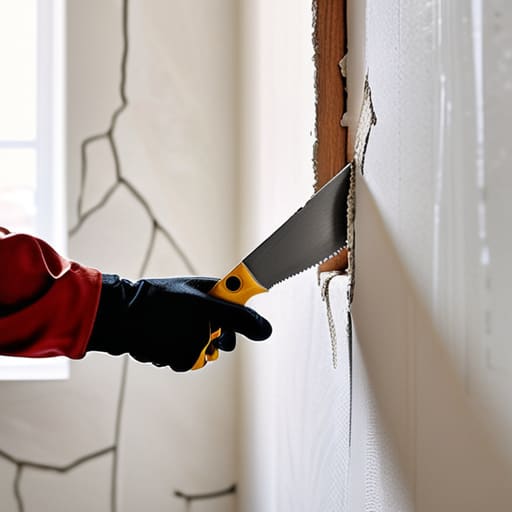
Now, if you’re staring at a gaping crater from a doorknob impact or a plumbing mishap, a standard drywall patch kit for small holes isn’t going to cut it. For these bigger jobs, you’re going to need to play a bit more surgeon. I usually grab a scrap piece of drywall from a local hardware store—it’s way cheaper than buying a full sheet—and cut it to fit the hole. The secret to making this look professional is all in the drywall mesh tape installation. You want to bridge that gap between the old wall and your new patch to prevent cracks from forming later. It’s a little more labor-intensive, but it saves you from a massive headache down the road.
Once your patch is physically in place, you’ll move on to the spackling compound application. Don’t try to get it perfect in one thick layer; instead, apply a few thin coats, letting each dry completely. This makes the eventual job of learning how to sand drywall smooth much easier on your arms and your patience. If your walls have a specific pattern, don’t panic—I’ll leave some wall texture matching tips for the final stage so the repair actually blends in.
Pro Tips to Keep Your Repair from Looking Like a DIY Disaster
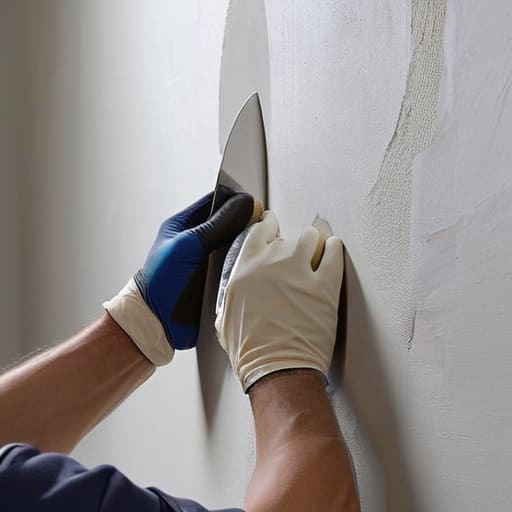
- Don’t rush the drying time. I know it’s tempting to just slap another layer of spackle on while it’s still damp to get it over with, but you’ll end up with a gummy mess that cracks later. Let it dry completely between coats so you get a smooth, professional finish.
- Sand lightly, not heavily. You aren’t trying to grind down the entire wall; you just want to level out the edges. Use a fine-grit sanding sponge and a gentle touch so you don’t accidentally sand through the paper of the surrounding drywall.
- Master the “feathering” technique. Instead of just filling the hole, spread your spackle slightly wider than the damage itself. By thinning out the edges as you move outward, you make the patch blend seamlessly into the wall rather than leaving a visible bump.
- Check your lighting. Once you think you’re done, grab a flashlight or your phone and shine it sideways across the patch. This “raking light” will reveal any tiny bumps or divots you missed that the overhead lights would have hidden.
- Match your texture. If your walls have a specific pattern—like a slight orange peel or knockdown texture—don’t leave the patch perfectly smooth. Use a damp sponge or a specialized spray to mimic that texture so the repair doesn’t stand out like a sore thumb once you paint.
The Bottom Line
Match your method to the damage—use a quick patch kit for those annoying nail holes, but don’t be afraid to go bigger with a proper piece of drywall if someone actually put a fist through the wall.
Patience is your best tool; it’s tempting to slap a thick layer of spackle on and call it a day, but doing multiple thin coats will save you hours of sanding and a much smoother finish.
You don’t need a professional toolkit to get this done, just a few basics like a putty knife and some sandpaper to keep your repair looking seamless and invisible.
## The Real Goal of Home Maintenance
“A hole in the wall isn’t a sign that you’re failing at adulthood; it’s just a small interruption. Don’t let a bit of damaged drywall turn into a weekend-long headache—fix it, smooth it over, and get back to the things that actually matter.”
Julian Reese Miller
Done and Dusted
At the end of the day, whether you went the route of a quick-fix patch kit for those annoying nail holes or tackled a larger section of drywall with a bit more elbow grease, the goal was the same: getting that damage out of sight. Remember that the secret isn’t in buying the most expensive professional tools, but in the patience of your sanding technique and ensuring your layers of spackle are thin and even. If you find yourself staring at a slightly uneven surface, don’t panic—just a light sand and a tiny bit more compound will usually do the trick. You’ve successfully navigated the mess, and now that hole is officially a thing of the past.
I know that looking at a damaged wall can feel like just another item on an endless to-do list that you never asked for, but I hope this process showed you that you don’t need to call a contractor every time something breaks. There is a certain kind of quiet satisfaction that comes from fixing things yourself and realizing your home is something you can actually maintain. Now that the repair is finished, stop staring at the wall and go enjoy your evening. You’ve earned the time back.
Frequently Asked Questions
How do I know if I need to replace a whole section of drywall or if a patch will actually hold?
Here’s the rule of thumb I use: if the damage is just a puncture or a localized dent, patch it and move on. But if you see crumbling edges, widespread moisture discoloration, or if the wall feels “spongy” when you press it, stop right there. That usually means the structural integrity is shot. In those cases, a patch is just a band-aid on a broken bone. Save yourself the headache and replace the whole section.
Can I just paint over the patch immediately, or do I really have to wait for it to dry completely?
I know, I know—you just want this project finished so you can stop looking at it. But seriously, don’t rush the paint. If you slap color over wet spackle, it’s going to look blotchy, crack, or peel later. It’s a waste of your time and your money. Wait until it’s bone-dry and sanded smooth. Trust me, a little patience now saves you from having to redo the whole thing tomorrow.
What’s the best way to sand it down so I don't end up with a weird, bumpy texture on my wall?
The secret is patience and light pressure. If you go at it too hard, you’ll gouge the fresh spackle and end up fighting a losing battle against bumps. Use a fine-grit sanding sponge—don’t bother with the heavy-duty stuff—and move in small, circular motions. Periodically run your hand over the area; if it feels smooth to your touch, it’s ready. It’s better to sand twice lightly than once too aggressively.