 DIY
Learning Macramé: How to Create Your Very First Wall…
I was sitting on my living room floor last Tuesday, surrounded by a chaotic nest of tangled cotton cord and feeling completely defeated by a YouTube tutorial that promised “five-minute knots.” My hands were cramping, my patience was thin, and I was starting to think that macrame was one of those hobbies reserved for people with endless free time and a Pinterest-perfect studio. But here’s the truth: most of those tutorials make macrame for beginners look like some complex, meditative art form that requires a specialized toolkit. It doesn’t. It’s really just a series of repeatable patterns, and once you stop overthinking the “artistry” and focus on the mechanics, it becomes incredibly satisfying.
I’m not here to sell you on a lifestyle or tell you that you need to buy a hundred-dollar kit to get started. My goal is to strip away the fluff and show you the actual way to build something functional for your home without the headache. We’re going to cover the only three knots you actually need to know, how to pick cord that won’t drive you crazy, and how to set up a workspace that doesn’t take over your entire apartment. Let’s stop scrolling and actually start making things.
Table of Contents
Guide Overview
Tools & Supplies
- Scissors for cutting cord
- Measuring tape for length accuracy
- S-hooks or command hooks to hang work
- Cotton macrame cord (3mm or 4mm) 1 roll
- Wooden dowel or ring 1 piece
- Masking tape to secure cord ends
Step-by-Step Instructions
- 1. First things first, clear off a table or a desk—you’re going to need some workspace. Grab a piece of heavy-duty tape or a S-hook to hang your cord from so it doesn’t just end up in a tangled heap on the floor. I usually just tape a wooden dowel to the edge of my desk; it keeps everything stable while you’re pulling tension on the knots.
- 2. Don’t go out and buy a $50 professional kit right away; that’s a waste of money. Just grab a roll of 3mm or 4mm cotton macrame cord and a pair of sharp scissors. If you’re looking to save a few bucks, check your local craft store for the basic single-strand cotton—it’s much easier to work with when you’re still figuring out your hand positioning.
- 3. Start with the Lark’s Head knot, which is basically how you attach your cord to your dowel or ring. Fold your cord in half to create a loop, place that loop over your rod, and pull the two loose ends through the loop. It sounds simple because it is, but getting this part tight and even is the foundation for everything else you’ll build.
- 4. Once you’re anchored, it’s time for the Square Knot, the bread and butter of the whole craft. Take four strands: two in the middle (the “core”) and two on the outside. Take the left cord, cross it over the core to make a shape like a “4,” then take the right cord, pass it over the left cord, under the core, and up through that loop. Flip it and do the same thing starting from the right side to lock it in.
- 5. If you want to add some texture, try a Spiral Stitch, which is really just a series of half-square knots. Instead of alternating sides, you just keep doing the same side every single time. It creates this cool, twisting rope effect that looks way more complicated than it actually is, which is great for building your confidence.
- 6. As you work, keep an eye on your tension. If you pull one knot way tighter than the one before it, your project is going to look lopsided, and nobody wants that. Try to maintain a steady, rhythmic pull so your pattern stays straight and professional-looking without needing a ruler every five seconds.
- 7. Finally, once you’ve finished your pattern, it’s time for the cleanup. Lay the piece flat and trim the bottom fringe to your desired length. I like to use a fine-tooth comb to brush out the ends of the cotton cord to give it that soft, boho fringe look—it’s a small step that makes the whole thing look finished instead of just “cut.
The Essential Macrame Tools List You Actually Need
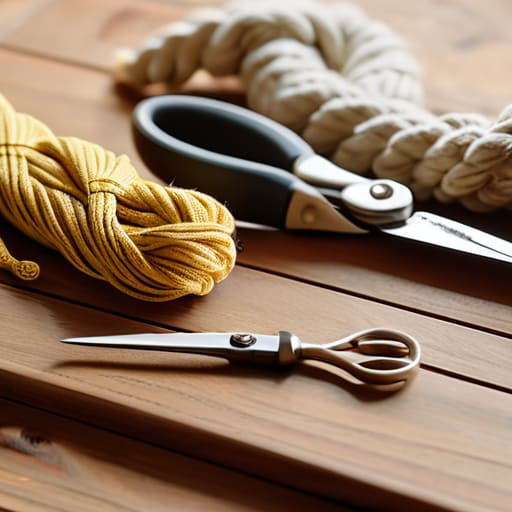
Look, I’ve seen too many people get paralyzed by a massive shopping list before they’ve even tied their first knot. You don’t need a specialized studio setup to get started. When I first dove into this, I thought I needed every gadget in the craft aisle, but most of it is just noise. Your essential macrame tools list should really just boil down to a few functional items: a pair of sharp fabric scissors, a measuring tape, and something to hold your work steady, like a wooden dowel or even a sturdy command hook.
The real heavy lifter here is your string. Don’t get bogged down in the endless options; just look for macrame cord types for beginners like 3mm or 4mm single-strand cotton. It’s forgiving, easy to manipulate, and won’t fight you while you’re learning the ropes. If you can find a cord that feels comfortable in your hands, you’re already halfway there. Everything else is just extra. Grab the basics, clear a small spot on your table, and let’s actually start making something.
Choosing the Right Macrame Cord Types for Beginners
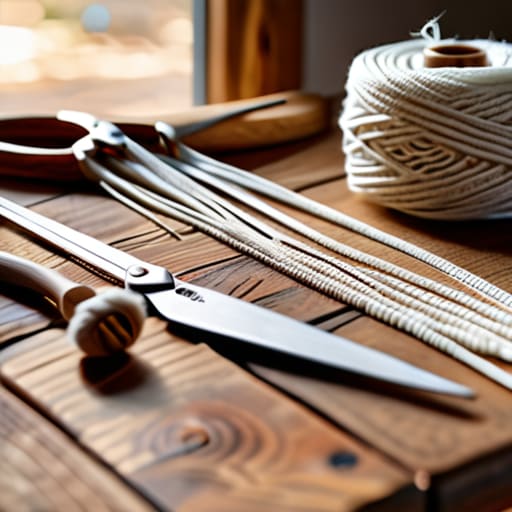
Look, don’t let the endless aisles of craft stores intimidate you. You don’t need a dozen different textures to start; you just need something that behaves. If you’re hunting for the best macrame cord types for beginners, my money is always on single-strand cotton. It’s forgiving, it’s soft, and most importantly, it frays beautifully when you want to brush out the ends for a boho look. Avoid those cheap, synthetic ropes you see at big-box retailers—they’re slippery, they don’t hold tension well, and they’ll make your first few attempts feel much harder than they actually are.
If you want a cleaner, more structural look for a plant hanger or a small wall piece, go with a 3-ply twisted cotton cord. It’s a bit more rigid, which helps when you’re working through basic macrame knot patterns for the first time because the cord stays exactly where you put it. Just a heads-up: once you pick a style, stick with it for your first couple of projects. Learning how to manage the tension of one material is way more important than having a colorful collection of strings you don’t know how to use yet.
Five Things I Wish I Knew Before My First Knot
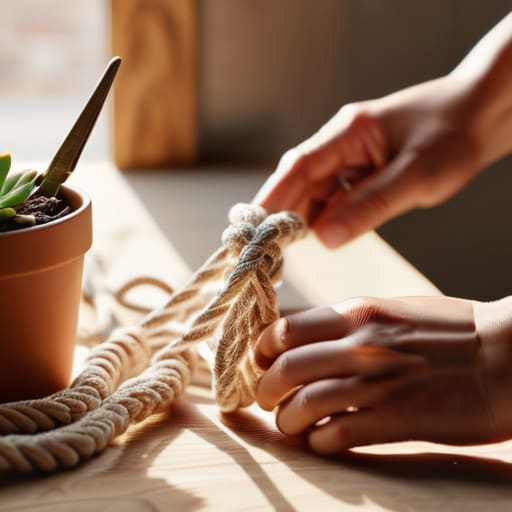
- Don’t obsess over perfection. Your first few pieces are going to look a little wonky, and that’s fine. The goal is to learn the rhythm of the knots, not to win a craft competition.
- Tension is everything. If you pull one knot tight and the next one loose, your whole project is going to look lopsided. Try to find a consistent “feel” for how much force you’re applying.
- Work on a flat surface whenever possible. It’s tempting to just hang everything from a door frame immediately, but having your cord laid out on a table makes it way easier to see what you’re actually doing.
- Buy more cord than you think you need. There is nothing more frustrating than being 90% finished with a wall hanging only to realize you’ve run out of string. Trust me, I’ve been there.
- Keep your workspace clean. Macrame creates a surprising amount of tiny little fiber scraps. If you don’t clear them out as you go, you’ll end up fighting a mountain of fuzz instead of actually crafting.
The Bottom Line
Don’t let the gear intimidate you; you only need a few basic tools and the right cord to start making something real.
Focus on mastering one knot at a time rather than trying to tackle a complex pattern on day one.
Perfection is a time-sink—just get the knots tied, finish the project, and move on to the next one.
Forget Perfection
You don’t need a Pinterest-perfect studio or a master’s degree in textile arts to start; you just need some cord, a bit of patience, and the willingness to let your first few knots look a little messy while you find your rhythm.
Julian Reese Miller
Just Start Knotting
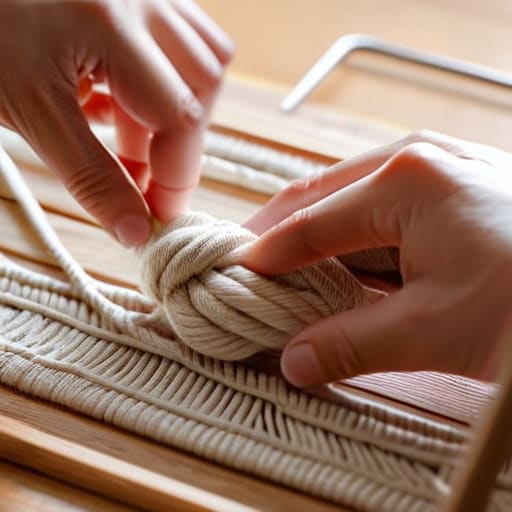
Look, we’ve covered the ground: you don’t need a warehouse full of supplies, just the right cord and a few basic knots to get the ball rolling. We talked about picking a cord that won’t make you want to pull your hair out, and we stripped the tool list down to the absolute essentials so you aren’t wasting money on gear you’ll never touch. The goal here wasn’t to turn you into a professional fiber artist overnight, but to give you the foundational mechanics needed to actually finish a project. Once you have the right materials and a clear process, the intimidation factor just disappears.
At the end of the day, your first few pieces might look a little wonky, and honestly? That’s fine. Don’t let the pursuit of a “perfect” Instagram aesthetic stop you from actually creating something with your own two hands. The real value in macrame isn’t in the final wall hanging; it’s in the quiet, focused time you spend working through a knot when the rest of the world is loud. Stop overthinking the tension and just embrace the process. You’ve got the tools and the plan—now go make something.
Frequently Asked Questions
How do I stop my knots from looking messy or uneven as I'm working?
The secret isn’t more practice; it’s tension management. Most people pull one cord tight and leave the other loose, which is why your work ends up looking wonky. Pick a rhythm. Every time you finish a knot, give both working cords an identical, firm tug. If you’re struggling, use a clothespin or a small clamp to hold your piece steady. If it’s moving, your hands can’t be consistent. Stay steady, stay even.
Do I really need a wooden dowel, or can I just hang my project from a command hook?
Honestly? You can absolutely skip the dowel. If you’re just looking to hang a small plant holder or a simple wall piece, a Command hook works perfectly fine. I’ve done it myself when I didn’t want to drill holes in my apartment walls. Just make sure the hook is rated for the weight of your cord plus whatever you’re hanging. Don’t let a lack of hardware stop you from starting.
How much cord should I actually buy so I don't run out halfway through my first project?
Look, there is nothing more frustrating than being halfway through a knot and realizing you’re short on cord. It kills your momentum. For a standard small plant hanger, I usually grab about 30 to 50 meters. If you’re tackling something larger, like a wall hanging, double that. My rule of thumb? Always buy one extra spool than you think you need. It’s cheap insurance against a ruined afternoon and a trip back to the store.