 DIY
DIY
Building a Basic Bookshelf From the Ground Up
I was staring at a pile of particle board and a half-empty box of mystery screws last Tuesday, wondering why I’d ever thought I could tackle this project on a whim. We’ve all been there: you look at a DIY tutorial online and it looks effortless, but then you realize you’re missing a specialized drill bit or a level that costs more than the wood itself. The truth is, learning how to build a bookshelf shouldn’t feel like you’re trying to pass a master carpenter’s exam. Most of the “expert” guides out there make things way more complicated than they need to be, adding unnecessary steps that just eat up your Saturday.
I’m not here to sell you on a workshop full of expensive power tools or a degree in woodworking. My goal is to show you how to get this done using basic, functional tools and a straightforward plan that actually works in a real-world apartment. I’ll walk you through the exact materials you need, how to avoid the most common assembly mistakes, and how to finish it so it looks intentional, not accidental. Let’s get this built so you can finally stop staring at that empty wall and get back to your life.
Table of Contents
Guide Overview
Tools & Supplies
- Circular saw or hand saw for cutting lumber
- Power drill for driving screws
- Measuring tape for precision
- Sandpaper for smoothing surfaces
- Level to ensure stability
- 1×4 or 1×6 pine boards (approx. 4-5 boards)
- Wood screws (1.5 inch, 1 box)
- Wood glue (1 bottle)
- Wood stain or paint (1 quart)
- Sandpaper (various grits)
Step-by-Step Instructions
- 1. First things first, you need to get your materials together. Don’t overcomplicate this by heading to a high-end boutique lumber yard; just grab some decent quality plywood or pre-cut pine boards from your local hardware store. You’ll need your side panels, the top and bottom pieces, a few adjustable shelves, and a thin piece of plywood for the backer. Grab a box of wood screws, some wood glue, and a drill. I always keep my multi-tool handy just in case I realize I forgot a screwdriver bit halfway through.
- 2. Once you have your wood, it’s time to map everything out. Lay your side panels flat on the floor—preferably on a rug or some cardboard so you don’t scratch the finish—and mark exactly where you want those shelves to sit. Use a pencil and a level to ensure your marks are perfectly straight. If your lines are crooked now, your books are going to look like they’re sliding off a cliff later, and nobody wants that.
- 3. Now, let’s get to the actual assembly. Apply a thin bead of wood glue along the edges of your bottom and top pieces. This is the secret to a shelf that actually stays together instead of wobbling every time you walk past it. Align the pieces with your side panels and start driving your screws in. Don’t tighten them all the way until you’ve checked that everything is square; it gives you a little breathing room to make adjustments.
- 4. While the main frame is still a bit loose, it’s time to attach the backer. This is the step most people skip because it feels tedious, but the backer is actually what provides the structural integrity to stop the whole thing from leaning sideways. Lay the frame face down, align your thin plywood sheet, and nail it into the edges of the boards. Work your way around the perimeter, making sure the frame stays dead center as you go.
- 5. Next, let’s add those adjustable shelves. Instead of screwing them in permanently, I highly recommend drilling small holes along the inside of your side panels to hold shelf pins. This way, if you suddenly buy a massive coffee table book or a weirdly shaped vase, you can change the layout whenever you want. It’s all about making the furniture work for your life, not the other way around.
- 6. Finally, give the whole thing a quick once-over. Wipe away any excess glue that squeezed out of the joints with a damp cloth, and if you’re feeling fancy, slap on a bit of stain or paint to match your space. If you did it right, you should have a sturdy, functional piece of furniture that looks like it didn’t cost a month’s rent. Now, get those books up and enjoy the win.
The Only Essential Carpentry Supplies You Actually Need
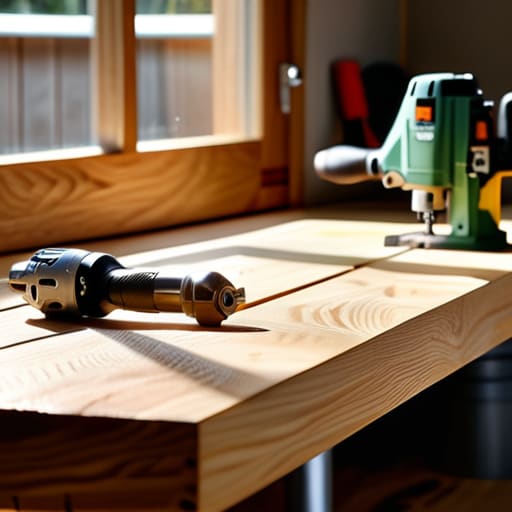
Look, I’ve seen people walk into a hardware store and come out with a garage full of expensive gear they’ll never touch again. You don’t need a professional workshop to pull this off. When it comes to essential carpentry supplies, your goal is utility, not collection. I always tell people to start with the basics: a reliable drill, a level, and a decent saw. If you’re working with limited space, a simple circular saw can handle most of your needs. The trick isn’t having the most gadgets; it’s having the right ones that actually make the job easier.
Precision is where most DIY projects go sideways, so don’t skimp on your measuring tape or a square. Accurate measuring and cutting wood is the difference between a sturdy piece of furniture and a wobbly mess that looks like it’s leaning in a horror movie. I also recommend picking up some sandpaper and a basic wood finish early on. Taking an extra ten minutes to focus on finishing wood surfaces makes a massive difference in how the final product feels under your hands. Keep it simple, keep it functional, and get moving.
Smart Custom Shelving Unit Plans for Real Life
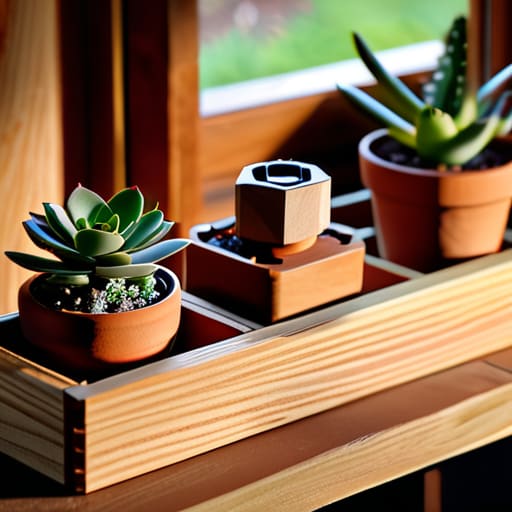
Look, I’m not here to tell you to build a museum-grade heirloom. Most of us just need a place to put our books and maybe a stray plant without it looking like a disaster. When you’re looking at different custom shelving unit plans, my advice is to prioritize your specific space over “perfect” aesthetics. If you’re working with a tight corner or a weirdly narrow nook, don’t try to force a standard rectangular design. Instead, think about modularity. Building smaller, individual boxes that you can stack or bolt together gives you way more flexibility and makes the whole process much less intimidating for someone just starting out.
The real secret to making these projects look intentional rather than “DIY-gone-wrong” comes down to shelf stability and support. A shelf that sags under the weight of a few heavy hardcovers is a shelf that fails its only job. I always suggest adding a simple back panel or a few extra cleats along the wall to keep everything squared up. It’s a small extra step during the assembly phase, but it saves you from a massive headache later when you realize your hard work is leaning to the left.
5 Pro Tips to Keep Your Project from Becoming a Headache
- Measure twice, cut once, and then measure a third time. I’ve lost more expensive wood to “eyeballing it” than I care to admit. Accuracy at the start saves you from a massive headache when you’re trying to screw pieces together at the end.
- Don’t skip the sanding. It’s the part everyone wants to rush through so they can call the job “done,” but a quick pass with some medium-grit sandpaper makes the difference between a piece of furniture that looks DIY and one that actually feels finished.
- Use a pilot hole for every single screw. If you try to drive a screw directly into your wood without drilling a small starter hole first, you’re basically asking for the wood to split. Once that happens, there’s no easy way to fix it.
- Level it out before you commit. Floors in apartments are rarely as flat as they look. Before you anchor anything to the wall or settle on your final design, make sure your shelf isn’t going to sit at a permanent, annoying tilt.
- Keep your workspace organized as you go. I know it sounds cliché, but a cluttered workbench leads to lost screws and wasted time. Toss your scraps in a pile and keep your tools in reach so you can finish the job and get back to your actual life.
The Bottom Line
Don’t get paralyzed by the “perfect” tool list; if you have the essentials and a solid plan, you’re already halfway there.
Focus on function over flair—a sturdy, well-built shelf beats a fancy, wobbly one every single time.
The goal isn’t to become a master carpenter, it’s to finish the project so you can actually enjoy your space.
The Real Goal of DIY
Building a bookshelf isn’t about becoming a master carpenter or owning every power tool in the catalog; it’s about the quiet satisfaction of looking at a finished piece of furniture and knowing you didn’t have to pay someone else to make it happen.
Julian Reese Miller
Done and Dusted
At the end of the day, building a bookshelf doesn’t require a master carpenter’s license or a workshop full of expensive, specialized machinery. We’ve covered the essentials: picking a plan that actually fits your space, gathering the few tools that really matter, and following a logical assembly process that won’t leave you with a pile of wasted lumber. Remember, the goal isn’t perfection; it’s about creating something functional that serves your needs without draining your bank account or your entire weekend. Once you’ve tightened those last few screws and wiped away the sawdust, you’ve officially conquered a new skill and added a custom piece to your home.
I know that staring at a stack of raw wood can feel a little daunting when you first start, but I promise that the feeling of placing your favorite books on a shelf you built yourself is worth every bit of the effort. Don’t let the fear of making a mistake stop you from starting. Even if it’s slightly crooked or the finish isn’t flawless, it’s yours, and it works. Now that you’ve checked this off your list, go ahead and reclaim your time. You’ve done the work, so now it’s time to actually get back to living.
Frequently Asked Questions
I don't have a garage or a workshop; can I actually pull this off in a small apartment?
Look, I’ve been there. My first “workshop” was a 400-square-foot apartment with zero floor space. You absolutely can do this, but you have to be strategic. Forget the massive table saw; stick to hand tools or a small cordless drill. Invest in a heavy-duty tarp to catch the sawdust, and keep your workspace modular. If you can clear a spot on your dining table for an hour, you’ve got enough room to build something great.
What’s the best way to make sure the shelves don't sag once I actually start loading them with heavy books?
This is the part where most DIY projects go to die—the dreaded “bookcase bow.” To prevent it, keep your spans short. If you’re going wider than 30 inches, you need support. I usually opt for a thicker plywood or add a solid wood “lip” to the front edge; it acts like a structural beam. If you’re really heavy on the encyclopedias, just add a center vertical divider. It’s better to have a stud in the way than a sagging mess.
Is it worth spending the extra money on pre-cut wood, or should I just brave the hardware store saw?
Honestly? If you value your time and your sanity, pay the extra few bucks for pre-cut wood. I’ve spent way too many Saturday afternoons fighting a cheap circular saw only to end up with uneven edges and a pile of wasted lumber. Unless you already own a decent table saw and have the patience of a saint, let the pros handle the heavy lifting. It’s a small price to pay for a bookshelf that actually stands straight.