 DIY
DIY
The Best Way to Patch Your Jeans for a…
I was staring at my favorite pair of vintage Levi’s last Tuesday, feeling that familiar sting of annoyance when I realized a hole had finally opened up right in the thigh. Most people will tell you that once the denim gives way, the garment is officially dead, or they’ll suggest some complicated embroidery project that takes three weeks and a sewing degree. But here’s the truth: you don’t need to be a tailor to fix them, and you definitely don’t need to spend fifty bucks on a new pair. Learning how to patch jeans is really just about finding the path of least resistance to get them wearable again without making them look like a craft project gone wrong.
I’m not here to give you a lecture on textile science or suggest you buy a heavy-duty industrial sewing machine. Instead, I’m going to show you the most efficient ways to patch your denim using basic tools you likely already have in a junk drawer. We’re going to focus on quick, durable methods that prioritize function over fluff, so you can stop mourning your wardrobe and get back to your life. This is a no-nonsense guide to reclaiming your clothes and saving your hard-earned cash.
Table of Contents
Guide Overview
Tools & Supplies
- Fabric scissors for cutting patch shapes
- Sewing needle for hand stitching
- Thimble to protect fingers
- Scrap denim or fabric for the patch
- Thread matching the denim color
- Fabric glue or fusible interfacing for stabilization
Step-by-Step Instructions
- 1. First, grab your jeans and a pair of sharp fabric scissors. You need to trim away any frayed threads or loose bits around the hole that might get caught in your needle later. I like to keep the cut minimal—just enough to create a clean edge so the patch sits flat against the denim.
- 2. Next, pick out your patch material. You can use a scrap of old denim from a pair of discarded jeans, or even a piece of heavy canvas if you want a more intentional, textured look. Whatever you choose, make sure it’s slightly larger than the hole itself, giving you about an inch of “buffer zone” on all sides.
- 3. Lay your jeans flat on a hard surface—a kitchen table works fine—and place the patch underneath the hole. If you’re using a fabric that’s a different color, this is where you decide if you want a subtle fix or a bold, DIY statement. Pin the patch in place with some sewing pins so it doesn’t shift while you’re working.
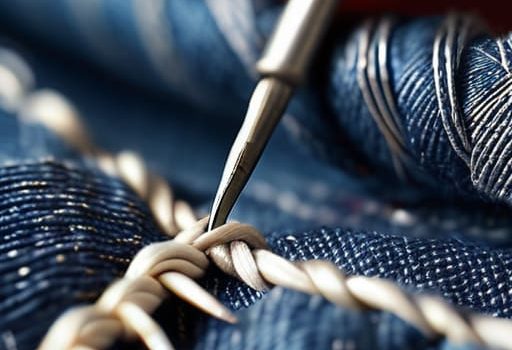
- 4. Now, grab your needle and some heavy-duty thread. I usually opt for a thick polyester thread because it stands up to the friction of everyday wear much better than standard cotton. Start sewing from the underside of the patch, working your way up through the denim to secure it, using small, consistent stitches.
- 5. For the actual repair, I recommend the “running stitch” method. It’s the most straightforward approach for anyone who isn’t a pro. Just weave your needle in and out of both the patch and the jeans in a consistent pattern around the perimeter of the hole. Don’t pull the thread too tight, or you’ll end up puckering the fabric, which looks messy and feels uncomfortable.
- 6. Once you’ve gone all the way around and secured the edges, tie off your thread with a few tight knots on the underside. Give the area a quick tug to make sure everything is locked in place. If you have a handheld steamer or even just a steam iron, run it over the patch to flatten the stitches and help the repair settle into the grain of the denim.
Darning vs Patching Choosing the Right Fix
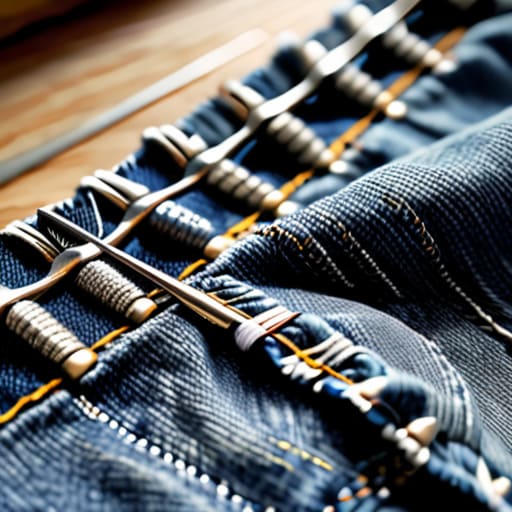
Before you dive in, you need to decide if you’re looking for a quick fix or a permanent restoration. When it comes to darning vs patching, the choice really depends on the size of the damage and how much you care about the “look.” Patching is my go-to when there’s a significant tear or a hole that’s starting to fray at the edges; it’s straightforward and provides a solid foundation of new material. If you’re in a rush, iron-on denim patches are a lifesaver, but for anything that’s going to see heavy wear, I always recommend sewing a piece of fabric behind the hole for extra durability.
On the other hand, if you have a small puncture or a thinning spot, you might want to look into visible mending techniques like darning. Instead of covering the hole with a new piece of fabric, darning essentially weaves new threads through the existing structure to “rebuild” the area. It’s a bit more time-consuming, but it creates a beautiful, intentional texture that looks more like art than a repair. Whether you use denim fabric scraps for a rugged patch or a fine needle to darn a small nick, the goal is the same: stop the damage from spreading so you can keep wearing them.
Mastering Visible Mending Techniques Without the Stress
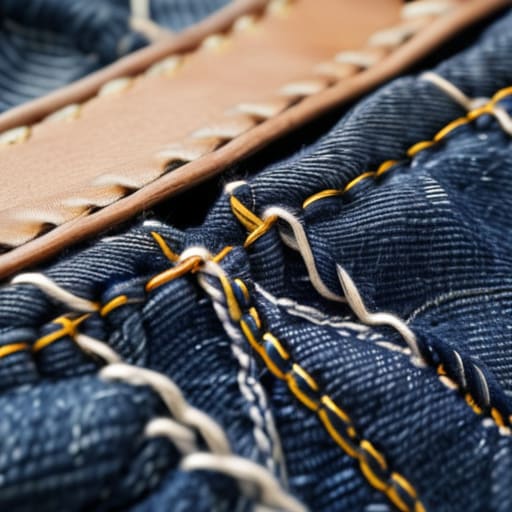
If you’re feeling a little intimidated by the idea of sewing, let’s reframe it: don’t aim for perfection. One of my favorite ways to approach visible mending techniques is to treat the repair like a design choice rather than a mistake. Instead of trying to hide the fix, lean into it. If you have some leftover denim fabric scraps from an old pair of work pants, use them to create a contrasting patch. It turns a worn-out spot into a custom detail that actually makes the jeans look better than new.
If you aren’t ready to dive into heavy stitching, you can always start with iron-on denim patches to stabilize the area first. This acts as a solid foundation so your needle doesn’t slip while you’re working. When you finally grab your sewing needle and thread for jeans, keep your tension loose. If you pull the thread too tight, the fabric will bunch up and look awkward. The goal is to make the repair functional and durable without making the denim feel stiff or uncomfortable. Just take it one stitch at a time.
Pro-Tips to Keep Your Repairs from Falling Apart
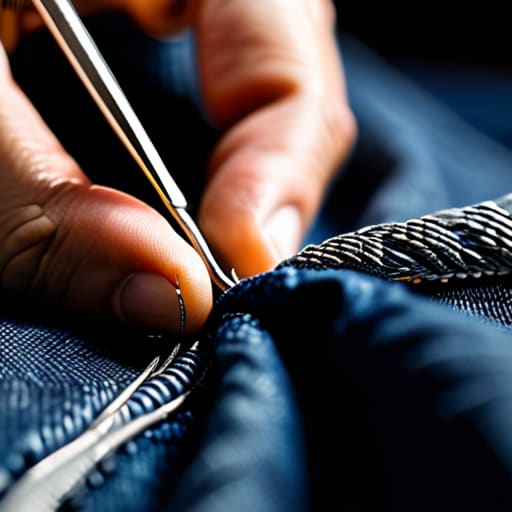
- Don’t skip the pre-wash. If you’re patching a pair of old jeans, wash them first to make sure any shrinkage is out of the way; otherwise, your patch might start puckering after the first laundry cycle.
- Match your thread weight to the denim. Using a heavy-duty upholstery thread or even a bit of embroidery floss makes the repair much more durable, whereas standard thin sewing thread will just snap under the tension of your thighs.
- Iron everything as you go. It’s tempting to just sew and move on, but pressing your patch flat with an iron before and after stitching keeps the fabric from bunching up and looking like a messy afterthought.
- Mind the direction of the grain. When you’re cutting out your patch material, try to align the weave with the direction of the jeans. If you go against the grain, the patch won’t move naturally with your body, and it’ll feel stiff and awkward.
- Trim the loose fraying before you start. If there are long, dangling threads around the hole, snip them close to the edge. It prevents the fraying from traveling further under your new patch while you’re working.
The Bottom Line
Don’t let a small hole ruin a good pair of jeans; most repairs are much faster and easier than you think.
Choose your method based on the damage—darning for small worn spots and patching for actual holes.
Whether you go for a seamless fix or a bold, visible mend, the goal is to keep your clothes in rotation and out of the landfill.
A New Perspective on Wear and Tear
“I’ve realized that a patch isn’t just a way to keep your clothes out of a landfill; it’s a way to keep your favorite pieces in rotation. Don’t see a hole as a sign that the jeans are done—see it as an opportunity to make them uniquely yours.”
Julian Reese Miller
Final Thoughts Before You Get Back to It
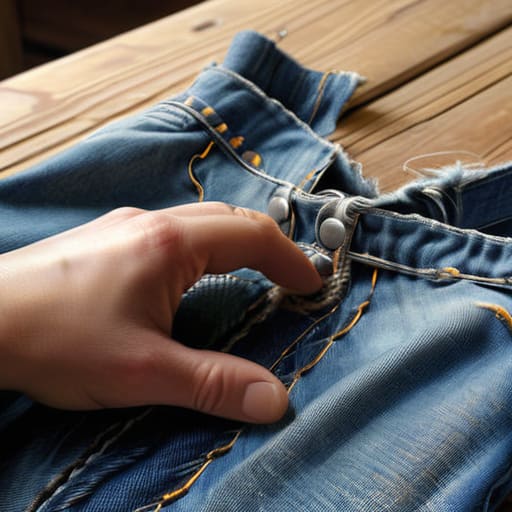
At the end of the day, patching your jeans comes down to choosing the right tool for the job. Whether you decided that a subtle darn was better for a small fray or went with a bold, visible patch to turn a hole into a design feature, you’ve successfully extended the life of your wardrobe. You don’t need a professional tailor or an expensive sewing machine to make this work; you just need a bit of patience and the right thread. By taking these few minutes to fix the damage rather than hitting the “buy now” button on a new pair, you’ve saved money and reduced waste all in one go.
I know that when life gets busy, even a small task like mending can feel like just another thing on an endless to-do list. But there is something incredibly satisfying about looking at a piece of clothing and knowing you had the capability to fix it yourself. Don’t let a little tear stop you from wearing your favorite gear. Once you get the hang of these basic techniques, you’ll realize that being resourceful is much more rewarding than being a consumer. Now, put the needle away, enjoy your repaired denim, and get back to living your life.
Frequently Asked Questions
How do I stop the hole from fraying further before I even start patching?
Before you even grab your needle and thread, you need to stop the bleeding—or in this case, the fraying. I always grab a pair of small scissors and trim away any loose, dangling threads around the edges of the hole. Once that’s done, a quick pass with some fray check or even a tiny dab of clear nail polish on the raw edges will lock those fibers in place. It keeps the damage from spreading while you prep your patch.
Can I use iron-on patches if I don't want to deal with a needle and thread?
You absolutely can, and honestly, some days I don’t have the patience for a needle either. Iron-on patches are a great shortcut for quick fixes. Just a heads-up: they aren’t as permanent as sewing. If you’re patching something high-wear like the inner thigh or knees, the adhesive might eventually give out in the wash. If you go this route, make sure you use a heavy-duty patch and give it plenty of heat.
Will my jeans still look okay to wear in public once the patch is on?
Look, I get it—nobody wants to walk around feeling like they’re wearing a science project. The short answer? Yes, absolutely. If you go for a clean, hidden patch, they’ll look almost untouched. If you lean into visible mending, they’ll just look intentional, like a piece of custom gear. Honestly, a bit of character in your clothes isn’t a bad thing. As long as the patch is secure, you’re good to go.