 DIY
DIY
A Fun Birdhouse Building Project for the Whole Family
I spent three hours last Saturday staring at a pile of cedar scraps and a YouTube tutorial that felt more like a masterclass in advanced carpentry than a simple weekend project. It’s one of those common myths: that learning how to build a birdhouse requires a garage full of power tools and a level of precision that would make an architect sweat. Honestly, that’s just a recipe for frustration and wasted wood. You don’t need a workshop full of expensive gear or a degree in woodworking to create something functional and sturdy; you just need a clear plan and the right mindset.
In this guide, I’m stripping away all the unnecessary fluff and complex jargon to give you a straightforward blueprint that actually works. I’ll show you exactly how to measure, cut, and assemble your project using basic tools you probably already have in your junk drawer. My goal is to get you from a pile of lumber to a finished home for your local birds in a single afternoon, so you can stop overthinking the process and get back to enjoying your weekend.
Table of Contents
- Step-by-Step Instructions
- Choosing the Best Wood for Birdhouses and Essential Tools
- Perfecting Birdhouse Dimensions for Bluebirds and Safe Entrance Holes
- 5 Pro-Tips to Keep Your Birdhouse From Becoming a Bird Trap
- The Bottom Line
- The Philosophy of the Build
- Finishing the Job
- Frequently Asked Questions
Guide Overview
Tools & Supplies
- Handsaw or miter saw for cutting wood
- Hammer or drill for assembly
- Measuring tape for accurate dimensions
- Sandpaper to smooth rough edges
- Untreated cedar or pine board (1" x 6" x 4')
- Galvanized nails or exterior screws (small box)
- Wood glue (waterproof)
Step-by-Step Instructions
- 1. First, let’s talk gear. You don’t need a professional-grade workshop for this, but you do need the basics: a saw (a simple hand saw works fine), a hammer, some galvanized nails, a drill, and a piece of untreated cedar or pine. I highly recommend untreated wood because treated lumber can actually be toxic to the birds you’re trying to help. Grab a single 1×6 board about four feet long, and let’s get to work.
- 2. Measure and cut your pieces. You’ll need a floor (about 4×4 inches), two sides, a front, a back, and a roof. When you’re marking your lines, use a pencil and a square to keep things straight and true. If your cuts are wonky, the whole thing will feel unstable, and we want this to last more than one season.
- 3. Drill the entrance hole. This is the most critical part of the build. Depending on what kind of bird you want to attract, you’ll need a specific hole size—usually about 1.5 inches for bluebirds. Use a spade bit or a hole saw to keep the edges clean. I always tell people to skip the perch; birds don’t actually need them, and they just make it easier for predators to hang on and reach inside.
- 4. Start the assembly by nailing the sides to the floor. I like to pre-drill small pilot holes first to prevent the wood from splitting, which is a mistake I made plenty of times when I was starting out. Once the sides are secure, nail the back and the front into place. Make sure everything is flush and tight so you aren’t leaving gaps for drafts.
- 5. Attach the roof, but here is my little pro-tip: don’t nail it down permanently. If you use a couple of screws instead of nails for the roof, you can easily pop it off once a year to clean out the old nesting material. A dirty birdhouse is a breeding ground for mites, and a little maintenance goes a long way in keeping your local feathered friends healthy.
- 6. Final touches and mounting. Sand down any rough edges so nobody gets a splinter, but don’t bother painting the inside. If you really want to paint the outside, stick to muted, natural colors that won’t stand out to predators. Finally, mount your creation on a post or a tree about five to ten feet off the ground in a quiet, shaded spot. Now, grab a coffee and wait for your first tenants to move in.
Choosing the Best Wood for Birdhouses and Essential Tools
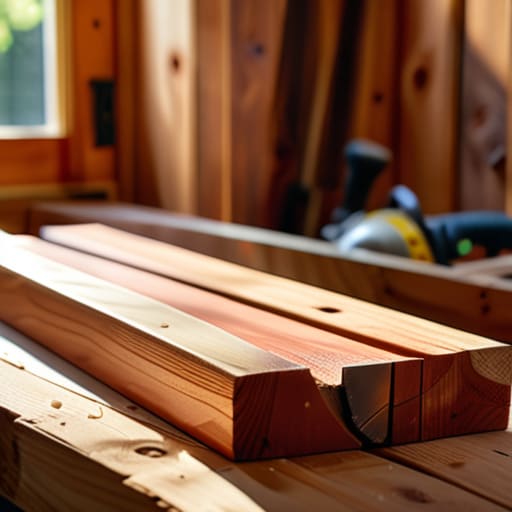
Before you start sawing, you need to talk about materials. I’ve learned the hard way that not all lumber is created equal when it comes to the outdoors. You want to look for the best wood for birdhouses, and for me, that’s always cedar or redwood. They have natural oils that resist rot and insects, meaning you won’t have to mess around with toxic paints or stains. Avoid pressure-treated wood at all costs; the chemicals used to preserve it can be harmful to the birds you’re trying to help.
As for your gear, don’t let the idea of a massive workshop intimidate you. You really only need a handful of basic woodworking tools for birdhouses: a handsaw, a hammer, a drill, and a tape measure. If you’re feeling fancy, a speed square helps keep things straight, but it’s not a dealbreaker. Just make sure your drill has a spade bit so you can get a clean, precise cut for the entrance. Getting that hole size just right is the difference between a successful nesting site and a birdhouse that nobody uses.
Perfecting Birdhouse Dimensions for Bluebirds and Safe Entrance Holes
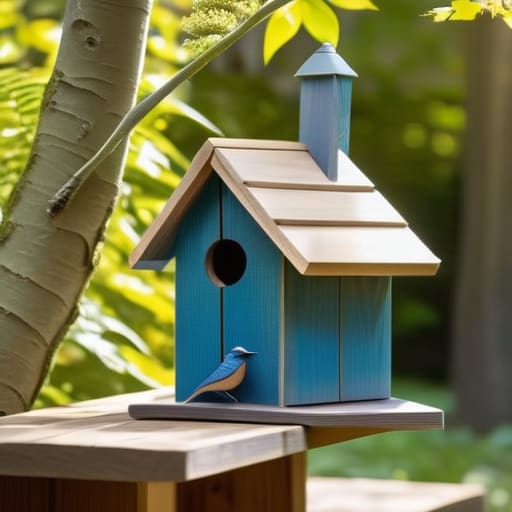
If you’re aiming to attract bluebirds specifically, you can’t just wing the measurements. They’re picky tenants. To get them to move in, you need to nail the birdhouse dimensions for bluebirds—specifically, aim for an interior floor space of about 5 by 5 inches. If the box is too cramped, they won’t nest; if it’s too big, they might lose the heat they need to keep the chicks warm.
The most critical part, though, is the door. You need a safe birdhouse entrance hole size to keep the good guys in and the predators out. For bluebirds, that’s a diameter of exactly 1.5 inches. If you go any larger, you’re basically inviting starlings to come in and hijack the nest. I’ve learned the hard way that even a quarter-inch difference can change who shows up at your birdhouse. Once you’ve got your hole drilled, just make sure there are no jagged splinters around the edge that could snag a fledgling’s wing. Keep it clean, keep it precise, and they’ll handle the rest.
5 Pro-Tips to Keep Your Birdhouse From Becoming a Bird Trap
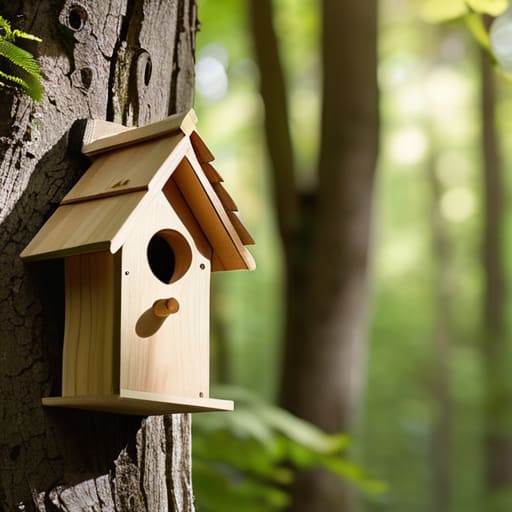
- Skip the perch. I know it looks classic in movies, but a little wooden dowel outside the hole just gives predators a convenient handle to hang onto while they raid the nest. Let the birds use their own feet.
- Drill some drainage holes in the bottom. If rain gets in through a seam or a crack, you don’t want your feathered neighbors sitting in a puddle. A few small holes in the floor keep things dry and much more hygienic.
- Avoid the toxic stuff. If you’re going to finish the wood, stick to something non-toxic or just leave it raw. You don’t want the scent of heavy chemicals or stains seeping into the environment where the chicks are growing.
- Give it some ventilation. Drill a couple of small holes near the top of the side walls. It creates a natural airflow that prevents the interior from turning into an oven when the summer sun hits it.
- Make cleaning easy. Don’t just nail everything shut and hope for the best. Use a couple of screws on one of the side panels so you can actually pop it open and clear out the old nesting material once a year.
The Bottom Line
Don’t overthink the gear; as long as you have a saw, a drill, and some untreated cedar, you’re already halfway there.
Accuracy matters most at the entrance hole—get those dimensions right for your target bird, or they won’t even bother looking.
Keep it simple and functional; a birdhouse doesn’t need to be a work of art to be effective, it just needs to be a safe, sturdy home.
The Philosophy of the Build
“You don’t need a master craftsman’s workshop to make a difference in your backyard; you just need a few solid pieces of wood, a bit of focus, and the willingness to get your hands dirty for an afternoon.”
Julian Reese Miller
Finishing the Job
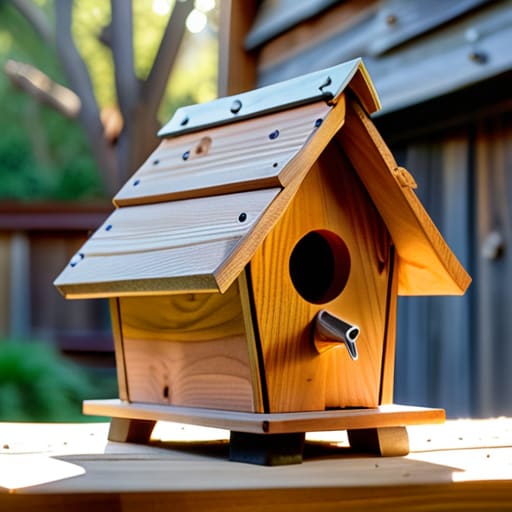
At the end of the day, building a birdhouse isn’t about achieving architectural perfection; it’s about getting the fundamentals right so nature can do its thing. We’ve covered the essentials: selecting a wood that won’t rot the moment it rains, picking the right tools from your garage, and—most importantly—getting those entrance hole dimensions spot on for your local bluebirds. If you followed the steps, you’ve moved past the intimidation phase and actually created something functional with your own two hands. You didn’t need a massive workshop or a specialized degree to make this happen; you just needed a plan and the willingness to get a little sawdust on your floor.
Now that the hammer is back in your toolbox, the real reward is just beginning. There is something uniquely grounding about sitting on your porch with a coffee, watching a pair of birds move into a home you built from scratch. It’s a small win, but in a world that feels increasingly digital and disconnected, these tangible victories matter. Don’t overthink the finish or worry if the edges aren’t laser-straight. Just get it hung up, step back, and enjoy the view. You’ve done the work, so now go out there and get back to living.
Frequently Asked Questions
Do I really need to use specific types of screws, or will standard nails hold up against the weather?
Honestly, you can get away with standard nails, but if you want this thing to last more than one season, go with exterior-grade screws. Nails tend to back out as the wood expands and contracts with the humidity, which can leave your birdhouse feeling a bit wobbly. I always reach for stainless steel or galvanized screws. They won’t rust, they hold much tighter, and it saves you the headache of rebuilding the whole thing next year.
Should I paint or stain the outside of the birdhouse, and is there a way to do it without harming the birds?
Keep the inside raw wood—birds don’t need fancy decor, and chemicals are a no-go for their feathers. If you want to paint or stain the exterior, stick to water-based, non-toxic options and avoid anything with lead or heavy solvents. I usually skip the finish entirely to keep things simple, but if you do go that route, let it cure fully in the sun for a few days before hanging it up.
How often do I actually need to clean out the old nesting material to keep the birds healthy?
Don’t let the old nesting material sit there too long; it’s a magnet for parasites and bacteria. Generally, I aim to clear out the old debris once the fledglings have officially moved out and the nest looks empty. If you’re seeing a lot of buildup or it smells a bit off, go ahead and clean it. Just do a quick sweep between nesting seasons to keep things sanitary and safe for the next batch.