 DIY
DIY
Construct a Solid, Budget-friendly Desk for Less Than $100
I used to think that learning how to build a desk meant I needed to transform my tiny apartment into a full-blown woodshop, complete with expensive table saws and a mountain of sawdust. I spent way too many months working off a wobbly coffee table, convinced that anything better would require a massive budget and a professional carpenter’s skill set. But after a few failed attempts and a lot of wasted money on cheap particle board, I realized the truth: you don’t need a workshop full of fancy tools to create a solid workspace; you just need a smart plan and the right few pieces of lumber.
In this guide, I’m going to show you exactly how to build a desk that actually looks good and, more importantly, holds up under your gear. I’m stripping away the fluff and the intimidating jargon to give you a straightforward, step-by-step process that focuses on efficiency and durability. Whether you’re setting up a home office or a dedicated spot for your tech, we’re going to get this done right the first time so you can stop scrolling and start working.
Table of Contents
- Step-by-Step Instructions
- Picking the Best Wood for Office Furniture That Actually Lasts
- Essential Woodworking Tools for Beginners to Get the Job Done
- Five Pro-Tips to Save You Time (and a Massive Headache)
- The Bottom Line
- ## The Real Goal of DIY
- Getting Across the Finish Line
- Frequently Asked Questions
Guide Overview
Tools & Supplies
- Drill/Driver for fastening screws
- Circular Saw for cutting wood to size
- Sandpaper for smoothing surfaces
- Measuring Tape for precise dimensions
- Solid wood desktop slab (1 unit)
- Pre-fabricated metal legs (4 units)
- Wood screws (1 box)
- Wood glue (1 bottle)
Step-by-Step Instructions
- 1. First, let’s talk about the shopping trip. Don’t let the hardware store overwhelm you; you aren’t building a house, just a workspace. Grab a solid piece of plywood or a pre-cut butcher block from the lumber aisle—I personally prefer butcher block because it feels substantial under your hands. Pick up four sturdy legs (either screw-on metal ones or wooden ones if you’re feeling ambitious) and a box of wood screws. If you don’t have a drill, borrow one from a neighbor; it’s much better than trying to do this manually.
- 2. Clear off a flat surface, like your kitchen floor or a patch of carpet, to act as your assembly zone. Lay your desktop face down so the “pretty” side is protected. This is where most people make a mess, so I recommend laying down a old towel or some cardboard first. You want to make sure you aren’t scratching up the finish you just paid for while you’re working.
- 3. Now, it’s time for the layout. Before you touch a single screw, place your legs in the corners of the desk. I usually leave about two inches of space from the edges to make sure the desk looks balanced and doesn’t feel top-heavy. Use a pencil to mark exactly where the mounting holes are located. This prevents that dreaded moment where you realize you’ve drilled a hole right through the middle of your workspace.
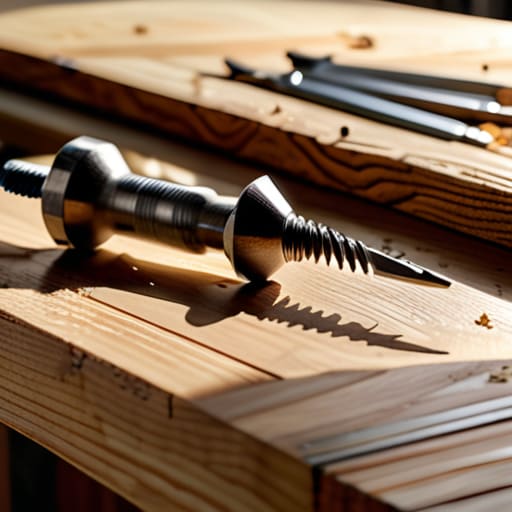
- 4. Grab your drill and start making your pilot holes. This is the one step where I tell everyone to slow down. If you try to drive a screw directly into the wood without a pilot hole, you risk splitting the material, and that’s a mistake you can’t un-make. Drill a hole slightly smaller than your screw; it makes the actual fastening process much smoother and more controlled.
- 5. Secure the legs to the desktop. Line up the legs with your marks and drive the screws in. I like to do this in a staggered pattern—don’t just go in a circle—to ensure the pressure is distributed evenly across the wood. If you feel the screw getting really difficult to turn, stop, back it out slightly, and try again. You want a tight fit, but you don’t want to strip the wood.
- 6. Flip the desk over. This is the most satisfying part, but it’s also when things can go sideways if the desk is heavy. Don’t just let it crash down; work with a partner or lean it over carefully onto its new legs. Once it’s upright, give it a good shake. If it wobbles, check to see if your floor is uneven or if one of the legs just needs a tiny bit more tightening.
- 7. Finally, give it a quick wipe down. Sawdust and wood shavings are inevitable, so grab a damp cloth and clear the surface. If you bought raw wood, this is also the perfect time to slap on a quick coat of oil or wax to protect it. Now, the hard part is over—clear off your kitchen table and get to work on your actual projects.
Picking the Best Wood for Office Furniture That Actually Lasts
When you’re staring at a lumber yard or scrolling through an online supplier, it’s easy to feel overwhelmed by the options. If you want something that looks high-end without the boutique price tag, I usually suggest starting with hardwoods like oak or walnut. They are incredibly durable and can handle the weight of multiple monitors without bowing over time. However, if you’re on a tighter budget, pine is a classic choice. It’s much easier to work with if you’re just getting started with woodworking tools for beginners, though you’ll need to be a bit more careful about sanding to avoid those inevitable dents.
The real secret to a desk that doesn’t feel “cheap” isn’t just the species of wood, but the stability of your desk construction materials. If you’re leaning toward a more modern look, consider using a high-quality plywood with a thick veneer. It gives you that sleek, minimalist aesthetic while staying much more dimensionally stable than solid planks, which tend to warp as the seasons change. Just make sure you’ve mapped out your custom desk dimensions beforehand so you don’t end up with a slab that’s too heavy to move or too small for your setup.
Essential Woodworking Tools for Beginners to Get the Job Done
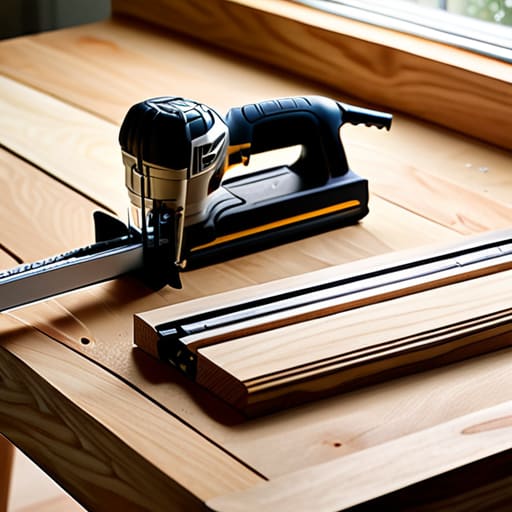
Look, I’ve seen enough “must-have” tool lists to know they’re usually designed to drain your bank account. You don’t need a garage full of heavy machinery to pull this off. For this project, I keep it simple: a decent cordless drill, a circular saw (or a local shop that can make your cuts for you), a speed square, and some high-quality clamps. If you have those, you have enough woodworking tools for beginners to handle the heavy lifting without turning your apartment into a construction zone.
The real secret isn’t in having the fanciest gear, though; it’s in how you use what you have to ensure your custom desk dimensions are actually accurate. A single millimeter of error early on can make the whole assembly feel wobbly by the time you’re finishing your desk assembly steps. I always suggest double-checking your measurements and using a sharp pencil rather than a thick marker. Precision is much cheaper than buying extra desk construction materials because you messed up a cut. Keep your toolkit lean, keep your edges straight, and you’ll be fine.
Five Pro-Tips to Save You Time (and a Massive Headache)
- Measure twice, cut once, and then measure a third time. It sounds like a cliché for a reason—there is nothing more soul-crushing than realizing your expensive piece of walnut is two inches too short because you rushed the math.
- Don’t skip the sanding phase. You might think a quick pass with some sandpaper is enough, but if you want a desk that doesn’t feel like sandpaper against your forearms while you’re typing, spend the extra twenty minutes getting it smooth.
- Plan for cable management from the start. I learned this the hard way when I finished my first desk only to realize it looked like a spaghetti factory of wires. Drill a few holes or build a small tray underneath now so you aren’t fighting a mess of cords later.
- Invest in decent hardware. You can use cheap screws to hold the frame together, but don’t skimp on the actual fasteners or the legs. If the foundation is wobbly, the whole project feels like a failure, no matter how pretty the wood looks.
- Give yourself a buffer day. Projects always take longer than the YouTube tutorials suggest. If you think the staining process will take an afternoon, clear your whole Saturday. It’s better to finish early and relax than to be rushing a finish that isn’t dry.
The Bottom Line
Don’t let “perfect” be the enemy of “done.” You don’t need a professional-grade workshop to build a desk that works; you just need the right basic tools and a solid plan.
Invest more in your wood and less in your gadgets. A decent piece of lumber will do more for the longevity of your workspace than any expensive power tool ever could.
Focus on function over flair. Build a desk that fits your specific space and workflow so you can stop fighting your furniture and start getting your actual work done.
## The Real Goal of DIY
Building a desk isn’t about becoming a master carpenter or filling a garage with expensive machinery; it’s about creating a reliable space that works for you, so you can stop fighting your furniture and start focusing on your life.
Julian Reese Miller
Getting Across the Finish Line
At the end of the day, building your own desk isn’t about achieving perfection or having a showroom-quality piece of furniture. It’s about the process of selecting the right wood, gathering the basic tools you actually need, and following through on the assembly. You’ve gone from staring at a pile of lumber to having a functional, custom piece of furniture that fits your space perfectly. Remember, the goal was to create something that works for your life without draining your bank account or your sanity. If the edges aren’t perfectly seamless or a screw is slightly crooked, don’t sweat it; it just proves that a real human made this, not a factory machine.
Now that the sawdust has settled, take a second to actually appreciate what you’ve done. There is a specific kind of satisfaction that comes from sitting down at a desk you built with your own two hands—it changes how you view your workspace. You’ve proven to yourself that you don’t need to be a master carpenter to tackle a project and reclaim your environment. So, set up your computer, grab a coffee, and get to work. You’ve earned the right to enjoy the space you created.
Frequently Asked Questions
How do I make sure the desk doesn't wobble or shake while I'm typing?
There’s nothing more annoying than a desk that dances every time you hit a key. To stop the wobble, focus on the joints. If you’re using screws, make sure they’re tight and ideally pre-drilled to prevent the wood from shifting. If the floor is uneven—which it usually is in these old apartments—don’t fight it; just add adjustable leveling feet to the legs. It’s a cheap, five-minute fix that makes a massive difference.
Do I really need to sand everything down, or can I just slap some stain on it and call it a day?
Look, I get it. When you’re staring at a pile of lumber, the idea of sanding feels like a marathon you didn’t sign up for. But here’s the reality: if you skip it, your desk will look like a DIY disaster. Stain is basically a highlighter for imperfections; it’ll make every scratch and bump pop. Do the work now. Sand through the grits, get it smooth, and I promise the finish will actually look intentional.
What’s the best way to hide all my messy power cords so they aren't cluttering up my new workspace?
Nothing kills the vibe of a clean desk faster than a “spaghetti monster” of tangled wires. My go-to is a simple cable management tray that mounts right under the desktop—it keeps everything off the floor and out of sight. For the cords that have to hang down, grab some velcro ties instead of plastic zip ties; they’re easier to adjust when you inevitably need to swap out a charger. Keep it tidy, keep it simple.