 DIY
DIY
Stop Your Toilet From Running and Lower Your Water…
There is a common myth that a running toilet is a sign you need to call an expensive plumber and prepare for a massive bill. Honestly? That is total nonsense. I remember sitting on my bathroom floor three years ago, listening to that relentless, ghostly hiss of wasted water, feeling completely defeated because I thought I’d broken something permanent. But once I realized that learning how to fix a running toilet is mostly about understanding a few simple mechanical parts, my frustration turned into a massive win for my budget.
I’m not here to give you a lecture on fluid dynamics or sell you a complex toolkit you’ll never use again. Instead, I’m going to walk you through the exact, stripped-down steps to identify the culprit—whether it’s a faulty flapper or a misaligned float—and get it sorted. My goal is to help you stop the water waste and the annoying noise so you can get back to your life without the headache. We’re going to do this efficiently and effectively, no degree required.
Table of Contents
- Step-by-Step Instructions
- Mastering Silent Toilet Leak Detection Without the Stress
- Toilet Tank Components Explained So You Actually Understand
- Five Pro-Tips to Keep Your Toilet Quiet and Your Water Bill Low
- The Quick Cheat Sheet for a Quiet Toilet
- ## The Philosophy of the Fix
- Getting Your Time (and Money) Back
- Frequently Asked Questions
Guide Overview
Tools & Supplies
- Adjustable wrench for tightening bolts
- Screwdriver for securing components
- Replacement flapper 1 unit
- Replacement fill valve 1 unit
Step-by-Step Instructions
- 1. First, we need to see what we’re actually dealing with. Take the lid off the tank—carefully, because these things are heavy and usually ceramic—and set it aside on a towel so it doesn’t crack on the floor. Once the lid is off, flush the toilet and watch the water level. You’re looking to see if the water is constantly pouring into the overflow tube (the open pipe in the middle) or if it’s leaking out from the bottom of the tank into the bowl.
- 2. Check the flapper first, because this is the most common culprit. The flapper is that rubber plug at the bottom of the tank that lifts when you flush. If it looks warped, slimy, or just plain old and brittle, it’s probably not creating a tight seal. Reach in there (it’s just water, don’t overthink it) and feel if it sits flush against the valve seat. If it doesn’t, you can try cleaning the rim with a bit of vinegar, but honestly, if it’s old, it’s time to just buy a new one.
- 3. Take a close look at the chain connecting the flush handle to the flapper. If the chain is too long, it can get caught underneath the flapper when it closes, preventing a seal. If it’s too short, it might be pulling the flapper up constantly. Adjust the clip so there’s just a tiny bit of slack—enough that the flapper can drop completely, but not so much that it’s tangling up in the mechanics.
- 4. If the flapper looks fine, let’s look at the fill valve, which is the tall assembly on the left side of the tank. Most running toilets are caused by the water level being set too high. Look for the float—the part that rises with the water—and see if it’s allowing water to spill into the overflow tube. Most modern valves have a screw or a clip you can adjust to lower the float level, which tells the valve to shut off sooner.
- 5. If the water level is fine but you still hear that constant hissing, your fill valve might be failing internally. This is where my multi-tool comes in handy for tightening things, but usually, you don’t even need it. If the valve isn’t shutting off despite being adjusted, it’s likely time to swap out the entire assembly. You can pick up a universal kit at any hardware store for about twenty bucks, and it’ll save you a massive chunk on your water bill.
- 6. Once you’ve made your adjustments or swapped your parts, give it a test run. Flush the toilet a few times and wait for a minute to listen. You want to hear the water rise, the valve click shut, and then—most importantly—absolute silence. If it stays quiet, you’ve successfully reclaimed your peace (and your money) without having to call an expensive plumber.
Mastering Silent Toilet Leak Detection Without the Stress

Sometimes, the worst kind of leak isn’t the one that makes a loud, constant splashing sound; it’s the silent one that slowly eats away at your water bill while you aren’t looking. If you notice your toilet cycling on for a few seconds every hour, or if the bowl stays strangely clear despite a recent flush, you’re likely dealing with a stealthy leak. To catch these without turning your bathroom into a swimming pool, I recommend the old-school food coloring trick. Drop a few drops of dark dye into the tank and wait about twenty minutes without flushing. If that color starts creeping into the bowl, you’ve found your culprit.
This is usually where silent toilet leak detection pays off, as it helps you pinpoint whether you need a simple toilet flapper replacement or if the issue lies deeper with the flush valve. It’s much better to catch a slow seep now than to deal with a flooded floor later. Once you identify the source, you can tackle the fix with precision rather than just guessing and throwing money at parts you don’t actually need.
Toilet Tank Components Explained So You Actually Understand
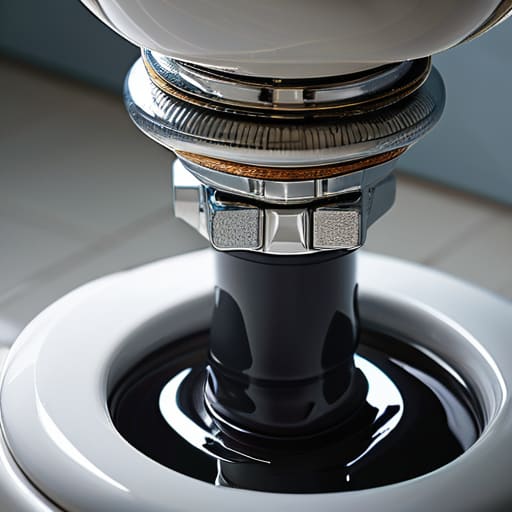
Before you start unscrewing anything, you need to know what you’re actually looking at. Think of the tank like a small, water-filled engine; if one part is out of sync, the whole system fails. The most common culprit is the flapper—that rubber plug at the bottom that lifts when you flush. If it’s warped or covered in mineral buildup, you’ll need a toilet flapper replacement to stop that constant trickle. Next, there’s the fill valve, which is responsible for bringing fresh water back into the tank after every flush.
You also need to keep an eye on the water level in the toilet tank. If the water is constantly spilling into the overflow tube, your fill valve is likely set too high. A quick toilet fill valve adjustment can usually solve this without you needing to buy a single new part. Understanding these toilet tank components explained simply means you aren’t just guessing anymore; you’re diagnosing. Once you recognize the difference between a faulty seal and a calibration issue, you can stop the guesswork and actually fix the problem.
Five Pro-Tips to Keep Your Toilet Quiet and Your Water Bill Low
- Check your flapper every few months; they’re essentially rubber gaskets that degrade over time, and swapping a worn-out one is a five-minute job that saves you a fortune on your water bill.
- Don’t overfill the tank—if the water level is hitting the overflow tube, adjust your float valve down just a hair so you aren’t literally flushing money down the drain.
- Keep your multi-tool handy while you’re working; sometimes a quick tightening of a loose nut on the supply line is all it takes to stop a persistent trickle.
- Avoid the temptation to use heavy chemical cleaners that sit in the tank; they tend to eat away at the rubber seals and flappers much faster than they should.
- When you’re replacing parts, don’t just buy the cheapest generic version you find; spending an extra couple of bucks on a decent brand means you won’t be opening this tank up again in three weeks.
The Quick Cheat Sheet for a Quiet Toilet
Most running toilets aren’t a plumbing disaster; they’re usually just a faulty flapper or a misaligned chain that you can fix in ten minutes with a trip to the hardware store.
Don’t ignore the “silent” leaks—using the food coloring test is the easiest way to catch a problem before it spikes your water bill.
Once you know what the tank components actually do, you stop guessing and start fixing, saving you both time and the headache of calling a professional for something simple.
## The Philosophy of the Fix
“A running toilet isn’t just a plumbing issue; it’s a tiny, constant drain on your time and your wallet. Fixing it isn’t about mastering engineering—it’s about reclaiming your peace of mind, one simple adjustment at a time.”
Julian Reese Miller
Getting Your Time (and Money) Back
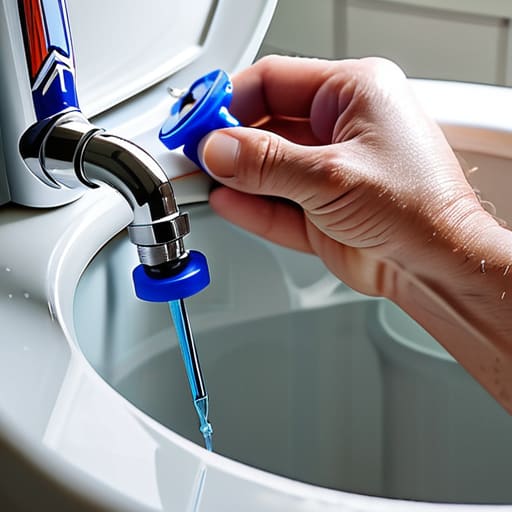
At the end of the day, fixing a running toilet usually comes down to one of three things: a misaligned flapper, a faulty fill valve, or a simple adjustment to the float level. We’ve walked through how to identify the culprit, how to inspect the internal components without losing your mind, and how to perform the actual swap using nothing more than a basic wrench and a little bit of patience. Remember, most of these fixes are surprisingly inexpensive and take less time than waiting for a coffee to brew. By tackling this yourself, you’ve stopped the constant sound of running water and, more importantly, you’ve stopped throwing money down the drain every single hour.
I know that staring into an open toilet tank can feel a bit overwhelming if you aren’t used to it, but I promise you’re more capable than you think. There is a specific kind of quiet satisfaction that comes from realizing you don’t need to call an expensive plumber for every minor hiccup in your apartment. This isn’t just about plumbing; it’s about reclaiming your autonomy and realizing that your home is something you can actually manage. Now that the noise has stopped and the leak is gone, close the lid, grab your multi-tool, and go enjoy the rest of your day. You’ve earned it.
Frequently Asked Questions
I replaced the flapper but the toilet is still running; what did I miss?
If you just swapped the flapper and it’s still running, don’t panic—you’re likely dealing with one of two things. First, check your chain tension; if it’s too tight, it holds the flapper open, and if it’s too long, it gets caught underneath. If that’s not it, your fill valve might be set too high, causing water to constantly spill into the overflow tube. Adjust the float, and you should be good to go.
Is it actually worth buying a whole new fill valve, or can I just adjust the one I have?
Look, I’ve been there—staring at a tank wondering if I’m about to waste twenty bucks and an hour of my life. Try adjusting the float first. Most of the time, a quick turn of the adjustment screw is all it takes to stop the overflow. If that doesn’t work, or if the plastic looks brittle and cracked, just bite the bullet and buy the new valve. It’s a cheap fix for long-term peace of mind.
How can I tell if the leak is coming from the tank itself or if the wax ring at the base is the real problem?
Here’s the easiest way to tell: check your floor. If you see water pooling around the base of the toilet or your subfloor feels soft, that’s a wax ring issue—the seal between the toilet and the floor has failed. If the floor is bone dry but you’re still hearing that phantom running sound or seeing water inside the bowl, the leak is almost certainly coming from somewhere inside the tank itself.