 Home
Home
How to Restore Dirty Grout and Make Your Tile…
I was on my hands and knees in my kitchen last Tuesday, scrubbing a single tile line with a toothbrush like my life depended on it, only to realize I was making it worse. We’ve all been there—staring at those dark, dingy lines between our tiles and thinking we need to rent a heavy-duty industrial machine or spend a fortune on specialized chemicals. But here’s the truth: most of those “miracle” products are just overpriced marketing, and you don’t need to spend your entire weekend fighting your floor. Learning how to clean grout shouldn’t feel like a marathon; it should be a quick, tactical strike that gets the job done so you can actually enjoy your home.
In this guide, I’m stripping away the fluff and giving you the exact, low-budget methods I use in my own apartment. We’re going to cover the most effective DIY solutions, the specific tools that actually work, and the minimal effort techniques that prevent you from scrubbing until your arms ache. No hype, no expensive equipment—just a straightforward plan to get your floors looking sharp again.
Table of Contents
- Step-by-Step Instructions
- The Low Budget Magic of Baking Soda and Vinegar for Grout
- Ditch the Stress With the Best Grout Cleaning Tools
- Five Pro Tips to Keep Your Grout Clean Without Losing Your Mind
- The Bottom Line: Clean Grout Without the Headache
- The Philosophy of a Clean Home
- The Finish Line
- Frequently Asked Questions
Guide Overview
Tools & Supplies
- Stiff grout brush or old toothbrush for scrubbing
- Scrub sponge for wiping surfaces
- Microfiber cloth for drying
- Baking soda (1 cup)
- White vinegar (1/2 cup)
- Warm water (2 cups)
- Dish soap (few drops)
Step-by-Step Instructions
- 1. First, clear the deck. You can’t clean effectively if you’re tripping over rugs or dodging a pile of laundry. Move your bath mats, clear the floor of any clutter, and vacuum or sweep the area thoroughly. I’ve learned the hard way that if you don’t get the loose dust and hair up first, you’re just turning that grit into a muddy sludge once you add liquid.
- 2. Grab your supplies—and no, you don’t need a cabinet full of expensive, branded chemicals. I usually stick to a simple mixture of warm water and baking soda, or a splash of white vinegar if the stains are particularly stubborn. You’ll also need a dedicated grout brush, but if you’re trying to save a few bucks, an old toothbrush works just fine. Just make sure it has stiff bristles to actually get into those grooves.
- 3. Apply your cleaning solution to the grout lines. Don’t just dump a bucket of water on the floor; you’ll end up with a swamp. Instead, use a spray bottle or a sponge to apply the mixture directly to the lines you’re targeting. Let it sit for about 5 to 10 minutes. This “dwell time” is the secret sauce—it lets the cleaner do the heavy lifting so you don’t have to scrub until your arms ache.
- 4. Now, it’s time for the actual work. Take your brush and scrub along the grout lines using firm, circular motions. Focus on the spots that look particularly dark or discolored. If you hit a particularly nasty patch, don’t panic; just apply a little more pressure or a tiny bit more cleaner. The goal is to loosen the grime without damaging the tile itself.
- 5. Once you’ve finished scrubbing, it’s time to rinse. Use a clean, damp microfiber cloth or a sponge to wipe away the dirty residue. I prefer using a sponge because it picks up the loosened grit more efficiently than a cloth does. Keep rinsing with fresh water until the sponge comes away clean, otherwise, you’ll just leave a cloudy film behind once the floor dries.
- 6. Finally, let the floor dry completely. This is the hardest part for me because I want to see the results immediately, but avoid walking on it while it’s still damp. If you have a ceiling fan or a floor fan, aim it toward the area to speed up the process. Once it’s bone dry, take a look at what you’ve accomplished—clean grout makes the whole room look brand new without the professional price tag.
The Low Budget Magic of Baking Soda and Vinegar for Grout
If you aren’t ready to drop twenty bucks on specialized chemical cleaners, don’t sweat it. I’ve found that the most effective way to handle removing grout stains is often sitting right in your pantry. Using baking soda and vinegar for grout is a classic move for a reason: it’s cheap, it’s non-toxic, and it actually works. I usually start by making a thick paste of baking soda and a little water, spreading it over the lines, and letting it sit for about ten minutes. This gives the grit a chance to break down the surface grime before I even touch it with a brush.
Once that’s done, I spray a bit of white vinegar over the paste. It’ll fizz—which is honestly the most satisfying part—and that chemical reaction helps lift the dirt out of those tiny pores. When you’re deep cleaning bathroom tiles, this combo is a lifesaver because it doesn’t leave behind that harsh, artificial scent that lingers for hours. Just make sure you rinse the area thoroughly with warm water afterward so you don’t leave any residue behind.
Ditch the Stress With the Best Grout Cleaning Tools
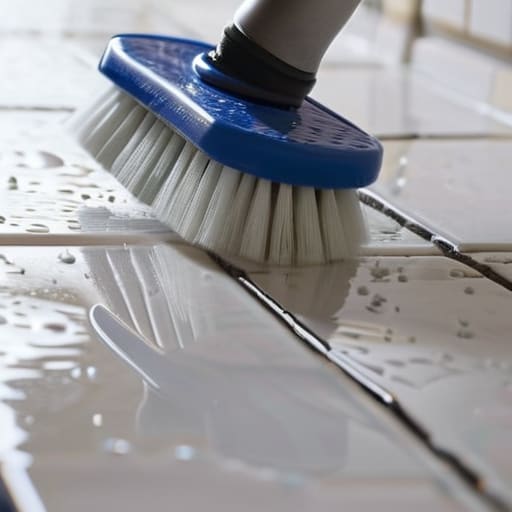
Look, I’ve learned the hard way that you can have the best cleaning solution in the world, but if you’re using a flimsy sponge, you’re just pushing the dirt around. To actually see results when cleaning tile grout lines, you need something with a bit of grit. I usually reach for a stiff-bristled nylon brush—the kind meant for scrubbing grout—rather than an old toothbrush. A toothbrush works in a pinch for tight corners, but if you’re tackling a whole bathroom, your wrist will thank you for investing in a dedicated brush that provides better leverage.
If you’re dealing with particularly stubborn buildup, a small electric scrubber can be a total game-changer for deep cleaning bathroom tiles without the manual labor. It’s one of those tools that feels like a luxury until you realize it just saved you twenty minutes of back-breaking work. Once you’ve finished the heavy lifting, don’t forget the most important final step: grout sealer application. It’s a quick task that creates a barrier, making sure that all your hard work actually lasts instead of being ruined by the next spill.
Five Pro Tips to Keep Your Grout Clean Without Losing Your Mind
- Don’t wait for the grime to become permanent; a quick five-minute wipe-down once a week prevents the deep-set stains that require a heavy-duty scrub later.
- Always test your cleaning solution on a small, inconspicuous corner first—especially if you’re using vinegar on natural stone—to make sure you aren’t accidentally etching the surface.
- Use a stiff-bristled brush rather than a soft sponge; you need that mechanical agitation to actually lift the dirt out of the porous grout lines.
- If you’re dealing with a particularly nasty bathroom, let your cleaning solution sit for at least ten minutes before you start scrubbing; let the chemistry do the heavy lifting so your arms don’t have to.
- Once everything is clean and bone-dry, invest in a decent grout sealer; it’s a one-time task that makes your future cleaning sessions ten times easier by preventing liquids from soaking in.
The Bottom Line: Clean Grout Without the Headache
You don’t need to drop a fortune on specialized chemical cleaners; a simple mix of baking soda and vinegar does the heavy lifting for a fraction of the cost.
Invest in a decent grout brush or a stiff-bristled tool early on—it’ll save you from wasting twenty minutes scrubbing with a toothbrush that just isn’t up to the task.
Consistency beats intensity every time. A quick, scheduled wipe-down is much easier than a massive, deep-cleaning marathon once a year.
The Philosophy of a Clean Home
“Cleaning your grout shouldn’t feel like a battle of attrition; it’s about finding the most efficient path from a messy floor to a space where you can actually breathe and relax.”
Julian Reese Miller
The Finish Line
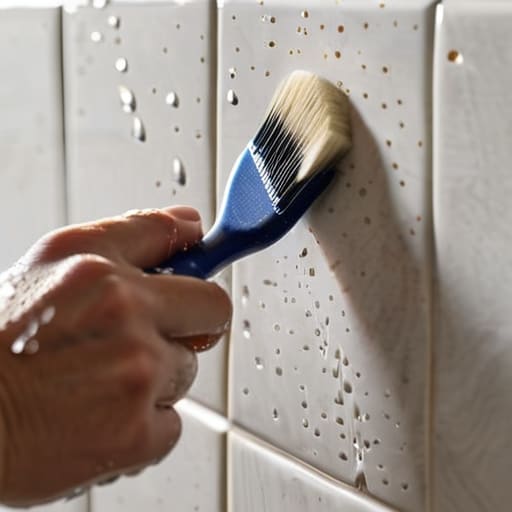
At the end of the day, cleaning your grout doesn’t have to be this massive, overwhelming project that eats up your entire Saturday. Whether you decided to go the budget route with a simple baking soda paste or you invested in a decent stiff-bristled brush, the goal was the same: getting rid of that grime without breaking your back. Remember that it’s all about consistency over intensity. You don’t need to deep-scrub every inch of your home every single week; just tackle it in small, manageable chunks so the dirt doesn’t have a chance to settle in for good.
I know that when you’re staring at a dirty floor, it feels like just one more thing on an endless to-do list. But once you finish these steps, take a second to actually look at the result. There is a specific kind of peace that comes from seeing a clean, sharp line between your tiles and knowing you did it yourself without spending a fortune on a professional service. You’ve reclaimed your space and your time. Now, put the cleaning supplies away, grab a coffee, and go enjoy the rest of your day. You’ve earned it.
Frequently Asked Questions
Is it safe to use these cleaning methods on natural stone tiles, or am I going to ruin the finish?
Hold up—stop right there. If you’re dealing with natural stone like marble, travertine, or slate, do not use that vinegar trick. Vinegar is acidic, and acid will eat through the finish of natural stone faster than you can say “expensive repair bill.” For stone, stick to a pH-neutral cleaner specifically rated for it. It’s better to spend an extra five minutes finding the right bottle than spending a weekend trying to fix etched stone.
How often do I actually need to do this to keep the grime from coming back?
Look, I’m all for efficiency, so I’m not going to tell you to deep-clean every week. That’s a recipe for burnout. For high-traffic areas like your kitchen floor or shower, aim for a quick scrub once a month to prevent grime from setting in. If it’s a low-use area, once a quarter is plenty. The goal is maintenance, not a marathon. Stay ahead of the dirt so you don’t have to fight it later.
My grout is stained permanently—is there any way to actually recolor it without replacing the whole floor?
Look, I’ve been there—staring at a floor that looks permanently dingy no matter how much I scrub. If the stains are actually baked into the pores, cleaning won’t cut it. Your best bet is a grout pen or a grout colorant kit. It’s basically a specialized paint that sits on top to mask the stains. It’s a quick, low-cost DIY fix that saves you from a massive renovation headache.