 Food
Food
The Ultimate Guide to Freezing Food Properly
I used to think that mastering how to freeze food meant buying a dozen specialized vacuum sealers and a library of expensive, labeled containers just to keep a bag of peas from getting freezer burn. I spent way too many nights in my cramped apartment kitchen, staring at a mountain of leftovers and feeling like I needed a culinary degree just to avoid wasting money. Honestly, the “expert” advice out there makes it sound like a high-stakes science experiment, but it’s usually just unnecessary complication designed to sell you gear you don’t actually need.
I’m not here to turn your kitchen into a laboratory or drain your bank account. My goal is to show you the straightforward, functional way to prep your meals so you can stop worrying about expiration dates and get back to your actual life. I’ll walk you through the exact, low-effort methods I use to keep everything fresh without the fluff. We’re going to strip away the intimidation and focus on practical efficiency, giving you the confidence to stock your freezer and reclaim your time.
Table of Contents
Mastering Airtight Container Methods Without the Expensive Gadgets
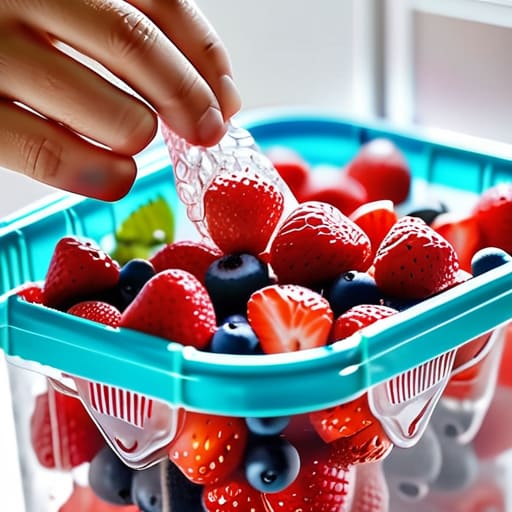
You don’t need a $50 vacuum sealer or a high-tech gadgetry setup to keep your groceries from turning into ice blocks. Honestly, most of the stuff I use comes straight from my kitchen cabinets. The secret to preventing freezer burn isn’t about the price tag; it’s about how much air you leave behind. If you’re using plastic bags, the trick is to squeeze every last bit of oxygen out before you zip it shut. I usually just use a straw to suck out the remaining air—it sounds a bit silly, but it works like a charm.
If you prefer using Tupperware or glass containers, just make sure they’re filled as close to the top as possible. Large gaps of empty space are basically invitations for frost to move in. For things like freezing vegetables and fruits, I find that a simple layer of parchment paper between items helps prevent them from turning into one giant, unmanageable brick. It’s a small step that saves you a massive headache when you’re actually trying to cook a meal on a Tuesday night.
Freezing Vegetables and Fruits the Smart Way
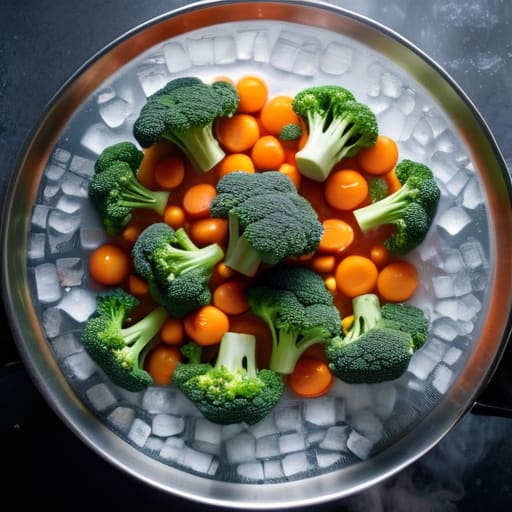
If you just toss raw produce straight into a bag, you’re going to end up with a science experiment by next month. The secret to freezing vegetables and fruits without turning them into mush is a quick step called blanching. For veggies like broccoli, carrots, or green beans, boil them for just a couple of minutes, then immediately dunk them in an ice bath. This stops the enzymes that cause spoilage and helps in preventing freezer burn later on. It takes an extra ten minutes of effort, but it’s the difference between a usable ingredient and a bag of ice crystals.
For fruit, skip the boiling and go for the “flash freeze” method. Spread your berries or sliced mangoes on a baking sheet in a single layer and pop them in the freezer for an hour. Once they’re firm, transfer them to a container. This keeps the pieces from clumping into one giant, unusable brick. Following these best practices for food storage ensures that when you actually need that fruit for a smoothie, it’s ready to go without any hassle.
Five Quick Wins to Save Your Sanity (and Your Wallet)
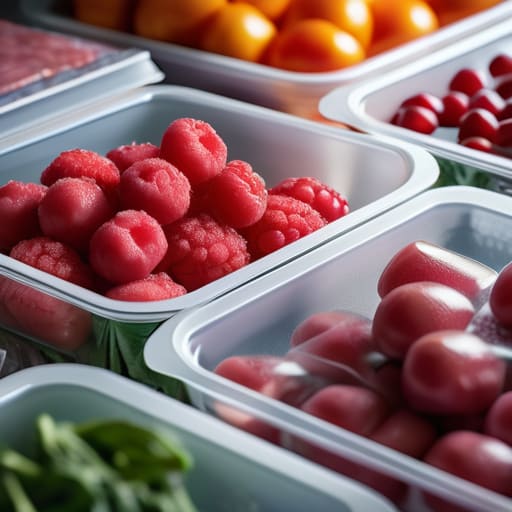
- Label everything with a sharpie and a piece of masking tape. I know, it feels extra, but six months from now you won’t remember if that frozen block is homemade pesto or just a suspicious green sludge. Write the date and what it is so you aren’t playing a guessing game with your dinner.
- Leave a little breathing room. If you fill a container right to the brim with liquid—like soup or sauce—it’s going to expand as it freezes. Leave about an inch of headspace so you don’t end up with a cracked container or a frozen mess all over your freezer shelf.
- Flash freeze your small stuff. If you’re freezing berries, herbs, or even leftover cooked pasta, spread them out on a baking sheet in a single layer and pop them in the freezer for an hour before bagging them. This stops them from turning into one giant, unusable brick.
- Get the air out. Air is the enemy of freshness; it’s what causes that weird freezer burn that makes everything taste like cardboard. If you aren’t using a vacuum sealer, just use a straw to suck the excess air out of your freezer bags before you zip them shut.
- Don’t thaw everything at once. Only pull out what you actually need for your next meal. If you thaw a whole bag of frozen veggies just to use half, you’re basically inviting bacteria to a party and wasting the very efficiency we’re trying to build here.
The Bottom Line for Your Freezer
You don’t need a fancy vacuum sealer to make this work; just focus on getting as much air out of your containers as possible using what you already have in your kitchen.
Don’t skip the blanching step for your veggies—it feels like an extra chore in the moment, but it’s the only way to stop them from turning into mush later.
Label everything with a sharpie and a date so you aren’t playing a guessing game with your dinner plans three weeks from now.
The Real Goal of Meal Prep
“Freezing food isn’t about becoming a professional chef or running a gourmet pantry; it’s about buying yourself future time and making sure that when you’re tired on a Tuesday night, you actually have something decent to eat.”
Julian Reese Miller
Getting It Done
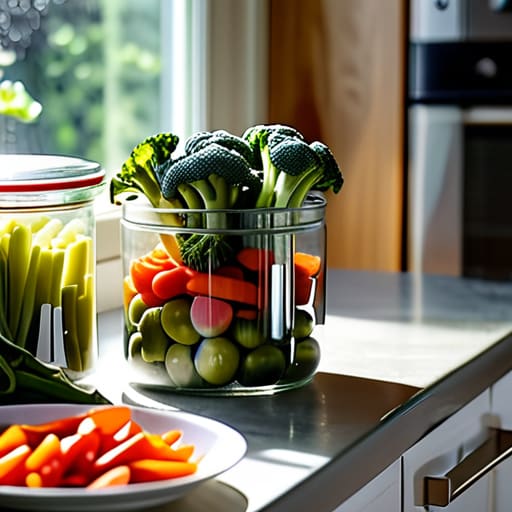
Look, you don’t need a professional-grade vacuum sealer or a kitchen full of specialized equipment to make this work. At the end of the day, it comes down to the basics: use airtight containers to prevent freezer burn, blanch your veggies so they actually taste good when you thaw them, and label everything so you aren’t playing a guessing game with your dinner three months from now. If you follow these steps, you’re essentially automating your future meals. You’ve done the heavy lifting now so that your future, tired self can just grab a container and get back to living without a trip to the grocery store.
I know that looking at a pile of produce or a bulk haul of meat can feel like just another chore on an endless to-do list. But I promise you, the fifteen minutes you spend prepping today is a direct investment in your sanity later this week. Being capable isn’t about being perfect or having a Pinterest-worthy organized pantry; it’s about having the systems in place to handle life when things get chaotic. So, grab those containers, get your stuff in the freezer, and stop overthinking it. You’ve got this, and your future self is going to thank you for it.
Frequently Asked Questions
How long can I actually keep stuff in the freezer before it starts tasting like freezer burn?
Look, if you’re asking this, you’re probably tired of pulling out something that tastes like a block of ice and old leftovers. Here’s the reality: for peak quality, aim for three to six months. Anything beyond that isn’t “spoiled” in a way that’ll make you sick, but the texture and flavor will definitely take a hit. If you wrap things tight and use the right containers, you might squeeze out a bit more, but don’t let it sit there indefinitely.
Do I really need to blanch my veggies, or can I just toss them in raw and call it a day?
Look, if you’re just planning to use those peas in a stir-fry next week, skip the blanching. Just toss them in. But if you’re trying to stock up for the month, you really should take the five minutes to blanch them. It stops the enzymes that turn everything mushy or tasteless. Think of it as a tiny bit of upfront work to save your future self from eating sad, grey vegetables.
Is it safe to freeze leftovers that have already been sitting in the fridge for a couple of days?
Look, the short answer is yes, but don’t push your luck. If those leftovers have been in the fridge for two or three days and smell fine, you’re good to go. Just get them in the freezer immediately. If they’ve been sitting there for a week? Toss them. I’m all about efficiency, but I’m not about food poisoning. Use that extra time to cook something fresh instead of gambling with your stomach.