 DIY
DIY
How to Build a Support Trellis for Your Climbing…
I was staring at my tomato plants last July, watching them sprawl helplessly across my patio floor like a disorganized mess of green spaghetti, when it hit me: I was spending more time untangling vines than actually enjoying my afternoon. Most people think you need a workshop full of expensive power tools or a landscape architect’s blueprint to fix this, but that’s a total myth. Learning how to build a garden trellis shouldn’t feel like a weekend-long construction project that leaves you exhausted and broke. Honestly, if you can drive a screw into a piece of wood, you’re already halfway there.
In this guide, I’m going to show you exactly how to put together a sturdy, functional support system using nothing more than basic materials you can find at any local hardware store. I’m stripping away the fluff and the complicated jargon to give you a straightforward, step-by-step plan that works. My goal is to get you from a pile of lumber to a finished project in under an hour, so you can stop playing gardener-janitor and get back to actually enjoying your space.
Table of Contents
Guide Overview
Tools & Supplies
- Measuring tape for accurate cuts
- Hand saw or miter saw for wood cutting
- Drill with bits for creating pilot holes
- Screwdriver or drill driver for assembly
- Cedar or pressure-treated wood stakes (4-5 pieces)
- Wooden lattice panels or thin slats (1-2 panels)
- Exterior grade wood screws (1 box)
- Wood glue (1 bottle)
Step-by-Step Instructions
- 1. First, let’s get your supplies together so you aren’t running back and forth to the hardware store halfway through. You’re going to need four wooden stakes (cedar is my go-to because it resists rot naturally), some heavy-duty garden twine or zip ties, a pair of wire cutters, and a drill. I always keep my multi-tool handy for this, especially if I need to snip a bit of wire on the fly.
- 2. Grab your four wooden stakes and decide where they’re going to live. You want to drive them into the ground about three to four feet apart to create a square or rectangular perimeter. Don’t just rest them on top of the soil; you need to hammer them in deep—at least six to eight inches—to make sure the whole structure doesn’t topple over the first time a heavy vine starts climbing.
- 3. Once your corner posts are solid, it’s time to create the horizontal framework. If you’re using a simple design, you can run thin wooden slats or even sturdy bamboo poles between the stakes. I prefer using pre-cut cedar slats because they look clean and don’t require much extra work, but honestly, whatever you have lying around the garage works as long as it’s sturdy.
- 4. Now, we need to create the actual “ladder” for your plants to grab onto. Take your garden twine and start wrapping it in a grid pattern around your posts and horizontal supports. Think of it like weaving a net; you want enough gaps for the plant to breathe, but enough structural integrity to support the weight of a heavy tomato plant or a climbing rose.
- 5. If you’re feeling a bit more ambitious and want something that looks a little more “designed,” you can use a staple gun to attach thin wooden lattice strips directly to your main stakes. Just be careful not to overdo it; you want the trellis to feel light and airy, not like a heavy wooden wall that’s going to sink into your garden bed.
- 6. Before you call it a day, give the whole thing a good shake test. It might feel a little wobbly at first, but if it holds firm, you’re golden. If it feels loose, just grab a few more stakes or add a diagonal brace in the back. The goal is to set it and forget it so you can spend your weekend actually enjoying the garden rather than fixing it.
Smart Wooden Trellis Design Ideas for Any Space
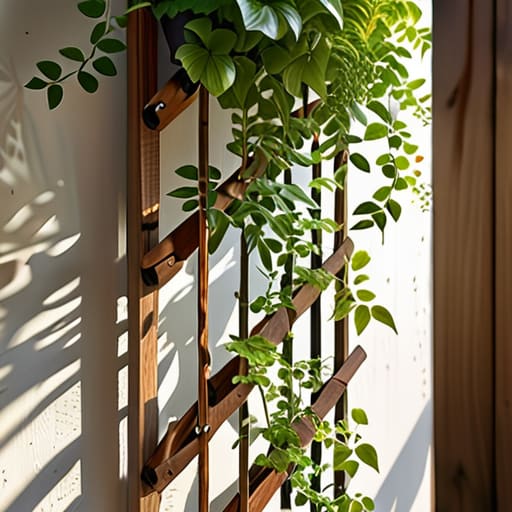
Once you’ve got the basic build down, the fun part is deciding how it actually fits into your life. If you’re working with a tiny balcony or a cramped side yard, I’m a huge fan of vertical gardening trellis methods that use height instead of floor space. You don’t need a massive backyard to make this work; a simple, narrow lattice attached to a wall or a railing can turn a boring concrete corner into a lush, green sanctuary. It’s all about maximizing what you have without cluttering your walking paths.
If you have a bit more room to play with, you can get creative with different wooden trellis design ideas to add some character to your landscape. For a modern, minimalist look, try a clean grid of dark-stained cedar. If you’re going for something more rustic, an asymmetrical arrangement of reclaimed wood scraps can look intentional rather than messy. Just remember that regardless of the style, your priority should be durability. Investing a little extra time in choosing the right wood or applying a good sealant ensures your hard work doesn’t rot away after a single rainy season.
Essential Garden Trellis Materials List for Real People
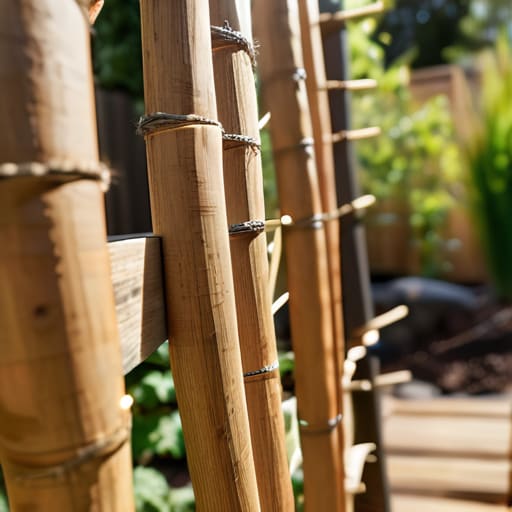
Before you head to the hardware store, let’s get one thing straight: you don’t need a warehouse full of expensive timber to make this work. When I’m putting together my own garden trellis materials list, I prioritize durability over aesthetics. I usually grab cedar or pressure-treated pine because they actually stand a chance against the rain and sun. If you’re working with a tighter budget, even some sturdy bamboo poles can work, provided you secure them well. The goal isn’t to build a monument; it’s to create reliable climbing plant support structures that won’t rot or snap halfway through the growing season.
I’ve learned the hard way that the small stuff matters just as much as the wood. Don’t skimp on the fasteners—use galvanized screws or stainless steel nails to prevent those ugly rust streaks from ruining your garden’s look. Also, grab a small pack of zip ties or some jute twine; they are lifesavers when you’re trying to guide new growth. Having these basics on hand makes this an easy DIY garden trellis for beginners to tackle without needing a second trip to the store.
5 Pro-Tips to Keep Your Trellis from Becoming a Total Mess
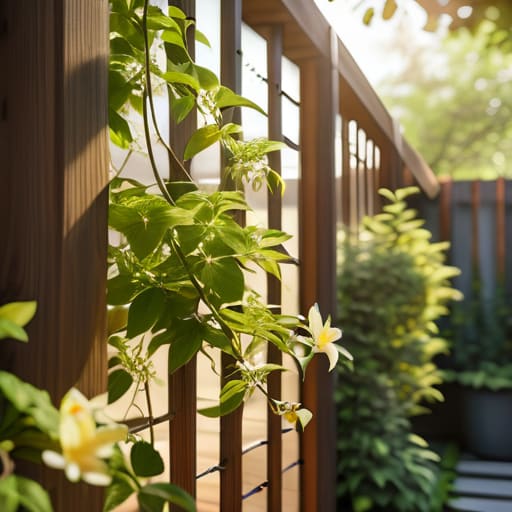
- Don’t skip the weatherproofing. If you’re using wood, hit it with a good sealant or some exterior-grade stain before it even touches the dirt. It’s a ten-minute extra step that saves you from rebuilding the whole thing in six months when the rot sets in.
- Think about the weight of your plants. A delicate pea vine is one thing, but if you’re planning on growing heavy gourds or climbing roses, you need to overbuild your frame. If the structure feels flimsy to you now, it’ll definitely buckle once those vines get heavy and wet.
- Mind the gap. When you’re designing the lattice or the mesh, make sure the openings aren’t too wide. If the holes are huge, your plants will just flop through them instead of actually climbing, which defeats the whole purpose of the structure.
- Leave some breathing room. Don’t jam your trellis right up against a house wall or a fence without a little gap. Plants need airflow to stay healthy, and if you trap moisture against your siding, you’re just asking for a mold problem.
- Secure the base properly. A trellis that wobbles in a light breeze is a nuisance, and one that topples in a storm is a disaster. Drive your stakes deep or anchor them to something solid so you aren’t constantly playing “fix the leaning garden structure” every time it rains.
The Bottom Line
Don’t overthink the design; a simple, sturdy structure is always better than a complex one that falls apart halfway through the season.
Invest in decent materials upfront so you aren’t spending your weekend replacing rotted wood or rusted wire in six months.
Focus on functionality first—build something that supports your plants effectively so you can spend less time fixing it and more time actually enjoying your garden.
The Philosophy of the Project
“A trellis shouldn’t be a weekend-long struggle against expensive lumber and complicated blueprints; it’s just a simple framework meant to let your plants climb so you can sit back and actually enjoy the view.”
Julian Reese Miller
Getting Your Hands Dirty
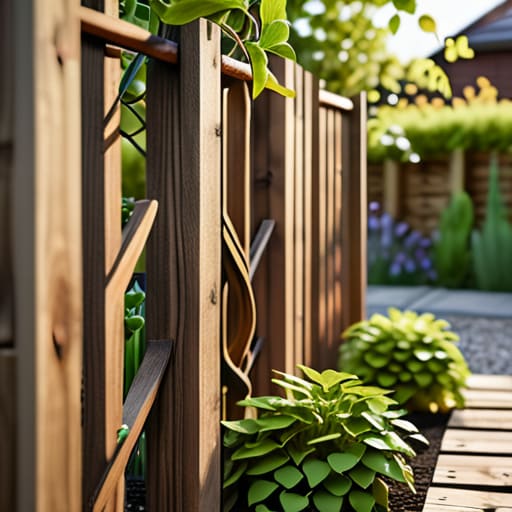
At the end of the day, building a trellis isn’t about achieving architectural perfection; it’s about creating a functional framework that works for your specific space. Whether you went with a minimalist wooden design to save on costs or opted for something a bit more robust to support heavy climbers, the goal was to get a structure in the ground that actually lasts. You’ve gathered your materials, followed the steps, and bypassed the overpriced pre-made options that usually end up falling apart after one season. Now that the heavy lifting is done, you can stop worrying about the “how” and start focusing on the growth.
Don’t let the fear of a small mistake keep you from starting this project. If a screw goes in crooked or a piece of wood is slightly off, just keep moving—your plants aren’t going to judge your carpentry skills. The real reward isn’t the trellis itself, but that moment a few months from now when you see your vines finally finding their footing and turning a blank wall into a lush, green sanctuary. You’ve reclaimed your time and your budget, so now go out there, enjoy the results, and let your garden do the rest of the work.
Frequently Asked Questions
How do I make sure my trellis doesn't just tip over once my climbing plants actually start getting heavy?
This is the part where most DIY projects fail, and usually, it’s because we underestimate how heavy a mature vine actually gets. Don’t just lean it against the wall and hope for the best. You need to anchor it. I always recommend driving a couple of sturdy wooden or metal stakes into the ground at the base, or better yet, use heavy-duty zip ties or galvanized wire to secure the frame directly to your fence or house siding. Stability is everything.
Do I really need to treat the wood, or can I just use whatever I have lying around in the garage?
Look, I get the temptation to just grab some scrap wood from the garage and call it a day. But here’s the reality: untreated wood is going to rot or warp the second it hits damp soil, and you’ll be rebuilding this whole thing by next season. If you want to save time and money in the long run, use pressure-treated lumber or at least hit it with a quick coat of sealant. Do it once, do it right.
What’s the best way to attach the trellis to my house or fence without causing a massive headache later?
Don’t overthink it, but don’t just slap it against the wall either. If you’re attaching to a fence, heavy-duty zip ties or galvanized wire are your best friends—they’re easy to adjust later. For a house, skip the nails and go with masonry screws or specialized exterior clips to avoid cracking your siding. Whatever you choose, leave a tiny bit of breathing room for airflow; you want to avoid trapped moisture and rot.