 DIY
DIY
A Step-by-step Guide to Building a Raised Garden Bed
I spent my entire Saturday afternoon staring at a pile of cedar planks and a half-empty bag of soil, feeling like I needed a master’s degree in carpentry just to plant some basil. It’s a common trap: you search for how to build a raised garden bed online, only to find yourself buried under complex blueprints or expensive, over-engineered kits that feel more like a chore than a hobby. I’ve been there, standing in my small backyard with a multi-tool in my pocket and a mounting sense of frustration, wondering why something so fundamentally simple had to be so intimidating.
The truth is, you don’t need a workshop full of power tools or a massive budget to get this done. I’ve stripped away the fluff to give you a streamlined, efficient approach that focuses on getting the structure in the ground so you can actually start growing things. In this guide, I’m going to walk you through the exact, no-nonsense steps to build your own bed using basic materials and minimal time. We’re going to skip the unnecessary complications and focus on functional results so you can get back to enjoying your weekend.
Table of Contents
Guide Overview
Tools & Supplies
- Measuring tape for marking wood lengths
- Drill/Driver for securing boards
- Saw for cutting lumber to size
- Level to ensure even ground
- Untreated cedar or redwood boards (approx. 4-6 pieces)
- Wood screws (1 box of exterior grade)
- Garden soil/compost mix (enough to fill volume)
- Hardware cloth or landscape fabric (optional for base)
Step-by-Step Instructions
- 1. First, grab your materials. You don’t need anything fancy—just some untreated cedar or redwood if your budget allows, because they resist rot naturally. If you’re on a tighter budget, standard untreated pine works too, just know you might have to replace it sooner. You’ll also need a box of exterior-grade wood screws, a drill, and a saw. Don’t skip the exterior screws; regular ones will snap or rust the second they hit the damp soil.
- 2. Measure and cut your wood to size. I usually aim for a 4×8 foot bed, which is the sweet spot for reaching the middle without having to step inside and compact your soil. Lay your boards out on a flat surface first to make sure everything is square and level before you start driving screws. It’s much easier to fix a measurement error on the driveway than it is once the wood is in the ground.
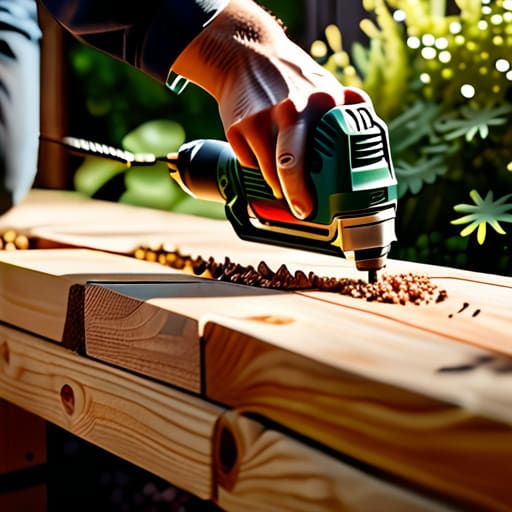
- 3. Assemble the frame. Start by standing two of your side boards upright and attaching the end pieces to them. I like to pre-drill my holes every single time. It feels like an extra step, but it prevents the wood from splitting right down the middle, which is a massive pain to fix later. Just drive your screws in, tighten them down, and you’ve got your basic rectangle.
- 4. Prep your ground site. Don’t just drop the box on top of your lawn and call it a day. You need to clear away the tall grass or weeds where the bed will sit. I find that flattening the area with a shovel or a rake makes a huge difference in whether your bed stays level or starts leaning after the first heavy rain.
- 5. Line the bottom (optional but recommended). If you’re worried about weeds creeping up from underneath, lay down a thick layer of cardboard or newspaper at the bottom of the frame. It’s a zero-cost way to smother the grass, and eventually, the cardboard will just decompose into the soil. It’s a simple, efficient hack that saves a lot of weeding later on.
- 6. Fill it with the good stuff. This is where people usually mess up by buying cheap, heavy topsoil that turns into a brick. Instead, go for a high-quality raised bed mix—usually a blend of compost, peat moss, and vermiculite. It’s lighter, holds moisture better, and gives your plants exactly what they need to thrive without you having to constantly babysit them.
- 7. Final check and placement. Once it’s filled, give the whole thing a quick once-over to make sure it’s still sitting level. If one corner is sinking, shove a little extra soil or a flat stone under it. Now, get your tools back in the shed and go enjoy the fact that you actually built something useful this weekend.
Choosing the Best Wood for Raised Beds Without Overspending
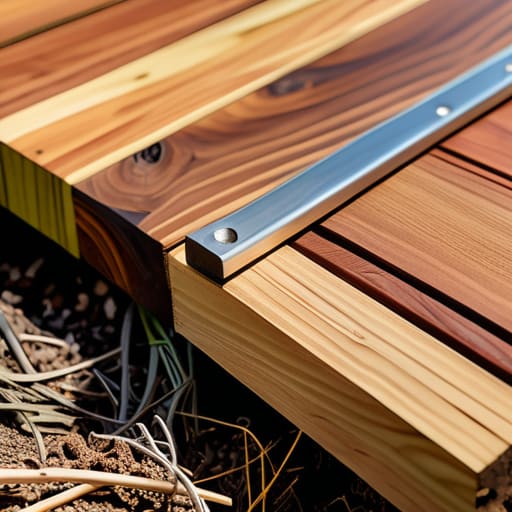
Look, I’ve been there—standing in the lumber aisle, staring at a wall of wood, and wondering if I’m about to waste a week’s worth of grocery money on something that’s just going to rot in two years. You want something that lasts, but you also don’t want to go broke doing it. When you’re weighing cedar vs pressure treated lumber, the decision usually comes down to your budget and your tolerance for maintenance. Cedar is the gold standard because it’s naturally rot-resistant and looks great, but it’ll definitely sting your wallet.
If you’re trying to keep costs down, don’t sleep on heat-treated pine. It’s much more affordable, though you’ll need to replace it sooner than cedar. Just make sure you avoid anything treated with old-school chemicals that could leach into your veggies. My rule of thumb is to invest in the best material you can actually afford right now. It’s better to build one solid bed today than to spend your next three summers rebuilding a cheap one that’s already falling apart.
Getting the Raised Bed Soil Mix Ratio Exactly Right
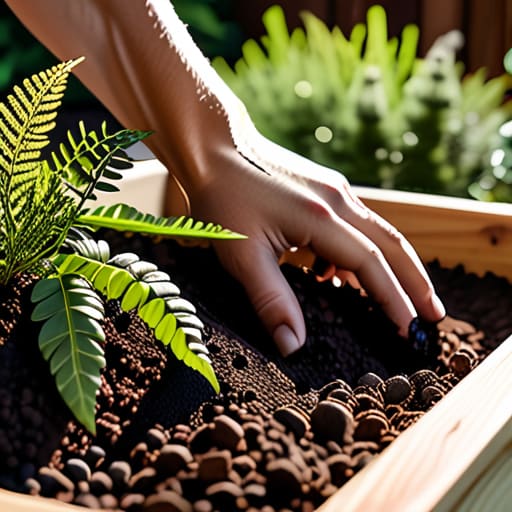
Once you’ve sorted out your wood—and hopefully decided between the longevity of cedar vs pressure treated lumber—you’re left with the most important part: the dirt. I’ve seen too many people just dump cheap topsoil into their new setup, only to realize three weeks later that their plants are struggling in a literal brick of mud. To avoid that, you need a solid raised bed soil mix ratio that balances nutrition with aeration.
The gold standard I swear by is the “one-third” rule: one part high-quality compost, one part peat moss or coconut coir, and one part vermiculite or perlite. This combo ensures your plants have plenty of food while maintaining the essential airflow their roots need to breathe. If you’re working with larger raised garden bed dimensions, you can save a decent chunk of cash by using the “Hugelkultur” method—basically filling the bottom third with old logs and sticks. It’s a great way to add organic matter over time without buying dozens of extra bags of premium mix. Just get the foundation right now, and you won’t be troubleshooting dead plants all summer.
Five Pro-Tips to Save Your Back (and Your Sanity)
- Don’t go too deep. Unless you’re planting massive root vegetables like carrots or parsnips, a depth of 6 to 12 inches is plenty. Any deeper and you’re just wasting money on soil you don’t actually need.
- Level the ground before you commit. It’s tempting to just slap the frame down on the grass, but if it’s uneven, your bed will warp and look messy within a month. Spend ten minutes with a level now so you aren’t fighting it later.
- Line the bottom with cardboard. Instead of messing around with expensive landscape fabric, just grab some plain brown cardboard from your recycling bin. It smothers the weeds and eventually breaks down, turning into organic matter for your soil.
- Think about your reach. A common mistake is building a bed that’s too wide. If you can’t reach the middle without stepping into the box, you’re going to compact the soil every time you weed, which kills your plants. Keep it narrow enough to reach across easily.
- Add a little hardware to the plan. If you’re using screws, make sure they’re exterior-grade or galvanized. There’s nothing more frustrating than a bed that literally falls apart at the seams after one rainy season because you used cheap indoor screws.
The Bottom Line
Don’t get paralyzed by the “perfect” setup—pick a sturdy wood, mix your soil right, and just get it in the ground so you can actually start growing something.
You don’t need a massive budget to do this well; focus your money on high-quality soil rather than expensive, fancy tools you’ll only use once.
Keep it simple and functional—the goal isn’t to win a landscaping award, it’s to build a reliable space that makes your life easier, not harder.
The Real Goal of Gardening
“Don’t get so caught up in the perfect wood grain or the ‘ideal’ soil chemistry that you forget why you’re doing this in the first place. The goal isn’t to build a museum piece; it’s to build a functional space where you can actually grow something and then get back to your life.”
Julian Reese Miller
Get Out There and Start Planting
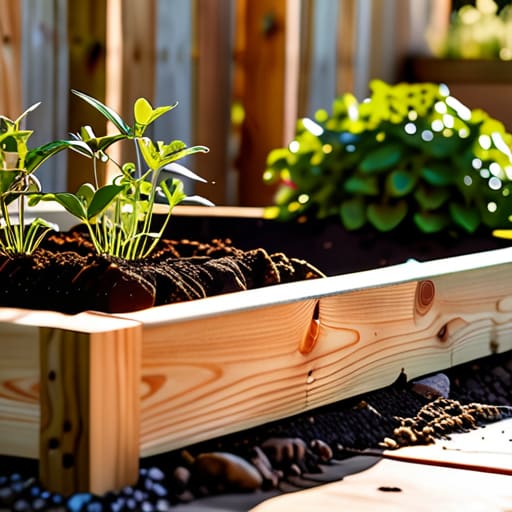
Look, we’ve covered a lot of ground here. We talked about picking wood that won’t rot in a year without blowing your entire monthly budget, and we tackled the science of getting that soil mix just right so your plants actually thrive. Building the frame is really the heavy lifting, but once you have the right materials and a solid foundation of dirt, the hard part is officially behind you. Just remember: don’t let the fear of a minor mistake stop you from getting this in the ground. If a board is slightly crooked or a corner isn’t perfectly square, the tomatoes won’t care. The goal was to get this done efficiently, and you’ve already done the mental work to make it happen.
At the end of the day, this isn’t about becoming a master carpenter or a professional horticulturalist. It’s about creating a little corner of the world that you actually have control over. There is something incredibly grounding about stepping outside, seeing something you built with your own hands, and eventually harvesting something you grew yourself. Stop scrolling, stop over-researching, and just go build the thing. You’ve got the plan, you’ve got the tools, and now it’s time to go get your hands a little dirty so you can get back to enjoying your life.
Frequently Asked Questions
Do I really need to line the bottom with cardboard, or is that just extra work?
Look, I get it—it feels like one more thing on the to-do list. But honestly? Do it. Laying down some plain brown cardboard is a total game-changer. It smothers the grass and weeds underneath so they don’t fight your plants for nutrients. Once the cardboard breaks down, it just becomes part of the soil. It’s a low-effort move that saves you a massive headache of weeding later. Just grab some scraps and get it done.
How do I stop my garden bed from rotting out after just a couple of seasons?
Look, I’ve been there—watching a project you worked hard on literally crumble into the dirt. To stop the rot, you need to stop the constant moisture from eating your wood. First, use cedar or redwood if your budget allows; they’ve got natural oils that fight decay. If you’re sticking with cheaper lumber, coat the inside with a food-safe sealant. Also, line the interior with heavy-duty landscape fabric. It keeps the soil from touching the wood directly, which is a game changer for longevity.
Is it worth it to build a raised bed on top of existing grass, or should I clear the area first?
Look, if you’re trying to save time, don’t bother digging up the sod. It’s backbreaking work you don’t need. My go-to move is the “no-dig” method: just mow the grass as short as possible, lay down a thick layer of plain brown cardboard over the area, and build your bed right on top. The cardboard smothers the weeds and eventually decomposes, turning into food for your soil. It’s efficient, easy, and gets you gardening faster.