 DIY
DIY
The Secret to Installing Shelves That Are Actually Secure
I was standing in my living room last Tuesday, staring at a stack of heavy art books and a pile of empty wall space, feeling that familiar knot of procrastination in my stomach. I knew exactly what I needed to do, but the thought of measuring twice, drilling into a stud, and potentially ruining my drywall made me want to just leave the books on the floor. Most people think learning how to install a shelf requires a specialized workshop or a sudden, unearned confidence in carpentry, but that’s a lie. It’s not about having a massive toolkit; it’s about having the right sequence so you don’t end up with a crooked mess or a hole in your wall that looks like a crime scene.
I’m not here to give you a lecture on architectural theory or sell you a fifteen-piece drill bit set you’ll never use again. Instead, I’m going to walk you through the exact, stripped-down process I use to get my gear off the floor and onto the walls. We’re going to cover everything from finding the studs to choosing the right anchors, focusing on efficiency and stability above all else. Let’s get this done so you can actually start enjoying your space.
Table of Contents
- Step-by-Step Instructions
- Mastering Wall Stud Finder Usage Without the Headache
- Choosing Between Drywall Anchors vs Wall Plugs
- Five Pro Tips to Keep Your Shelf from Becoming a Floor Decoration
- The Bottom Line: Don't Overthink It
- The Philosophy of the Perfect Shelf
- You’re Done: Time to Actually Use Your Space
- Frequently Asked Questions
Guide Overview
Tools & Supplies
- Drill/Driver for making holes and driving screws
- Level to ensure the shelf is straight
- Measuring tape for precise placement
- Pencil for marking drill points
- Shelf and brackets 1 set
- Wall anchors and screws 1 pack
- Wall plugs (if installing into drywall) 1 pack
Step-by-Step Instructions
- 1. First, you need to scout the location. Don’t just pick a spot because it looks good; grab a stud finder and scan the wall. If you can hit a wooden stud, you’re golden. If you can’t, don’t panic—you’ll just need to use heavy-duty drywall anchors. I’ve learned the hard way that trying to screw into nothing but plaster is a fast track to a messy afternoon.
- 2. Grab your gear. You don’t need a professional workshop, but you do need the basics: a drill, a level, a pencil, and your mounting hardware. I always keep my multi-tool handy for when I realize I’ve forgotten a small screwdriver, but for this, you’ll want to make sure your drill bits are actually sharp and ready to go.
- 3. Mark your spots. Once you’ve found your studs or decided on your anchor locations, hold your bracket up to the wall and use your pencil to mark the holes. This is where people usually mess up, so use a level here. If your marks are even slightly crooked now, your shelf is going to look tilted for the rest of your life.
- 4. Drill the pilot holes. Take your drill and carefully create the holes based on your pencil marks. If you’re using anchors, make sure the hole is exactly the depth the packaging recommends. If the hole is too shallow, the anchor won’t seat properly; if it’s too deep, everything will feel wobbly.
- 5. Set your anchors and brackets. If you aren’t hitting studs, tap your drywall anchors into the holes with a hammer until they’re flush with the wall. Then, line up your brackets over the anchors or studs and drive your screws in. Tighten them firmly, but try not to strip the screw heads by going overboard with the drill pressure.
- 6. Mount the shelf. Place your shelf board on top of the installed brackets. Check it with your level one last time—yes, check it again—and then secure the board to the brackets using the small screws provided with your shelf kit.
- 7. The stress test. Before you go running off to decorate with your favorite books or plants, give the shelf a gentle tug. You want to make sure it feels solid and secure. If it wobbles, something isn’t seated right, so take a second to tighten those screws before you add any actual weight to it.
Mastering Wall Stud Finder Usage Without the Headache
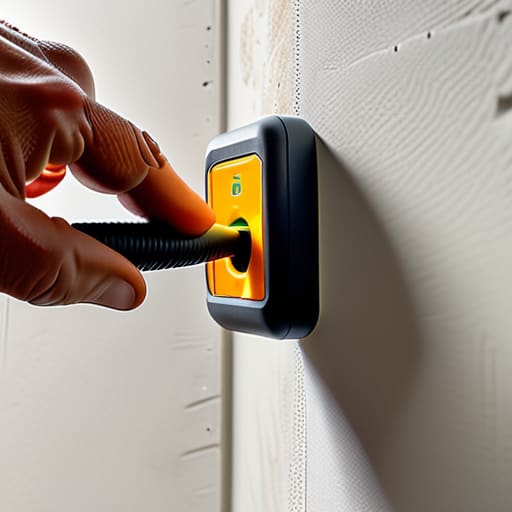
Look, I’ve spent more time than I’d like to admit staring at a piece of drywall, wondering if I’m about to drill into a copper pipe or just empty space. Most people treat a stud finder like a magic wand, but wall stud finder usage is actually a bit of a science. If you’re using one of those cheap electronic ones, don’t just trust the first beep you hear. They can be finicky. I always recommend moving the device slowly in a scanning motion and marking both edges of the stud. Once you have those two points, you’ve found the actual center, which is exactly where you want to be for maximum stability.
If you realize your perfect shelf spot doesn’t align with a stud, don’t panic and don’t just wing it. This is where you need to make a choice between drywall anchors vs wall plugs depending on how much weight you’re actually planning to put up there. If you’re hanging heavy books or a collection of vintage gear, skip the plastic bits and go straight for heavy-duty anchors. It’s better to spend an extra five minutes doing it right than to spend your weekend cleaning up shattered plaster from a collapsed shelf.
Choosing Between Drywall Anchors vs Wall Plugs
This is where most people hesitate, and honestly, I don’t blame them. You’re standing there with a box of hardware, wondering if your shelf is going to end up on the floor in a week. The simplest way to look at the drywall anchors vs wall plugs debate is to consider what you’re actually putting on that shelf. If you’re just displaying a few lightweight succulents or some empty picture frames, standard plastic anchors are usually fine. But if you’re planning on stacking heavy cookbooks or a collection of vintage gear, you need to step up your game.
For anything substantial, don’t settle for the cheap, flimsy stuff that comes in those generic multi-packs. I always recommend investing in some high-quality heavy duty shelf support or specialized toggle bolts if you can’t hit a stud. A toggle bolt expands behind the drywall, creating a much more secure grip that won’t pull through the plaster when you add weight. Don’t cut corners here; it’s much easier to spend an extra five bucks on better hardware now than it is to patch a massive hole in your wall later.
Five Pro Tips to Keep Your Shelf from Becoming a Floor Decoration
- Double-check your level one last time. I know, you checked it when you marked the spots, and you checked it when you drilled, but give it one final look. There’s nothing more frustrating than realizing your “straight” shelf is actually slanted after you’ve already put your books on it.
- Don’t skimp on the hardware. If the shelf came with those cheap, flimsy plastic anchors, toss them. Spend the extra three bucks on high-quality screw anchors or heavy-duty toggles. It’s a tiny upfront cost to prevent a massive headache later when your stuff comes crashing down.
- Mind the “dust zone.” When you’re drilling into drywall, it’s going to create a fine white powder that settles on everything. Stick a post-it note folded in half right under where you’re drilling to catch the debris, or just keep a vacuum nozzle handy. Your apartment will thank you.
- Test the weight capacity before you get attached. Just because a shelf looks sturdy doesn’t mean it’s built to hold a collection of heavy hardback novels. Know the limit of your brackets and your anchors so you aren’t constantly worrying if the whole thing is about to give way.
- Use a pencil, not a pen. It sounds basic, but marking your holes with a pen makes them nearly impossible to erase once you’ve made a mistake. Use a light pencil mark so you can easily adjust your placement if your first attempt is slightly off.
The Bottom Line: Don't Overthink It
Prioritize the studs whenever possible; if you can’t hit one, make sure you’re using the right anchor for your specific wall type so your stuff doesn’t end up on the floor.
Measure twice, drill once—it sounds like a cliché for a reason, and it’s the easiest way to avoid a hole you’ll have to patch later.
Keep your tools organized and your workspace clear; the faster you finish the job properly, the sooner you can stop playing handyman and get back to your actual life.
The Philosophy of the Perfect Shelf
“A shelf isn’t just about holding your books or your plants; it’s about reclaiming your space. Don’t let a little bit of drywall intimidate you—measure twice, pick the right anchor, and just get it done so you can actually enjoy the room you live in.”
Julian Reese Miller
You’re Done: Time to Actually Use Your Space
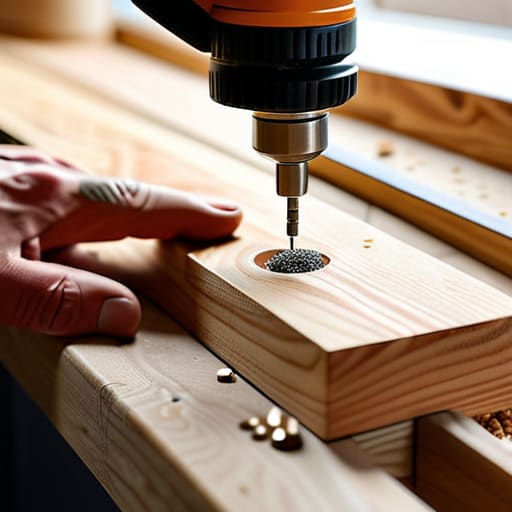
At this point, you’ve done the heavy lifting. You didn’t guess where the studs were, you didn’t settle for the wrong anchors, and you didn’t let a little bit of dust intimidate you. By taking those extra few minutes to verify your hardware and double-check your level, you’ve ensured that your shelf isn’t just going to look good for an hour before it inevitably comes crashing down on your favorite books. You’ve moved from staring at a pile of hardware to having a functional piece of your home actually working for you. It’s about the small wins—getting the measurements right and choosing the right tools so you don’t have to do this twice.
My philosophy has always been that the goal of any DIY project isn’t to become a professional contractor; it’s to reclaim your environment. Every time you fix something yourself or add a bit of organization to a cramped apartment, you’re taking a little more control over your life. Don’t let the fear of a crooked line or a stripped screw stop you from making your space yours. Now that this is finished, put the multi-tool back in your pocket, step back, and enjoy the view. You earned it.
Frequently Asked Questions
What do I do if I miss the stud and can't find a good spot to drill?
Don’t panic—it happens to the best of us. If you’ve missed the stud, stop trying to force it. You can’t just wing it with a regular screw; it’ll pull right out. Your best bet is to pivot to heavy-duty toggle bolts. They expand behind the drywall and provide the grip you need even without wood support. It’s a quick fix that saves you from having to patch and repaint the whole wall.
How much weight can these shelves actually hold before they start sagging or pulling out of the wall?
Look, I’ve seen too many “sturdy” shelves turn into expensive floor decor because people overestimated their hardware. If you hit a stud, you’re golden—you can usually trust it with 50+ lbs. But if you’re relying on anchors in plain drywall? Be conservative. Most decent anchors handle maybe 10–20 lbs. Don’t guess. If you’re planning on stacking heavy cookbooks, find that stud. It’s better to spend ten minutes searching than an hour cleaning up broken glass.
Is there a trick to making sure the shelf is actually level and not slightly tilted to one side?
Look, we’ve all been there—you finish, step back, and realize it’s leaning like the Tower of Pisa. The “trick” isn’t magic; it’s just not trusting your eyes. Always use a spirit level, but here’s my pro tip: don’t just check it once. Level it, mark your holes, then level it again before you actually drill. If you’re working alone, a cheap piece of painter’s tape can hold your marks in place so nothing shifts mid-drill.