 DIY
DIY
Ways to Repair Your Clothes and Extend Their Lifespan
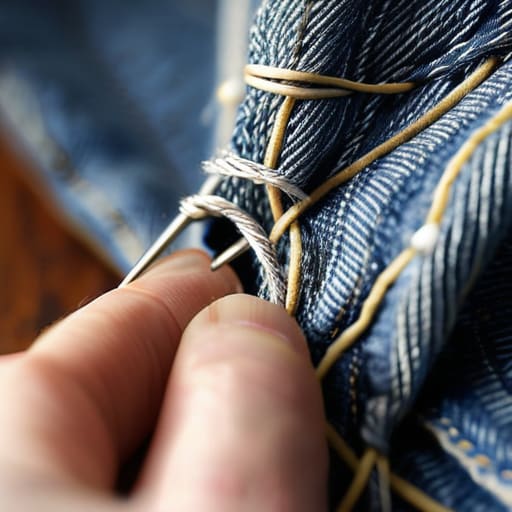
I was staring at a tiny, jagged hole in the knee of my favorite pair of heavy denim jeans last Tuesday, and my first instinct wasn’t to grab a needle—it was to reach for my phone to order a replacement. We’ve been conditioned to think that once something breaks, it’s officially dead, but that’s a massive waste of both money and good fabric. Learning how to mend clothes isn’t about becoming a master tailor or spending your entire weekend hunched over a sewing machine; it’s about realizing that a small tear doesn’t have to be the end of a garment’s life.
I’m not here to give you a lecture on textile history or suggest you buy a professional sewing studio. Instead, I’m going to show you the straightforward, low-effort ways to patch holes, fix loose buttons, and reinforce seams so your wardrobe actually lasts. We’re going to focus on the few essential tools you actually need and the specific techniques that get the job done fast. My goal is to help you fix what you own with minimal fuss, so you can stop replacing and start reclaiming your time and your budget.
Table of Contents
- Step-by-Step Instructions
- The Basic Sewing Kit Essentials You Actually Need
- Mastering Fabric Repair for Beginners Without a Huge Budget
- Pro moves to keep your repairs from looking like a DIY disaster
- The bottom line on keeping your wardrobe in rotation
- ## A shift in perspective
- Getting back to what matters
- Frequently Asked Questions
Guide Overview
Tools & Supplies
- Hand sewing needles of various sizes
- Fabric scissors for clean cuts
- Seam ripper to remove old stitches
- All-purpose polyester thread in various colors
- Fabric scraps or matching patches
- Thimble for finger protection
Step-by-Step Instructions
- 1. First, you need to gather your supplies. You don’t need a professional tailor’s kit, but you should grab a needle, some thread that matches your fabric as closely as possible, and a pair of sharp scissors. If you’re dealing with a bigger tear, grab a small scrap of similar fabric to use as a patch. I always keep a small sewing kit in my desk drawer just so I don’t have to hunt for these things when a crisis hits.
- 2. Turn the garment inside out. This is a non-negotiable step if you want the repair to look clean. By working from the underside of the fabric, you hide all your messy knots and thread tails, leaving only the neat, structural stitches visible on the outside.
- 3. If you’re fixing a small hole or a fraying seam, start by “weaving” your thread through the edges of the gap. Use a simple running stitch—basically just up and down through the fabric—to pull the edges back together. Don’t pull the thread too tight, or you’ll end up puckering the fabric, which makes the whole thing look lumpy and unprofessional.
- 4. For larger holes where the fabric is actually missing, you’ll need to use a patch. Place your scrap fabric underneath the hole, align the edges of the tear with the patch, and sew around the perimeter. I find that a backstitch works best here; it’s a bit more time-consuming than a running stitch, but it’s significantly stronger and will actually hold up to a washing machine cycle.
- 5. If you’re dealing with a loose button, don’t just sew it on haphazardly. Place the button in position, run your needle through the hole and the fabric, and then bring it back up through the center of the button. I like to add a few extra wraps of thread between the button and the cloth to create a “shank”—this little neck of thread gives the button enough room to actually close the fabric without straining.
- 6. Once you’ve finished your stitching, tie off your thread securely. Take your needle through the last loop of thread you made, pull it through to create a knot, and then trim the excess closely with your scissors. A quick tug on the fabric will tell you if the repair is sturdy enough to handle real life.
The Basic Sewing Kit Essentials You Actually Need
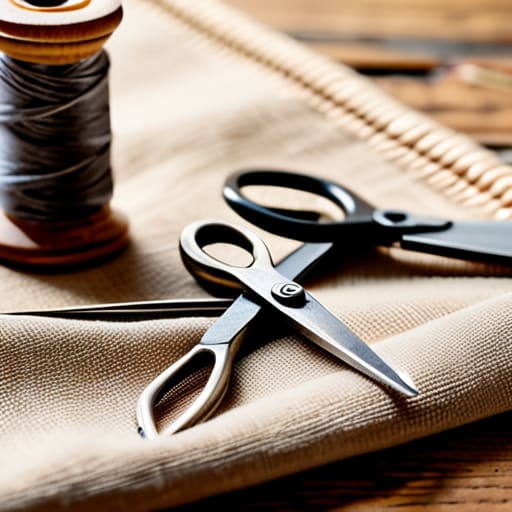
Look, you don’t need a massive, velvet-lined sewing box that takes up half your dresser just to fix a loose button. I’ve learned the hard way that most of those “all-in-one” kits are filled with junk you’ll never use. To keep things efficient, focus on the basic sewing kit essentials that actually matter: a handful of decent needles (not the cheap, bendy kind), a few spools of high-quality thread in neutral colors, and a sharp pair of small scissors. If you have these, you’re already ahead of the game.
I also highly recommend grabbing a seam ripper and some fabric chalk. The ripper is a lifesaver when you inevitably mess up a stitch, and the chalk lets you mark your spot without the guesswork. If you’re looking into more advanced fabric repair for beginners, like patching denim holes or even learning how to darn socks, a small embroidery hoop can be a game-changer for keeping your tension even. Keep your kit small, keep it organized, and keep it in a spot where you can actually find it when a seam decides to give up on you.
Mastering Fabric Repair for Beginners Without a Huge Budget
Look, you don’t need a high-end studio setup to get decent results. When it comes to fabric repair for beginners, the biggest mistake I see is people thinking they need to buy a $300 sewing machine just to fix a loose hem. Honestly? For most daily mishaps, hand stitching is your best friend. It’s quieter, it’s more precise for small repairs, and it doesn’t require you to clear off your entire dining room table just to use it.
If you’re dealing with something more structural, like a blowout in your jeans, don’t panic. Patching denim holes is actually a great way to add a bit of character to your wardrobe rather than just hiding a flaw. If you want to go a step further, you can experiment with invisible mending techniques by matching your thread color exactly to the fabric weave. It takes a little more patience, but it’s a massive win for your wallet and your favorite clothes. Whether you’re learning how to darn socks or just closing a gap in a seam, the goal is the same: fix it fast, fix it right, and move on with your day.
Pro moves to keep your repairs from looking like a DIY disaster
- Match your thread to the fabric, not your mood. I know it’s tempting to grab the brightest color in the kit, but if you want the mend to be invisible, find a thread that mimics the garment’s shade as closely as possible. If you’re between two colors, go one shade darker; light threads tend to disappear better than dark ones.
- Don’t overstuff the needle. When you’re fixing a tear, it’s easy to get carried away with stitches. If you pack them too tight, the fabric will bunch up and look like a puckered mess. Keep your tension loose and even so the fabric can still move naturally.
- Use the right tool for the job. If you’re working on something heavy like denim, don’t try to force a tiny, flimsy needle through it—you’ll just end up frustrated and potentially snapping the thread. Grab a thicker needle and some heavy-duty thread to save yourself the headache.
- Turn it inside out. This is a small step that makes a massive difference. Always try to do as much of the heavy lifting on the underside of the garment as you can. If the “ugly” part of the repair is on the inside, the outside stays clean and professional-looking.
- Iron as you go. It feels like an extra step, but a quick pass with an iron after a repair flattens the stitches and helps the thread settle into the fibers. It takes the “homemade” edge off and makes the mend look like it was always meant to be there.
The bottom line on keeping your wardrobe in rotation
You don’t need a fancy sewing machine or a professional studio; a few basic tools and a little bit of patience are enough to save most of your favorite pieces.
Don’t let a small tear or a loose button become an excuse to toss a garment—fixing it now takes ten minutes, but replacing it takes time and money you could be using elsewhere.
Think of mending as a way to reclaim your stuff; once you realize how simple these fixes are, you’ll stop viewing “damaged” clothes as trash and start seeing them as quick wins.
## A shift in perspective
“Mending isn’t about being a master tailor; it’s about refusing to let a five-minute fix turn into a wasted trip to the mall.”
Julian Reese Miller
Getting back to what matters
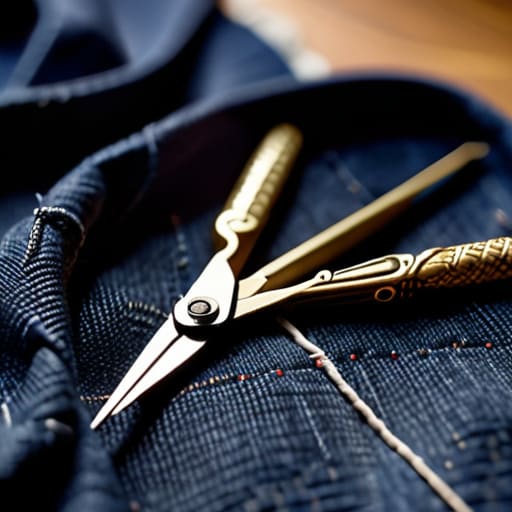
At the end of the day, mending your clothes isn’t about becoming a master tailor or spending hours hunched over a needle. It’s about having the right tools—just a few essentials like a decent needle and some matching thread—and knowing that a small tear doesn’t have to mean the end of a favorite garment. We’ve covered how to handle basic repairs and how to do it all without breaking the bank, so the hard part is officially over. Once you have these fundamental skills under your belt, you’ll realize that most wardrobe “disasters” are actually just ten-minute fixes that keep your closet functional and your budget intact.
I know it can feel a bit daunting to face a ripped seam when you’re already busy, but I promise that the sense of capability you get from fixing something yourself is worth the effort. Don’t let a little loose thread stop you from wearing what you love. My goal is to help you reclaim that time and money so you can stop worrying about your laundry and start focusing on your actual life. You don’t need to be perfect; you just need to be resourceful enough to keep going. Now, go grab that shirt, fix it, and get back to your day.
Frequently Asked Questions
What should I do if I accidentally make the hole bigger while trying to fix it?
Deep breaths. It happens to the best of us—I’ve definitely turned a tiny nick into a canyon more than once. If the hole is growing, stop immediately. Don’t try to “force” the original stitch. Instead, treat it as a new project: you’ll likely need to trim the frayed edges or use a patch to stabilize the area. It’s not a failure; it’s just a pivot. We’ll work with what you’ve got.
How can I tell if a garment is actually worth mending or if it's time to just let it go?
Look, I’m a big believer in sustainability, but I’m also a realist. Don’t waste your Saturday fighting a losing battle. If the structural integrity is gone—think shredded seams or massive holes in high-tension areas like the crotch or armpits—it’s probably time to let it go. If the fabric itself is thinning or “pilling” into nothing, no amount of stitching will save it. If it’s just a loose button or a small tear, mend it. If it’s a lost cause, move on.
Are there specific types of fabric, like stretchy gym clothes or heavy denim, that I should avoid trying to fix myself?
Look, I’m all for being capable, but some fabrics are just a headache waiting to happen. If you’re working with high-performance gym gear or anything with heavy spandex, skip it. Those synthetic blends are tricky to stitch without ruining the stretch, and they usually just pop again. Same goes for heavy denim or leather; you really need industrial-strength tools for those. Stick to cottons and linens first while you’re getting your rhythm down.